Battle Jacket Planner for Better Patch Layouts
Learn how a digital battle jacket planner helps you test backpatch, chest, and front layouts for scale and balance before you commit any patch to thread.
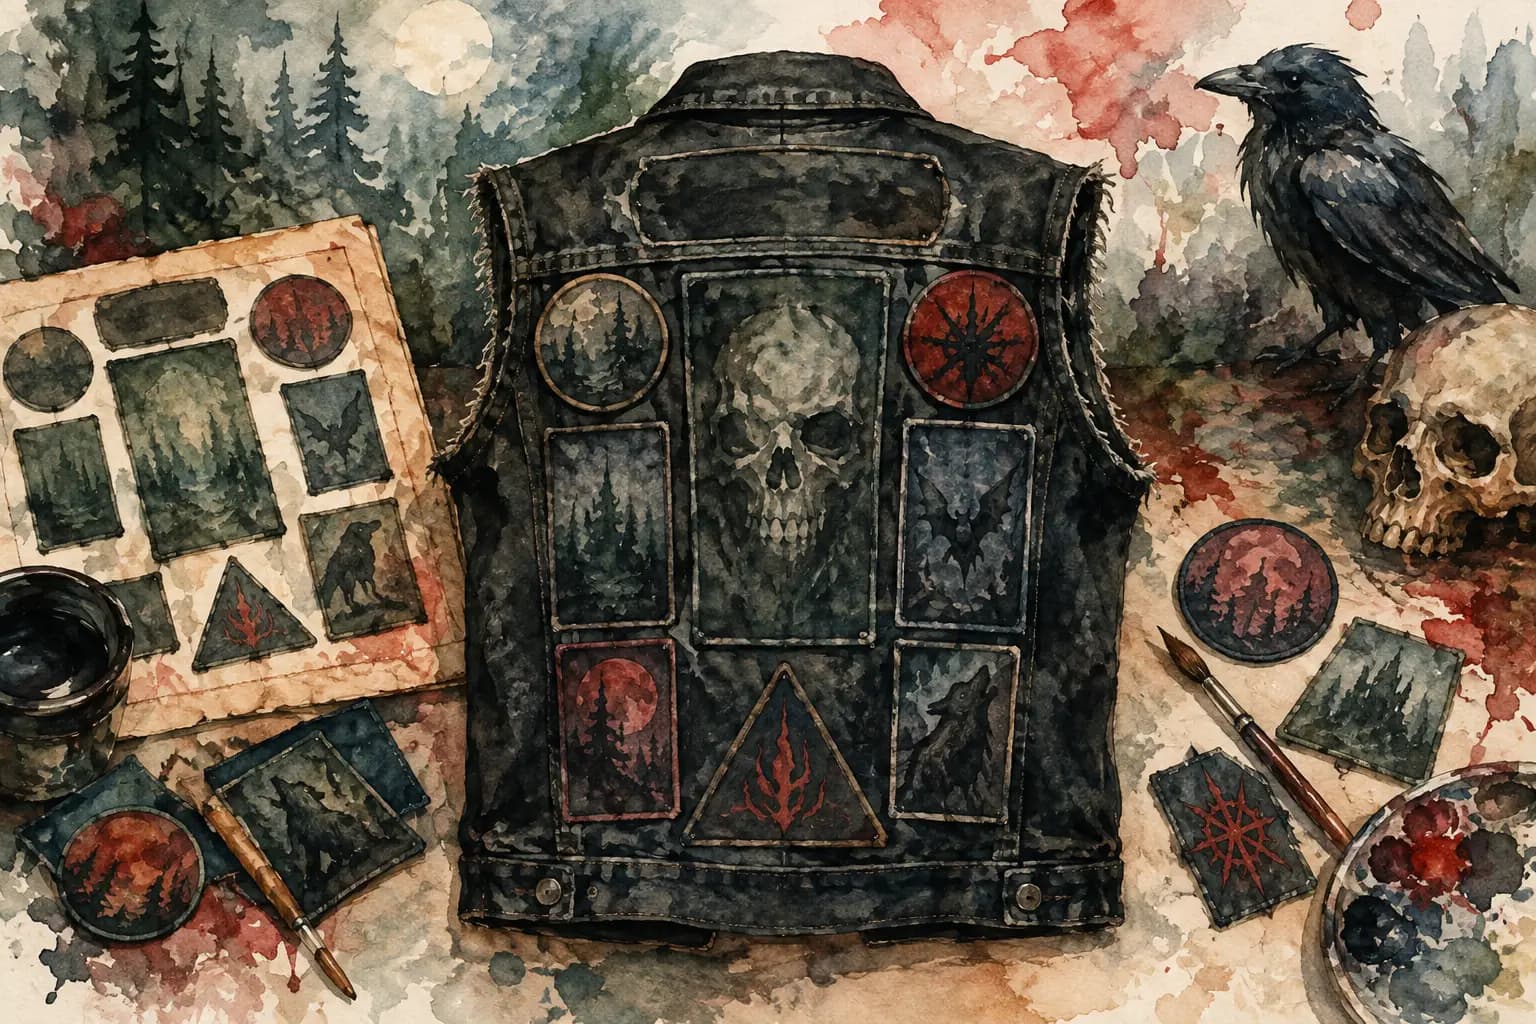
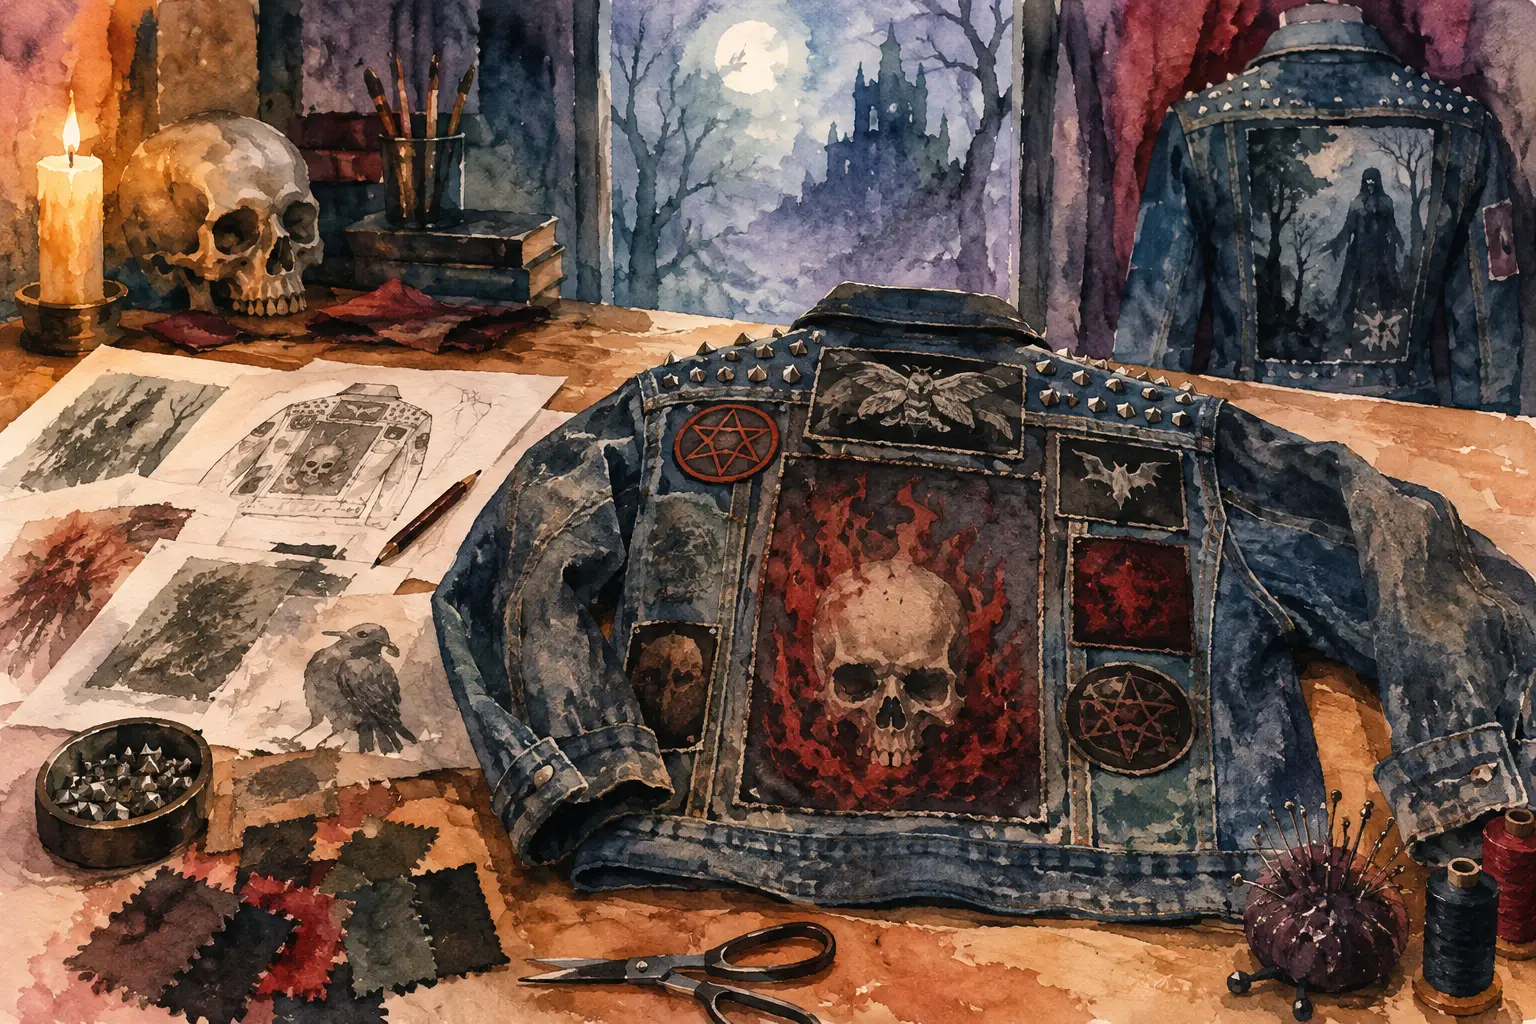
Watercolor illustration of a black denim battle vest with skull and forest patches, laid beside a patch reference sheet, a raven, and a skull
A great backpatch can make a jacket feel finished. A badly placed one can turn the rest of the build into a fight with crooked chest patches, cramped side panels, and patches you loved until they landed on the wrong pocket. A battle jacket planner gives you a place to make those calls before the needle, glue, or studs make them permanent.
That matters whether you are putting together your first denim vest or rebuilding a jacket that has followed you through years of shows. Planning is not about making every inch look sterile or symmetrical. It is about seeing the whole garment clearly, testing the pieces you actually own, and making intentional choices before you start sewing.
Why Plan a Battle Jacket Before You Sew?
Patches are not interchangeable rectangles. A woven logo patch, a tall embroidered strip, a shaped coffin patch, and a large screen-printed backpatch all take up space differently. Even two patches with the same measurements can feel completely different once they sit on denim.
The usual problem is not having too few patches. It is committing the best ones too early. You sew a favorite logo onto the front chest, then find the patch that really belongs there a month later. Or you build around a huge backpatch without checking whether your shoulder patches, collar pieces, and side seams still have room to breathe.
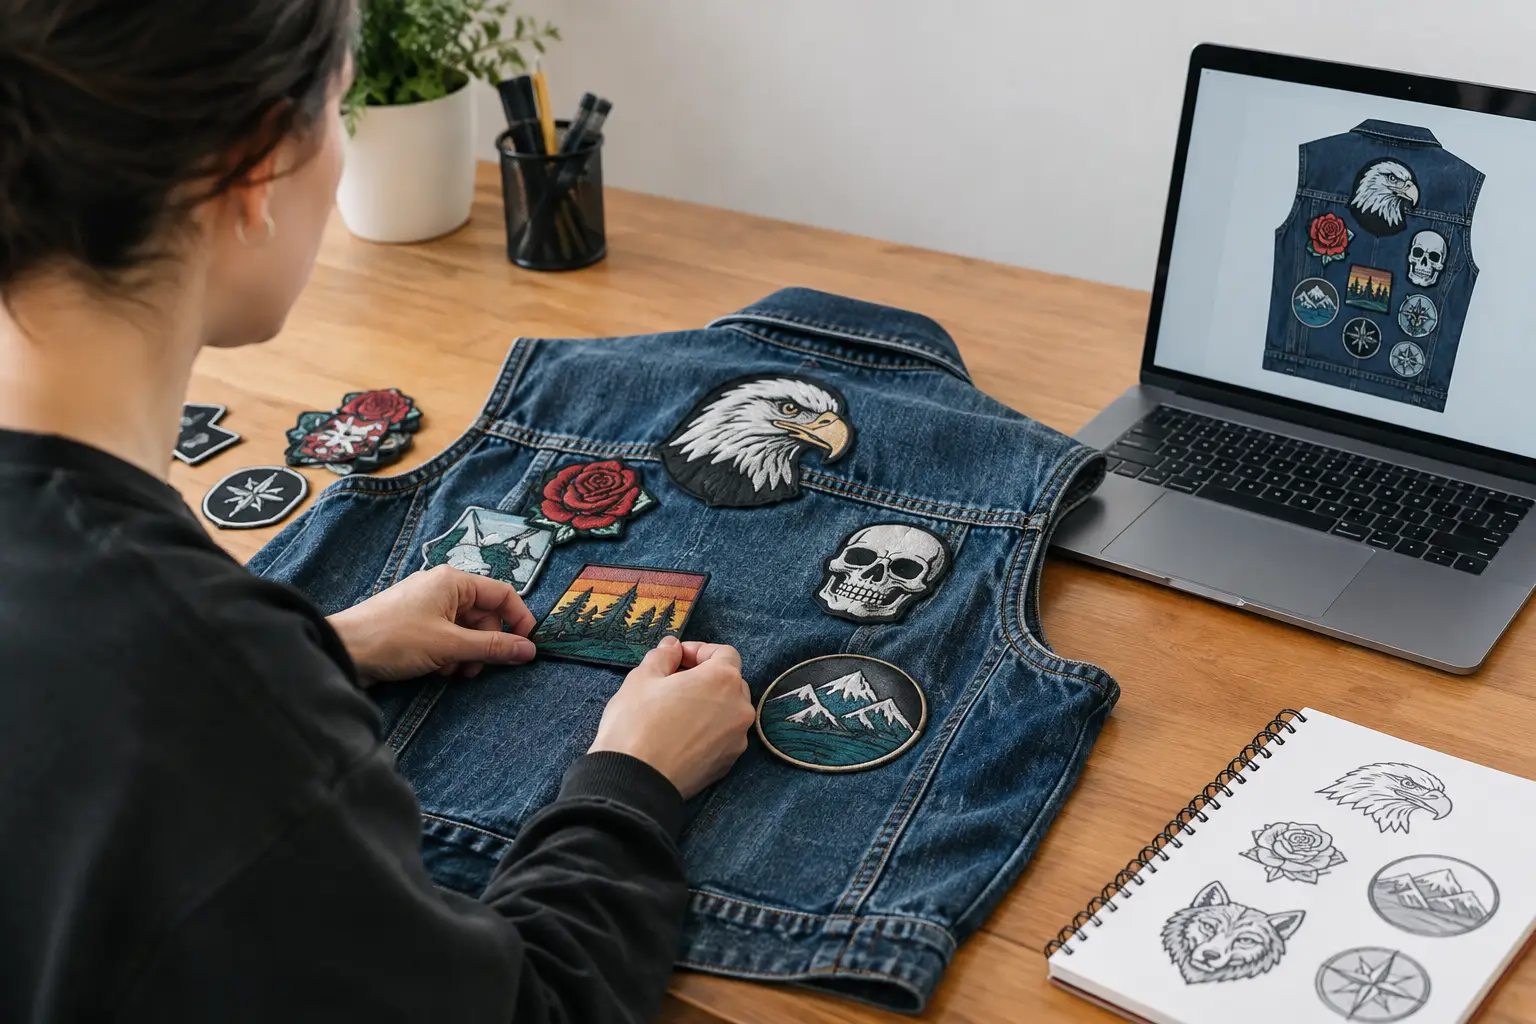
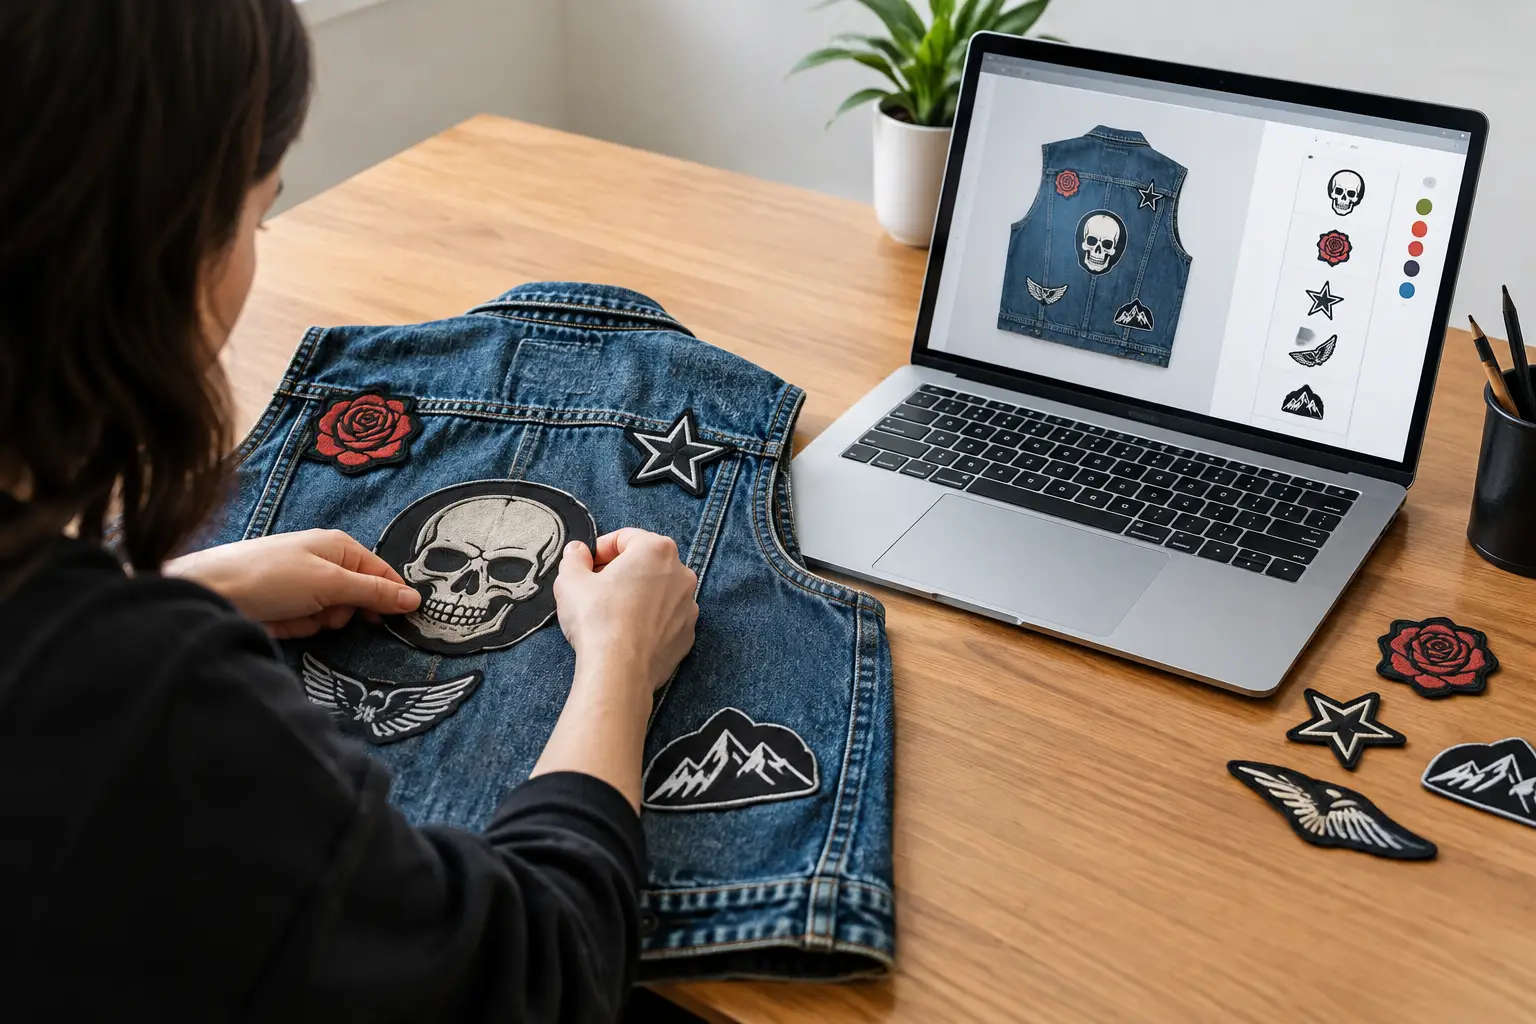
A digital layout lets you move things around without unpicking thread. You can compare a dense, packed kutte against a design with more visible denim. You can try a matching band theme, a genre mix, or a jacket built around one era, one festival, or one personal memory. There are no strict rules, but it helps to know what your choices will look like at full scale.
Start With the Garment, Not the Patch Pile
Your jacket is the frame. Before arranging artwork, choose the closest match to the garment you will actually customize. A sleeveless denim battle vest has different usable areas than a trucker jacket with sleeves. Black denim changes how bright thread and white logos read. Leather has seams, panels, and thickness that affect where patches can sit cleanly.
Pay attention to the practical boundaries: chest pockets, button plackets, shoulder seams, armholes, collars, and the center back seam. A patch can look perfect in a flat image but become awkward if it crosses a seam or blocks a pocket you use. On a real vest, an oversized patch near the armhole may curl once the fabric moves.
Use front and back views from the beginning. The back often gets the most attention, but the front carries a different kind of identity. It is where small logos, name patches, political statements, local bands, and weird finds can build a more personal story. If the back is a full-volume declaration, the front is the tracklist.
Get the measurements right
A planner that uses real-world centimeter measurements is more useful than one that only shows a pretty mockup. Measure your garment's usable areas with a tape measure, especially the space between chest pockets and the width across the upper back. Then check the listed dimensions of your patches.
This prevents a common surprise: discovering that a 12-inch backpatch does not fit the way it appeared to fit online. Leave a little room around seams and edges. Denim shifts, and sewing through thick embroidered borders is easier when you are not forcing every patch into the last available millimeter.
Build the Back First
For most battle jackets, the backpatch sets the visual center. It does not have to be a band logo, but it should give the design a clear anchor. Once it is in place, you can judge scale across the rest of the garment.
Start by deciding what kind of back you want. A single large backpatch creates a clean focal point and leaves room for a border of smaller patches. A full patch collage feels louder and can work brilliantly for crust, punk, hardcore, or a collection built over years. A painted back panel has a different texture than embroidery, so think about how it will sit beside woven and printed pieces.
Then test the patches that surround it. Shoulder blades are prime territory for larger logos and long horizontal shapes. Narrow vertical patches can work along side panels, but only if they do not disappear into seams. If your backpatch has a lot of white, a ring of dark patches may make it hit harder. If it is already visually chaotic, simpler neighboring patches may keep the whole thing readable.
A grayscale preview is worth using here. Color can hide imbalance. When the layout is reduced to light and dark values, you can spot whether one bright patch is pulling all the attention to a corner or whether the backpatch is getting swallowed by similar tones.
Arrange the Front With Wearability in Mind
Front layouts need to survive movement, backpack straps, pins, and regular wear. A patch that sits directly under a backpack strap may fray faster. A thick patch near a button placket can make the jacket harder to close. A design that looks perfectly mirrored on screen may feel too formal for the rough, lived-in look you want.
This is where it depends on your taste. Some metalheads want a classic chest setup with matching-sized patches balanced left and right. Others prefer an uneven front built from tiny logos, old gig patches, and whatever strange thing they found in a record store bin. Both work when the visual weight is intentional.
Use scale before symmetry as your guide. Two medium patches on one side can balance one large patch on the other. A bright white logo near the collar may balance a larger but darker patch lower down. Rotation can also help. A slight angle can make a patch follow a pocket line or fit naturally into an irregular gap, but too many angled patches can make the whole front look accidental.
Use Your Actual Patch Collection
A battle jacket is more convincing when the plan reflects what you can really sew. Upload images of patches you own, including photos taken on your phone if needed. A community patch library can help you audition future finds, but treat it as a sketchbook, not a promise that every patch will be easy to track down.
When adding your own images, crop close to the patch edge and use a clear, straight photo. That makes scaling more accurate. If the patch has a border, include it. Borders affect both the final size and the amount of thread you will need when it is time to attach it.
The Black Thread makes this process practical with jacket and vest templates, drag-and-drop patch placement, scaling, rotation, front-and-back views, and saved designs. You can start planning for free without an account, then create one later if you want to store a layout and return to it after the next merch table score.
Leave room for the future
Not every jacket needs to be finished in one weekend. In fact, many of the best kuttes look better because they were built slowly. Leaving deliberate gaps gives you room for the band you have not seen yet, the patch from the tour that mattered most, or the odd-shaped piece that eventually completes a panel.
A packed layout has its own energy, but it comes with trade-offs. More patches mean more overlap risks, more difficult sewing around seams, and less room to repair or replace pieces later. If you are starting out, a little visible denim is not a failure. It is breathing room.
Turn the Plan Into a Wearable Jacket
Once your layout feels right, save a reference image and use it at your work table. Start with the backpatch and the largest pieces, then add medium patches before filling small gaps. Baste, pin, or use temporary fabric adhesive where appropriate before committing to stitches. Check the garment while wearing it at least once, because a layout can shift when the jacket is on your body instead of lying flat.
For a durable build, sew patches rather than relying only on glue. Hand stitching takes time, but it gives you control around thick borders and odd shapes. Match thread to the patch border when you want the stitches to disappear, or use contrasting thread when you want the construction to show. Both are valid choices.
Do not panic if the physical version changes slightly from the plan. Fabric has texture, patches have thickness, and the jacket will have its own opinion once it is in your hands. The planner is there to prevent expensive mistakes, not to erase the handmade character that makes a battle jacket yours.
Questions to Ask Before You Commit
Should every patch fit a single theme?
No. A genre-specific jacket can look focused, but a mixed jacket can be just as strong. The connection might be sound, lyrics, places you have been, bands you saw, or simply records that got you through something. Visual consistency helps, but personal meaning carries more weight.
How close can patches sit together?
Leave enough space to sew around each edge and to account for fabric movement. Patches can touch or slightly overlap if that is the look you want, but stacking thick embroidered pieces creates bulk. Near seams, give yourself more room than you think you need.
Is symmetry necessary?
Not at all. Symmetry is one option, not a rule. What matters is balance. If one side of the front feels heavy, test a patch with similar size, contrast, or visual intensity on the other side rather than forcing a matching pair.
When is a design ready to sew?
It is ready when you can look at it as a whole without feeling the need to rescue a major area. Save a version, step away for a day, then look again. If the back still hits, the front still feels wearable, and the empty spaces look intentional, get the thread out.
Your jacket does not need anyone else's approval to be real. Plan carefully, sew patiently, wear it hard, and let the next patch earn its place.