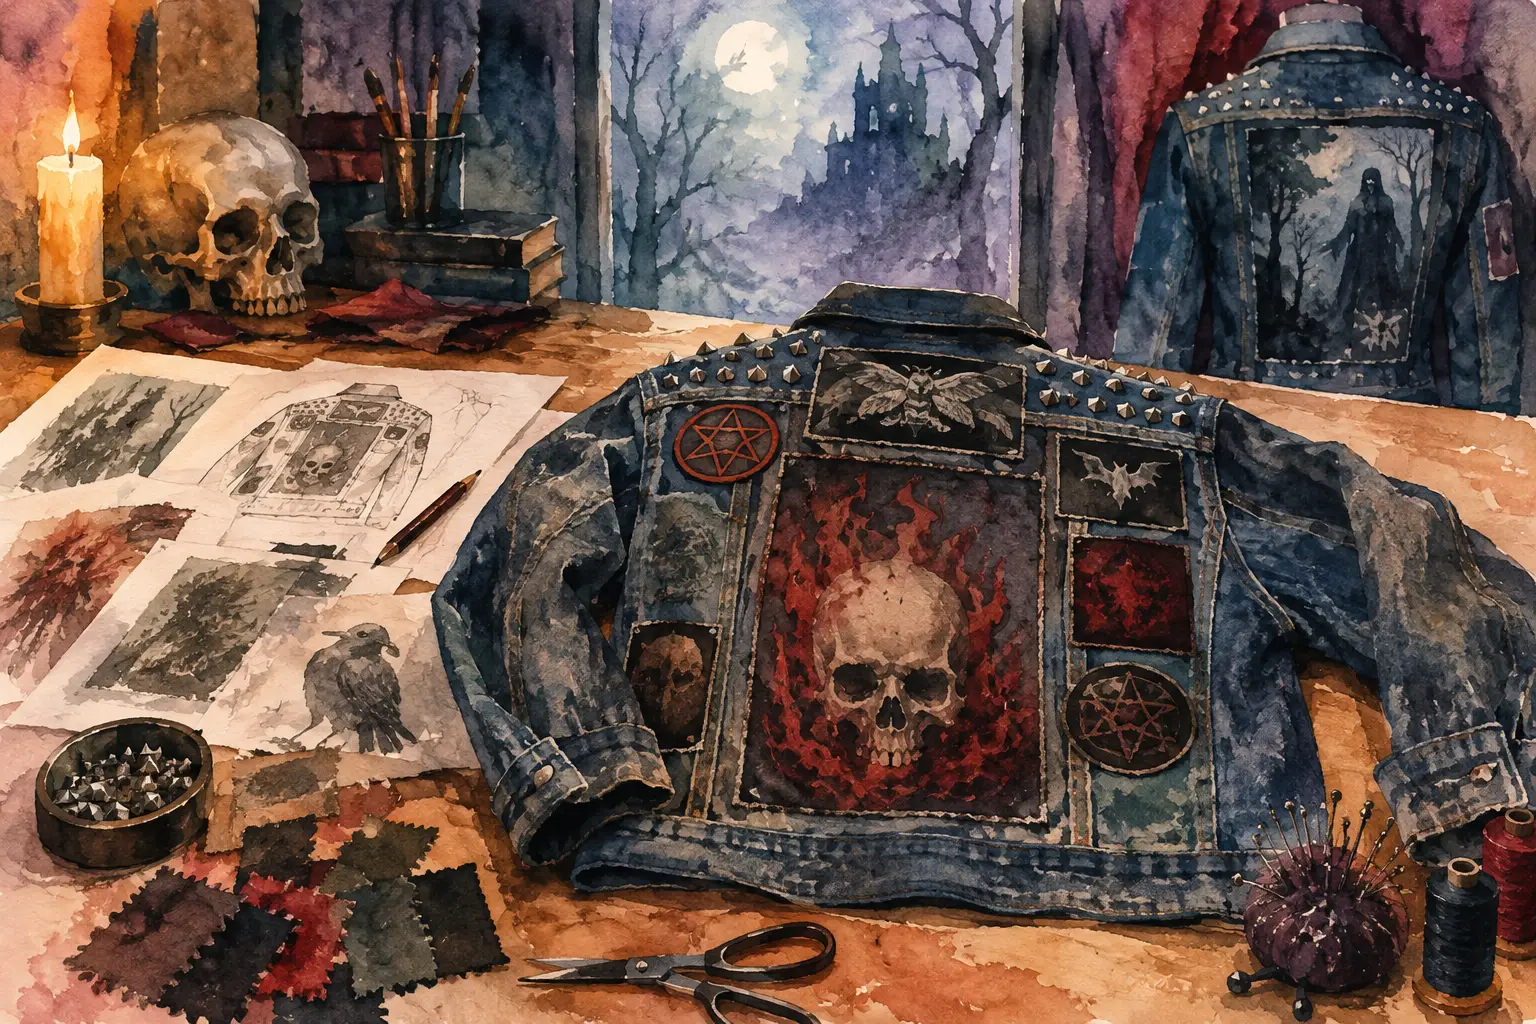
Where to Put Patches on Your Battle Jacket
A backpatch that looks right on the floor can swallow a vest once the side patches go on. Lay it out to scale first, then sew from a reference instead of a guess.
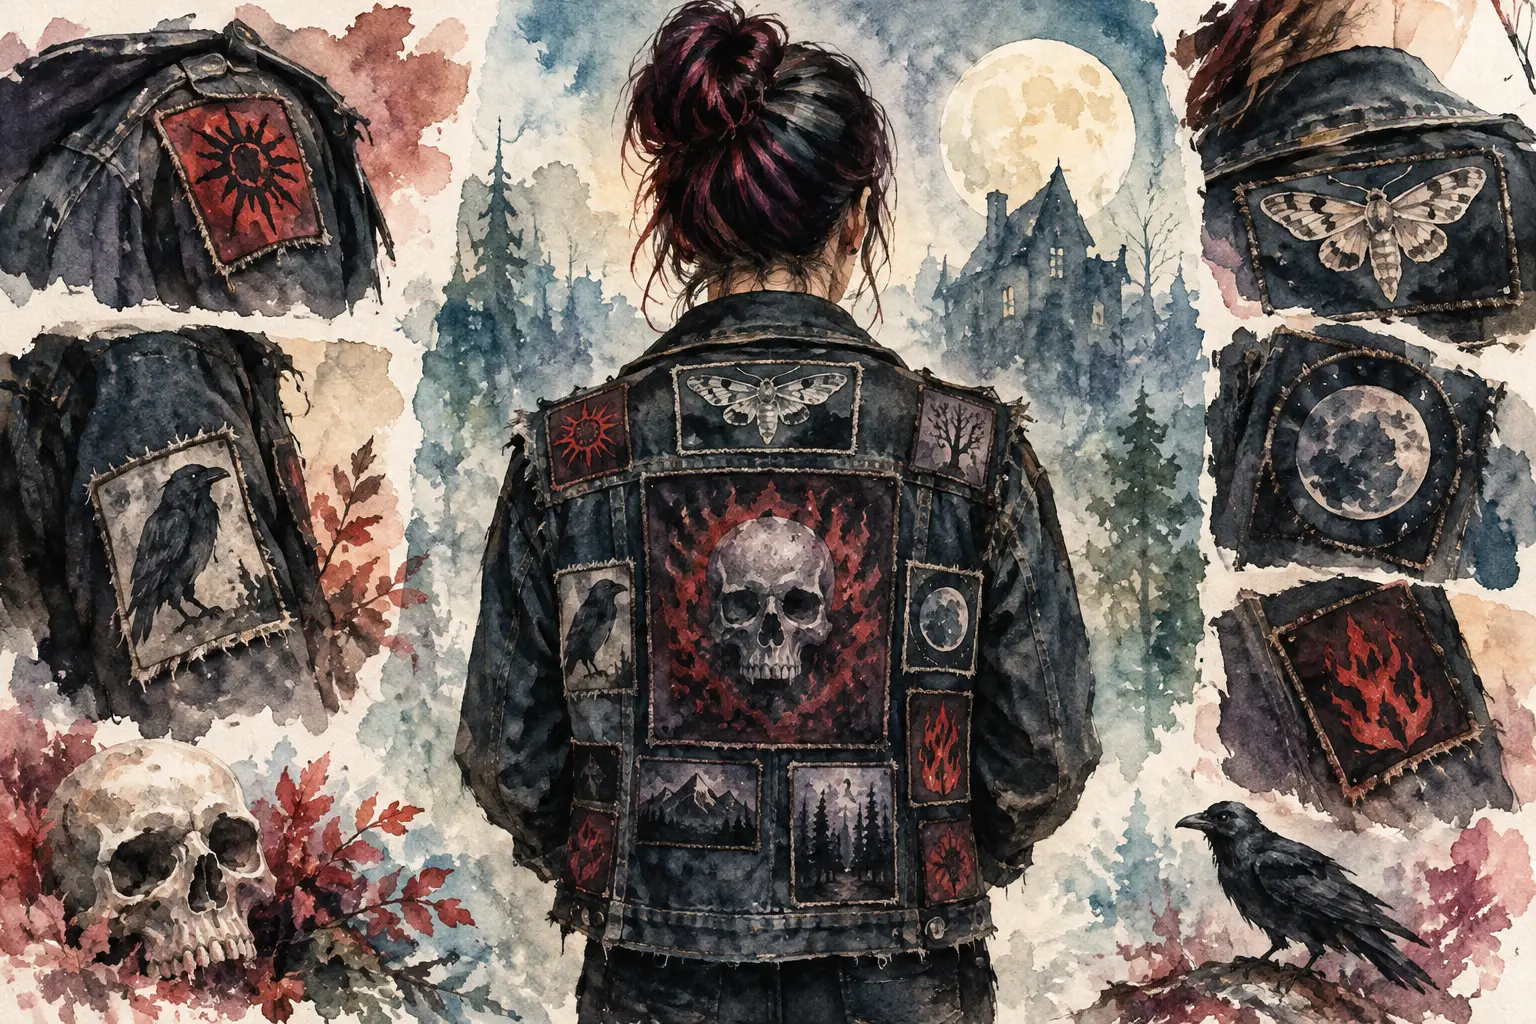
Where to Put Patches on Your Battle Jacket
That huge backpatch looked perfect when it arrived. Then you hold it against your vest and realize it eats the space you planned for six other patches. If you are asking where to put patches on battle jacket layouts, start here: place the patches that matter most first, then build the rest of the jacket around them.
There are no strict rules. A battle vest, kutte, or patched leather jacket should look like its owner, not a store display. Still, a little planning saves you from crooked rows, covered seams, and the painful moment when a favorite patch has nowhere left to go.
Start With the Backpatch
For most battle jackets, the backpatch is the anchor. It is the first thing people see in a crowd, and it sets the visual weight for the entire garment. Center it between the shoulder blades and leave enough room around the edges for stitching, especially if the patch is thick or has a woven border.
A large rectangular patch usually works best with its top edge sitting just below the back yoke seam. Do not force it over that seam unless you know your machine or needle can handle the layers. On a vest, you can often place it higher. On a jacket with sleeves, give yourself room so the patch does not bunch when you move your arms.
If your backpatch is tall, let it reach toward the lower back, but avoid placing its bottom edge so low that it folds when you sit down. Wide backpatches can run close to the side seams, though leaving a little denim visible makes the layout feel intentional instead of cramped.
Not every back needs one giant centerpiece. A collage of medium patches, a band logo made from smaller pieces, or a clean field of studs and text can work just as well. The trade-off is that a full-back layout needs more careful spacing. With no single focal point, crooked alignment becomes easier to spot.
Build Around the Back, Not Over It
Once the backpatch is in position, use the open space above, below, and beside it for supporting patches. Small logos often look good along the lower back, while narrow name strips can sit above the main patch. Side spaces near the armholes suit odd-shaped patches, but keep them clear of areas that pull and crease.
Try not to make every gap identical. A battle jacket can be dense without looking like a spreadsheet. Vary the shapes, but keep a sense of balance. If one side has a large circular patch, the other side may need a similarly heavy patch or a cluster that carries the same visual weight.
Where to Put Patches on Battle Jacket Fronts
The front is where practical placement matters most. You need to account for pockets, buttons, zippers, lapels, and the fact that the jacket opens down the middle. A patch that looks centered on a flat garment may split awkwardly once the jacket is worn.
The upper chest is prime real estate. Put your favorite small band patches, a name strip, a hometown patch, or a piece you want people to see in conversation there. On a denim jacket, chest pockets create natural boundaries. You can place patches above the pockets, directly on pocket flaps, or between the pockets and the center opening.
Pocket flaps are great for small rectangular patches, but test the flap before sewing. If the patch is too wide or stiff, the pocket may stop functioning. Some builders do not care about usable pockets. Others want the jacket to stay practical for show nights. Both approaches are valid, but decide before the needle goes in.
The lower front panels fit medium and small patches well. This is a solid place for band logos, scene patches, political statements, horror art, or tour souvenirs. Keep the bottom hem in mind. A patch sewn too close to it can curl or wear faster.
Avoid putting a large, detailed patch across a button placket or zipper unless you want a deliberately split design. It can look killer on an open jacket, but the image will break apart when you close it. If you wear your jacket closed in cold weather, place the artwork on one panel instead.
Keep the Front Wearable
Your collar, lapels, and shoulder area can handle small patches, pins, and studs, but they take more abuse than the broad back panel. Heavy patches on a collar can make it sit strangely. Tall patches near the neck can scratch your skin. If you are using leather, remember that every needle hole is permanent, so pin and test the placement longer than you think you need to.
A front layout does not need to mirror itself. Symmetry can look sharp, especially on a classic heavy metal vest, but asymmetry often feels more punk and personal. The key is visual balance, not matching left and right sides exactly.
Use the Sleeves and Side Panels Carefully
Sleeves are high-impact space, especially on a jacket rather than a vest. They are also the hardest area to sew and the easiest place to make a patch wrinkle. Long vertical patches, narrow strips, and small logos generally follow the arm better than wide rectangles.
Place patches on the upper sleeve if you want them visible while standing naturally. Forearm patches stand out when your arms are moving, but they rub against tables, barriers, and your own body more often. Leave room around the elbow. Anything sewn directly over that bend will flex hard and may start lifting at the corners.
The side panels under the arms are usually poor choices for anything important. They stretch, sweat, and disappear from view. Save those areas for small filler patches if you want a packed look, or leave them alone so the jacket stays comfortable.
Plan Patch Size Before You Plan Patch Count
The biggest layout mistake is collecting patches as individual objects, then trying to force them onto a garment at the end. A 4-inch circular patch may be small on a table but huge beside a narrow logo patch. A tall woven patch can throw off an entire row even when its width seems manageable.
Lay out your biggest pieces first: backpatch, large front art, oversized shapes, and long strips. Add medium patches next, then fill awkward gaps with small logos. Keep a few patches aside. Empty denim is not failure. It gives the design room to breathe and leaves space for bands you have not discovered yet.
Color matters too. A black-and-white patch can vanish into black denim, while a bright border may pull attention away from your centerpiece. Check the layout in grayscale if you can. That shows whether the contrast and visual weight still work when color is removed. If every dark patch merges into one block, move a lighter piece or create separation with stitching, studs, or visible denim.
Test the Layout Before You Sew
Pinning patches is better than guessing, but a full layout is even better. Use safety pins, masking tape on the reverse of the patch, or a flat design plan to test the arrangement. Put the garment on, look in a mirror, sit down, raise your arms, and check whether patches shift into uncomfortable spots.
The Black Thread lets you arrange your own patch images on jacket and vest templates before you commit. You can scale pieces, rotate them, switch between front and back views, and work with real-world measurements. It is free to start, with no download or account needed just to test an idea.
When you have a layout you like, take reference photos from the front and back. Keep them nearby while sewing. Work from the largest patches outward, checking the garment after each major addition. A design can change once the denim starts gaining weight and texture.
A Few Placement Questions Worth Asking
Should patches overlap?
They can. Overlapping creates a dense, layered look and is useful when you want a jacket that feels built over years. Just avoid covering a patch you still want readable, and do not stack so many layers that sewing becomes a fight. Clean spacing usually suits detailed art; overlap suits chaos, collage, and raw punk energy.
Do all patches need to be band patches?
No. Band patches are central to the tradition, but your jacket can also carry art, causes, local scene references, memorial patches, film imagery, or anything that belongs to your story. The only real test is whether it feels honest on your back.
Should I fill every inch?
It depends on the look you want. A nearly full vest can feel loud and battle-worn. A jacket with carefully placed patches can feel just as powerful, especially if each piece has room to land. Leave some space if you are early in the project. Battle jackets rarely stay finished for long.
Put the patch you would be most upset to misplace in the spot that gives it the attention it deserves. Then let the rest of the jacket grow around it, one show, one band, and one stitch at a time.