Battle Vest Builder for Better Patch Layouts
See how a free digital battle vest builder lets you test garment choice, scale, and contrast before any patch touches thread.
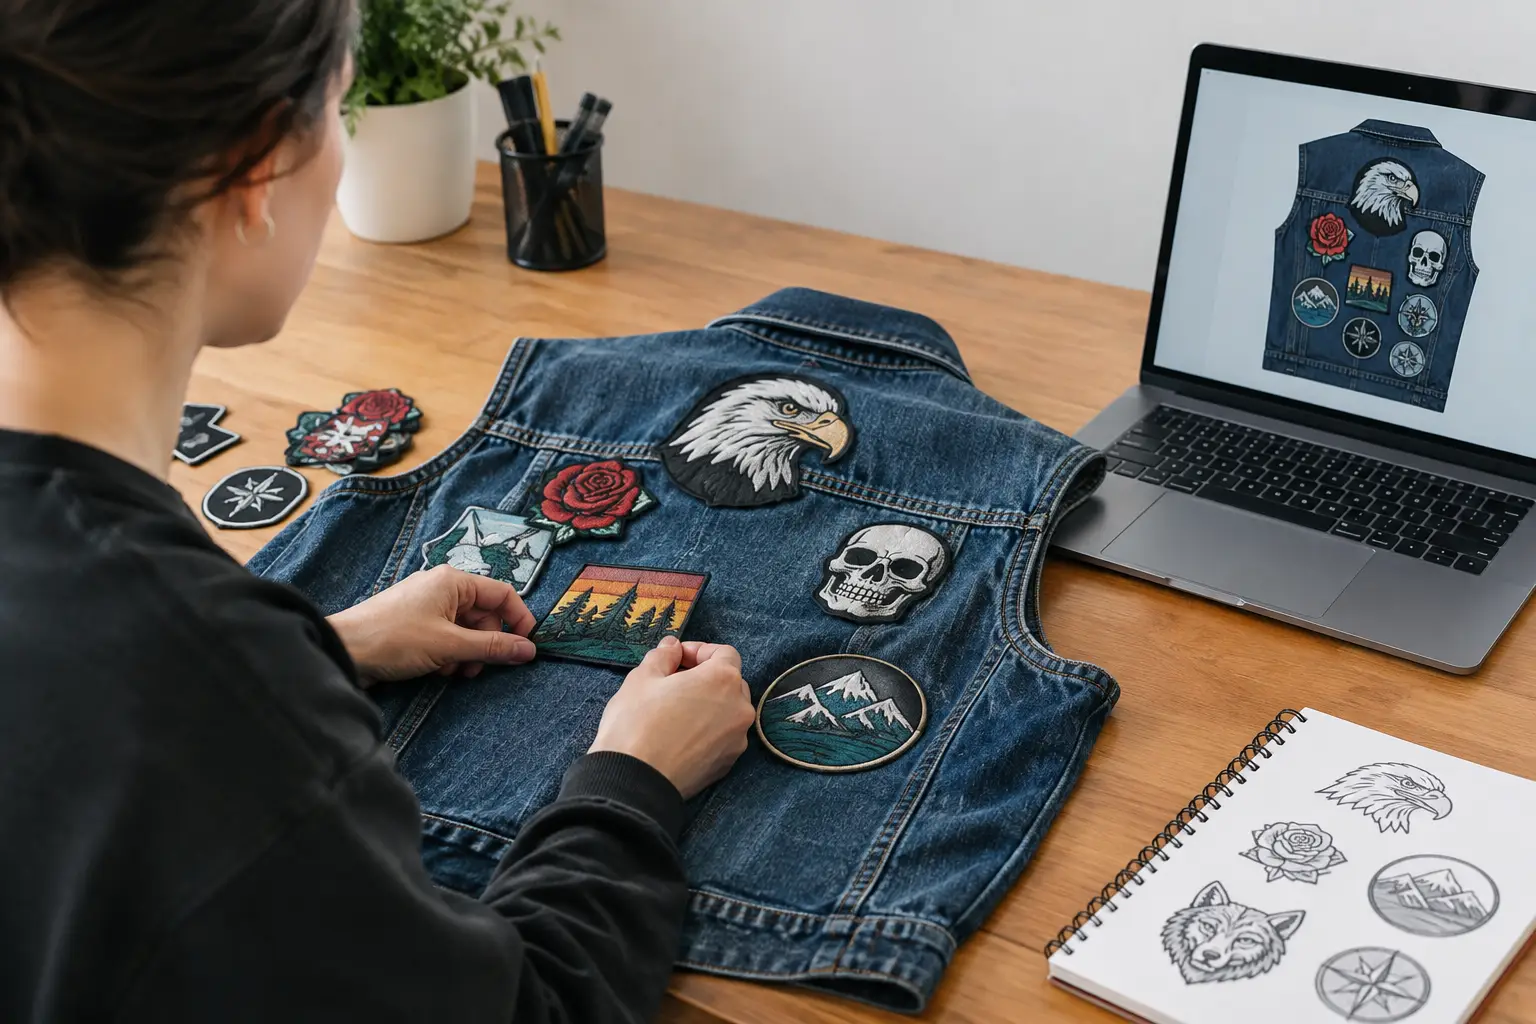
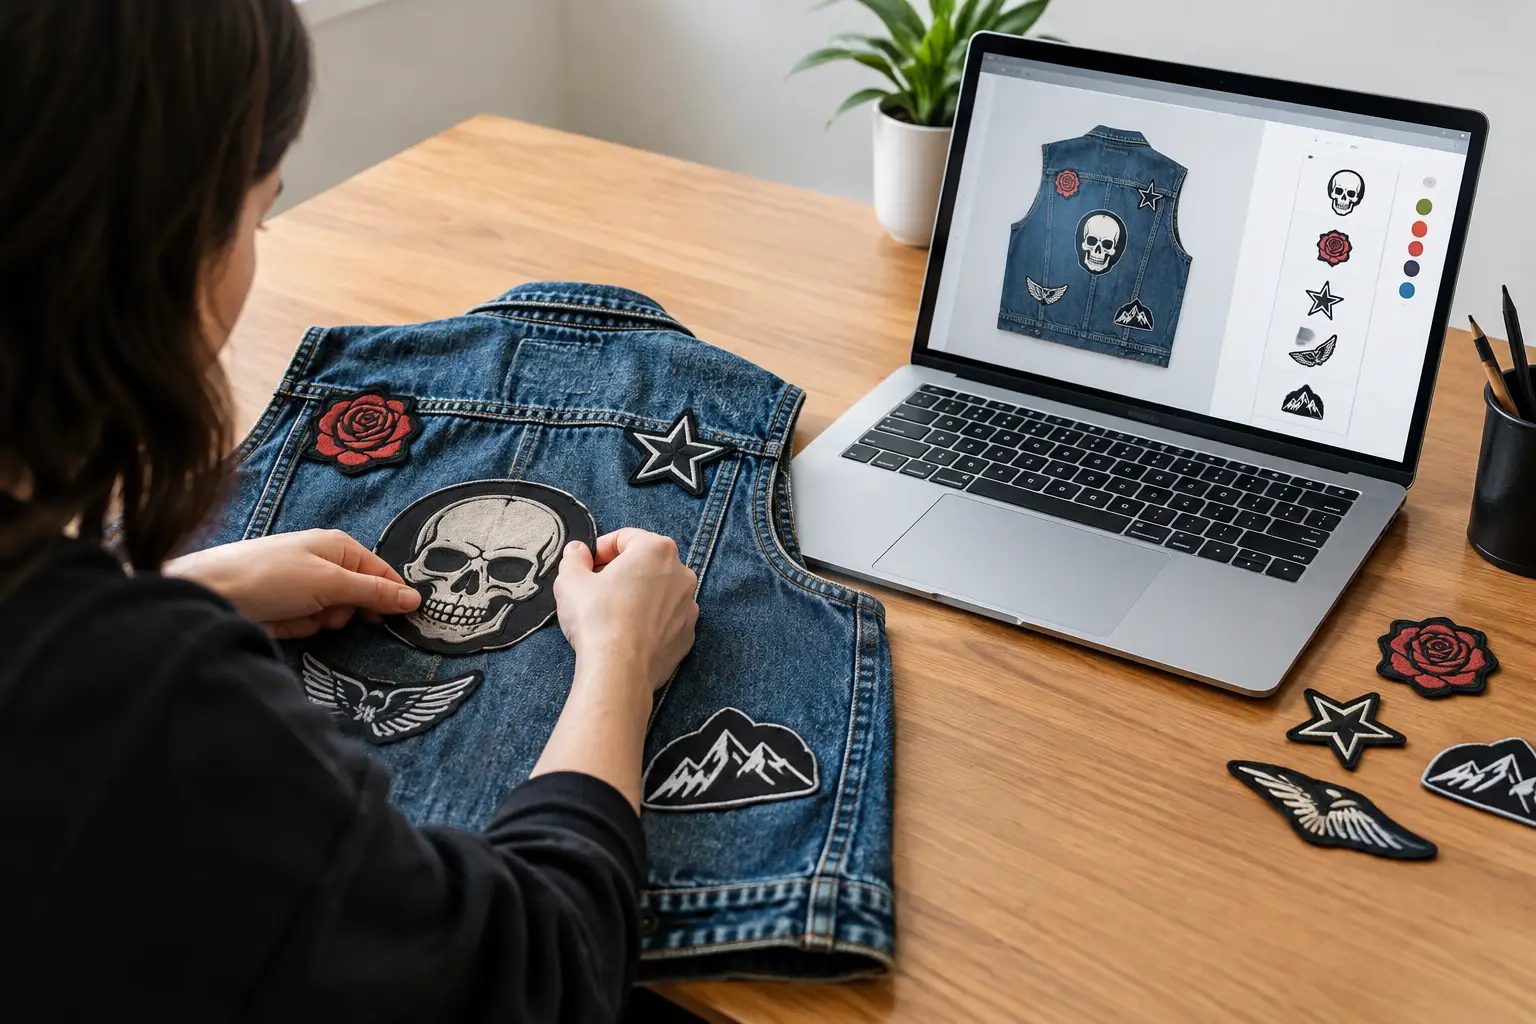
A person arranging embroidered patches on a denim vest at a desk, with a laptop showing a digital patch layout beside them.
A new backpatch can make you want to start sewing immediately. Then you hold it against your vest, realize it crowds the shoulder seams, and suddenly every chest patch in your pile needs a new home. A battle vest builder gives you a place to work that out before a needle, glue, or thread touches denim.
That matters because a battle vest is not a generic collage. It is a record of bands, shows, scenes, friends, politics, memories, and whatever else belongs on your back. There are no strict rules for what your kutte should look like. But planning the physical realities first can save you from crooked rows, swallowed patches, and the painful moment when an expensive patch simply does not fit where you pictured it.
Why Plan a Battle Vest Before You Sew?
Patches look deceptively simple when they are lying flat on a table. On a real jacket or vest, seams interrupt the surface, pockets take up room, panels taper, and the back may be smaller than you expected. A patch that looks perfect in isolation can be too tall for the yoke, too wide for a chest panel, or too visually heavy next to a detailed backpatch.
Planning is not about making your vest sterile or overdesigned. It is about making intentional choices while changes are still free. You can try a clean, symmetrical front, then scrap it for a dense, layered look. You can see whether your crust punk patch collection works better on black denim than blue. You can decide whether that odd-shaped woven patch belongs on the collar, a side panel, or somewhere it can actually be sewn down without folding over a seam.
A digital mockup is especially useful if you are building slowly. Most people do not buy every patch at once. You might have a killer backpatch and a handful of chest patches now, then add tour finds for years. Saving a layout lets you build around what you own while leaving room for what is still coming.
Start With the Garment, Not the Patch Pile
The base garment sets the boundaries for everything else. Choose a vest if you want the classic sleeveless kutte silhouette and maximum space for visible patches. Choose a denim jacket if sleeves, cuffs, and shoulder areas are part of the plan. Leather creates a different mood and comes with different sewing challenges, but the same placement questions apply.
Color changes the whole read of a design. Black denim makes bright borders, white logos, and colorful embroidery jump out. Blue denim can give a more traditional metal look and may soften high-contrast patches. Gray or faded fabric can work beautifully with a worn-in punk layout, though subtle black patches may disappear from a distance.
Think about how you will wear the garment, too. A vest packed edge to edge may look incredible at a show but feel stiff once every patch is sewn. A jacket that will be worn under another layer needs a layout that can handle friction around the shoulders and sides. There is no wrong answer, but use the garment shape you actually plan to customize rather than a blank rectangle in your head.
Use a Battle Vest Builder to Test the Big Decisions
A purpose-built builder is more useful than general design software because it starts with the parts that battle vest makers actually need: garment templates, front and back views, patch placement, real-world scale, and a layout that respects the shape of a jacket.
With The Black Thread, you can begin designing without an account, download, or ad interruption. Pick a realistic jacket or vest template, then add patches from your own images or browse a community patch library. The goal is not to tell you what belongs on your vest. It is to give you a practical space to see your idea at full-garment scale.
Build Around the Backpatch First
For most metalheads, the backpatch is the visual anchor. Place it before arranging the front because its size and style often determine the rest of the vest's direction. Center it between the shoulder seams and check the bottom edge against the waist. If it runs too low, it may bunch when you sit or collide with patches planned for the lower back.
Do not assume the backpatch must be perfectly centered or rectangular. Oversized logos, shaped patches, painted panels, and intentionally off-center layouts can all work. The trade-off is that unconventional placement makes the surrounding space more difficult to organize. A mockup lets you test that tension without committing to it.
Add Chest Patches and Front Details
The front is where practical layout gets real fast. Chest pockets, buttons, lapels, and zipper lines break up the available surface. A pair of matching chest patches can create a strong balanced look, but an uneven front can feel more personal and collected over time.
Start with your largest front patches. Place one or two statement pieces near the chest, then use smaller logos, woven patches, pins, or studs to fill the remaining spaces. Leave clearance around buttons and avoid placing a thick patch where the vest folds constantly. If a patch needs to cross a seam, it can still be done, but it may require careful hand sewing and may not lie flat.
Check Scale, Rotation, and Contrast
This is where a builder earns its place. Resize a patch until it reflects its real dimensions rather than the size it happens to appear on a screen. If you know its measurements in centimeters, use them. A 4-inch patch and an 8-inch patch should not be treated as equal just because their image files are the same size.
Rotation also changes the energy of a layout. Straight patches tend to look organized and classic. A slight tilt can give a rougher, more DIY feel. Too many random angles, though, can make individual designs harder to read. Try the chaos, then zoom out. If your eye has nowhere to rest, reduce the number of tilted pieces or create one calmer area around the backpatch.
A grayscale contrast check is one of the fastest ways to catch problems. Color can disguise weak placement. In grayscale, you can see whether dark patches blend into a dark vest, whether a white-bordered logo dominates too much, and whether two neighboring patches have enough separation to read at show distance.
Treat the Mockup Like a Sewing Reference
Once the layout feels right, do not rely on memory. Save the design if you have an account, or keep a clear reference image while you work. Measure the real garment and the real patches before transferring the plan. Denim vests vary, and a patch's listed size is not always exact.
Lay the actual patches on the garment before pinning anything. Start with the backpatch, then place the biggest front pieces, checking the mockup as you go. Use safety pins, fabric clips, or a light basting stitch to test the arrangement while wearing the vest. Movement can reveal problems that a flat view cannot, especially around the armholes, chest, and lower back.
Sew in stages rather than finishing everything in one night. After each major patch, put the garment on and look at it from a few feet away. You may find that the design needs a little breathing room, or that an empty panel is exactly where the next great patch belongs.
Common Layout Problems Worth Catching Early
The most common issue is overfilling the vest too soon. A dense layout can be brutal in the best way, but it needs hierarchy. If every patch is large, bright, or highly detailed, none of them get room to hit. Let one or two pieces lead and let the smaller patches support them.
Another issue is treating the front and back as separate projects. They do not need to match, but they should feel like they belong to the same person. Repeating a color, band era, patch border style, or general level of density can connect both sides without forcing symmetry.
Finally, be honest about construction. Printed patches, embroidered patches, woven labels, leather pieces, and painted fabric all behave differently. A visual plan tells you what looks good. Your materials decide whether you need a curved needle, stronger thread, extra pins, or a little patience around a thick seam.
Make Room for the Vest to Grow
A finished battle vest does not have to be a permanently full battle vest. Leaving a few spaces open is not failure. It can be a promise to your future self: another favorite record, another tour, another local band worth carrying with you.
Use the builder to get the first version right, then let the actual garment pick up scars, repairs, additions, and stories. The best layout is not the one that follows a rulebook. It is the one you will be proud to wear into a loud room, knowing every patch ended up exactly where you wanted it.