Plan a Custom Battle Jacket Before You Sew
How to choose a garment, anchor the backpatch, and balance scale and color across front and back before you sew a single patch down.
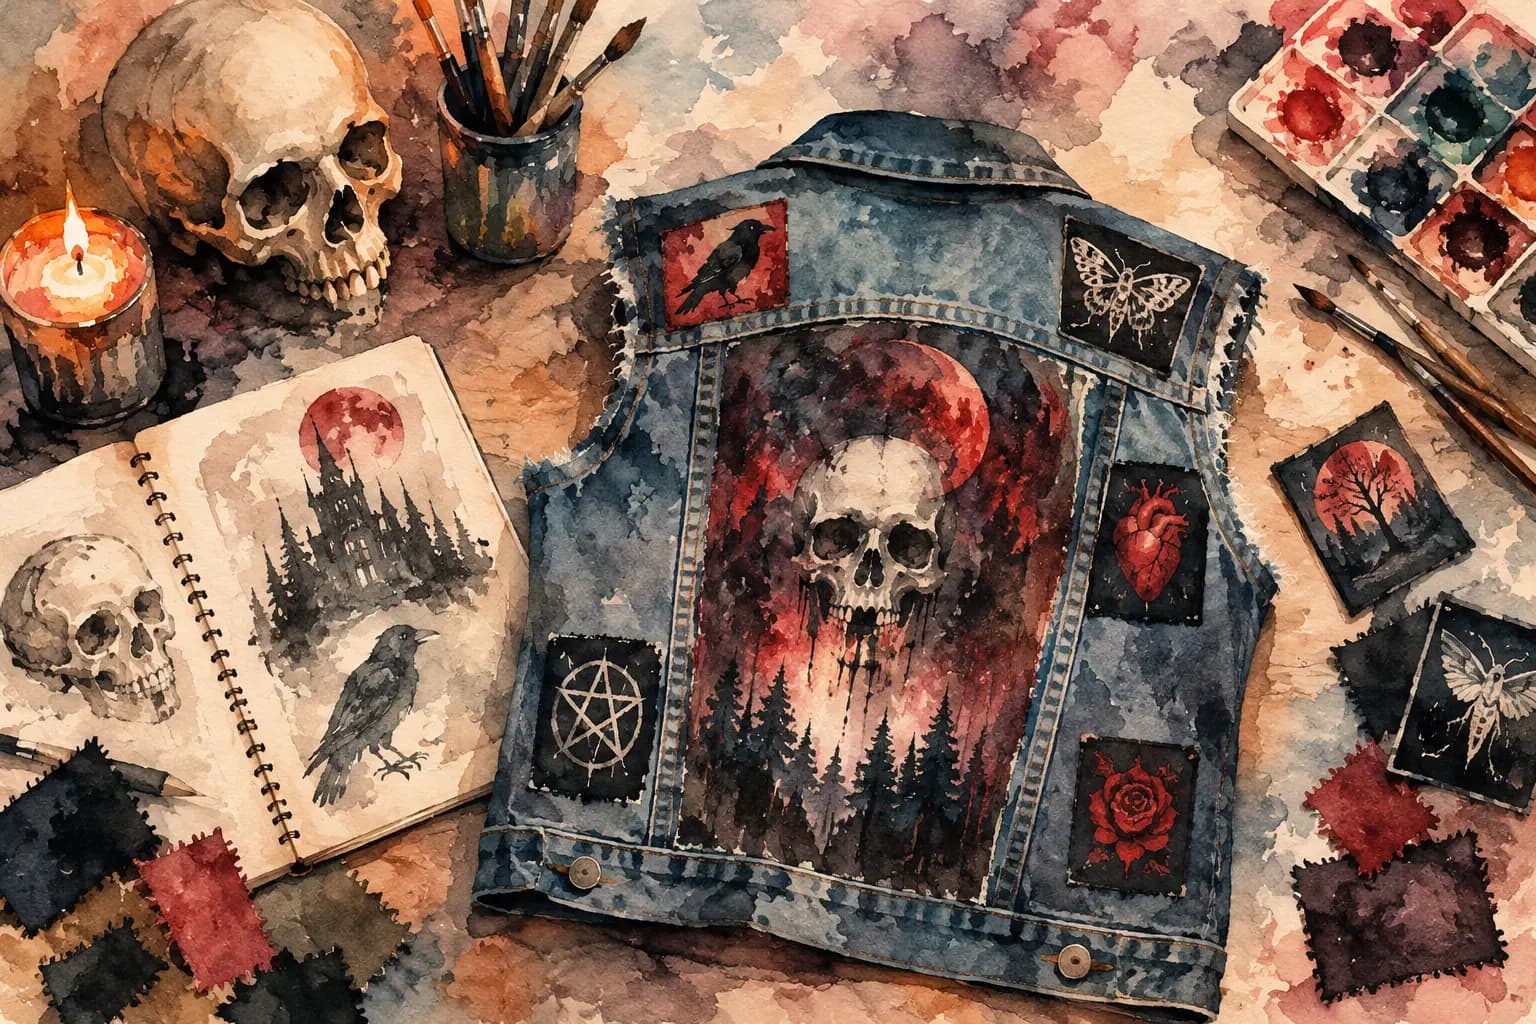
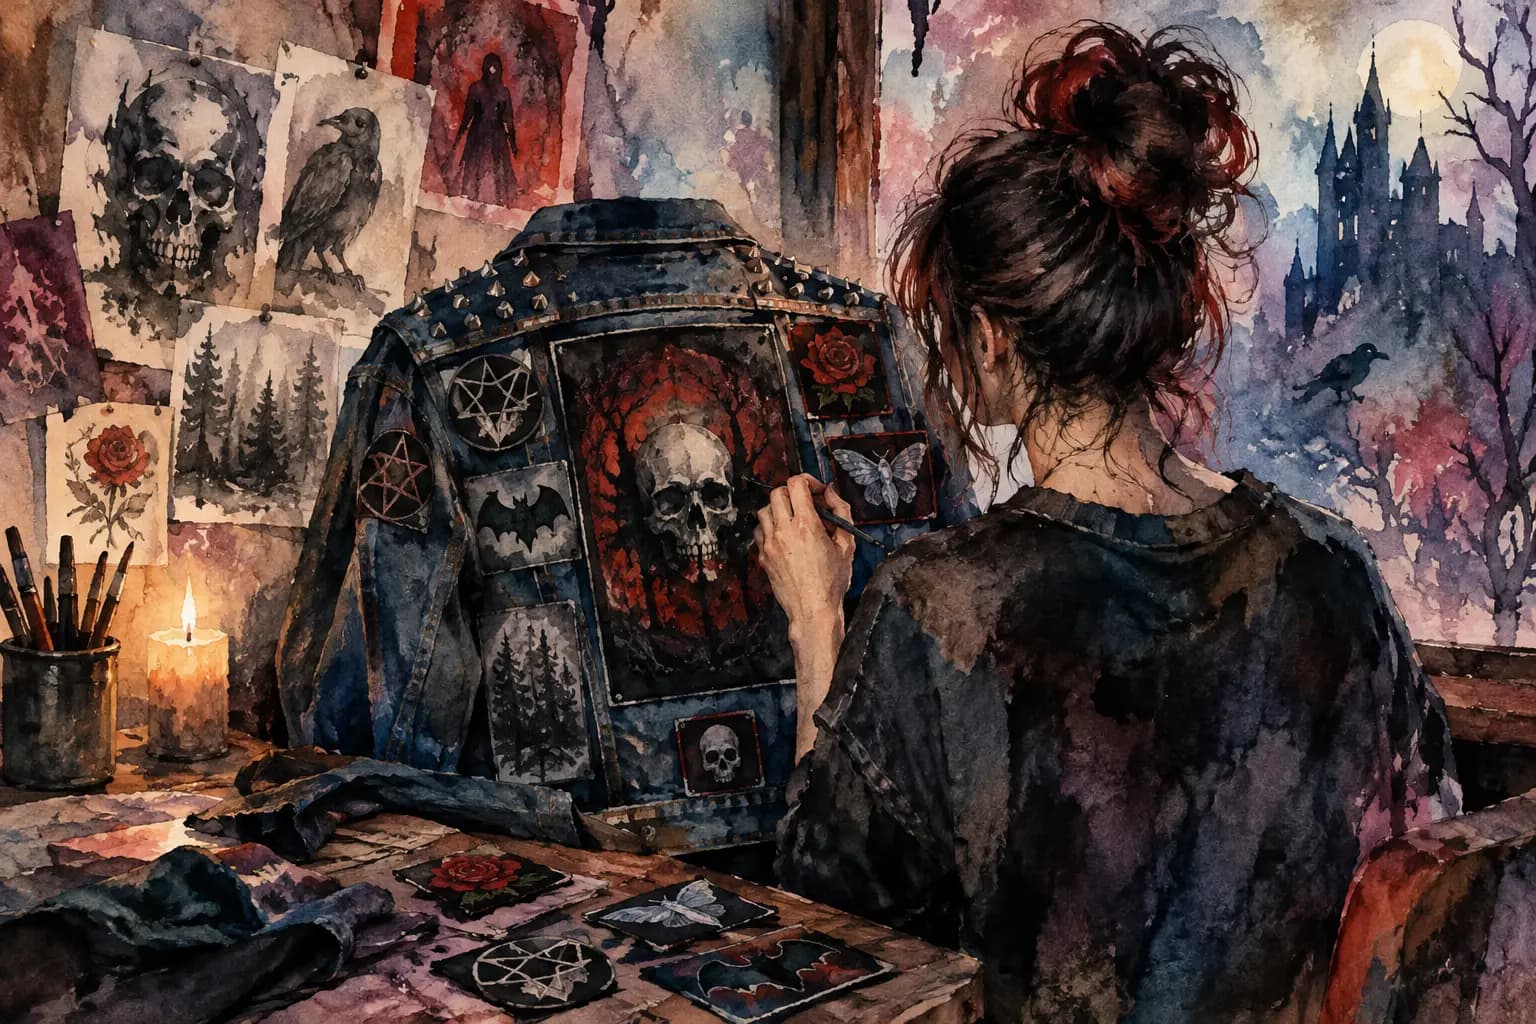
Watercolor illustration of a denim battle vest covered in skull, crow, moth, and rose patches, laid out on a desk with a human skull, a lit candle, a sketchbook, paintbrushes, and a watercolor palette.
A custom battle jacket is not just a place to stick every patch you own. It is a wearable record of the bands, shows, scenes, jokes, causes, and years that shaped you. That is exactly why patch placement matters. Once a backpatch is sewn down or a rare vintage patch gets trimmed to fit, there is no easy undo button.
Planning first does not make a jacket less DIY. It gives you room to make the physical build feel intentional, whether you are putting together your first denim vest or rebuilding a kutte that has survived a decade of pits, rain, and road trips.
Start With the Garment, Not the Patches
The jacket sets the rules for everything that follows. A sleeveless denim vest gives you a broad back panel and clear chest space, while a full jacket adds sleeves, cuffs, collar points, and more opportunities for smaller patches. Leather has a different visual weight than faded blue denim. Black denim can make bright embroidered borders hit harder, but dark patches may disappear into it without enough contrast.
Think about how you will actually wear it, too. A battle vest built for summer shows can be dense and heavy with overlapping texture. A jacket you wear every day may need breathing room around pockets and closures. If you plan to add pins, chains, studs, or painted details, leave enough open fabric so the whole thing does not turn into visual static.
Before arranging anything, know the garment's measurements. Two vests marked the same size can have very different back-panel widths. Measure the usable areas in centimeters, especially the back, each chest panel, and any sleeve sections you want to cover. Real dimensions help answer the question that matters: will this patch actually fit there once it is in your hands?
Give the Backpatch the Space It Deserves
For most builders, the backpatch is the anchor of a custom battle jacket. It is the first thing people see when you walk away from the bar, leave the venue, or stand in the crowd. That does not mean it has to be huge, symmetrical, or perfectly centered. It does mean the rest of the back should work with it rather than fight it.
A rectangular backpatch usually needs a clean border around it so its artwork remains readable. Leave room along the shoulders and lower back for patches that frame it without crowding the design. If your patch is unusually tall, check that it will not run into the collar at the top or fold uncomfortably when you sit down.
Circular and shaped backpatches create more flexible negative space. They can work especially well with a ring of smaller patches, though that approach takes patience. The trade-off is that a looser arrangement can look great from a distance but may feel messy up close if patch edges clash or every logo is competing for attention.
A classic centered backpatch is never wrong, but it is not the only option. Off-center layouts, stacked large patches, or a back built around a painted panel can all work. The test is simple: does the composition still feel deliberate when you step back from it?
Build the Front Around Movement
The front of a battle jacket is where practical details can wreck an otherwise great layout. Pockets, buttons, zippers, lapels, and seams all interrupt the available space. A patch that looks perfect on a flat table may buckle, crease, or become unreadable when the garment is worn.
Chest patches tend to work best when they respect those lines. A name strip over one pocket and a band logo over the other gives a familiar balanced look, but uneven layouts are equally valid if the visual weight feels right. A tall patch can follow a button placket. A small woven patch can fill the gap above a pocket. Collar patches and pins can add character without demanding much fabric.
Avoid sewing across a pocket unless you are happy to lose it. The same goes for buttonholes and zipper paths. These are not strict rules from some battle-jacket police force. They are the kind of choices that are easier to make before thread, needle, and frustration enter the picture.
Use Scale and Contrast to Avoid a Patch Pile
Patch collecting and patch design are related, but they are not the same skill. A jacket can hold incredible patches and still look crowded if every piece is the same size, color, and intensity.
Start by placing your largest items. That may be the backpatch, a big sleeve piece, a chest panel, or a long vertical strip. Add medium patches next, then use small squares, tabs, and odd-shaped pieces to solve the remaining gaps. This creates a hierarchy that lets the eye move across the garment instead of getting stuck on one noisy area.
Color deserves the same attention. A mostly black-and-white jacket can look brutal and clean, but it may need one or two brighter details to keep the art from flattening out. On the other hand, a full-color patch collection can benefit from a few darker pieces that give the design somewhere to rest.
Try checking the layout in grayscale before you sew. This removes the distraction of color and shows whether neighboring patches blend into one another. If two patches become the same gray block, separate them with a border, rotate one, move one to another panel, or accept that they are meant to read as a cluster. It depends on the look you want.
Plan in Layers, Then Break Your Own Plan
A good first layout is a draft, not a commandment. Try a clean and balanced version first so you understand the jacket's visual structure. Then make a messier version. Rotate a few patches. Shift the focal point. Test a denser sleeve. Sometimes the layout that feels slightly too neat on screen is the one that needs more personality.
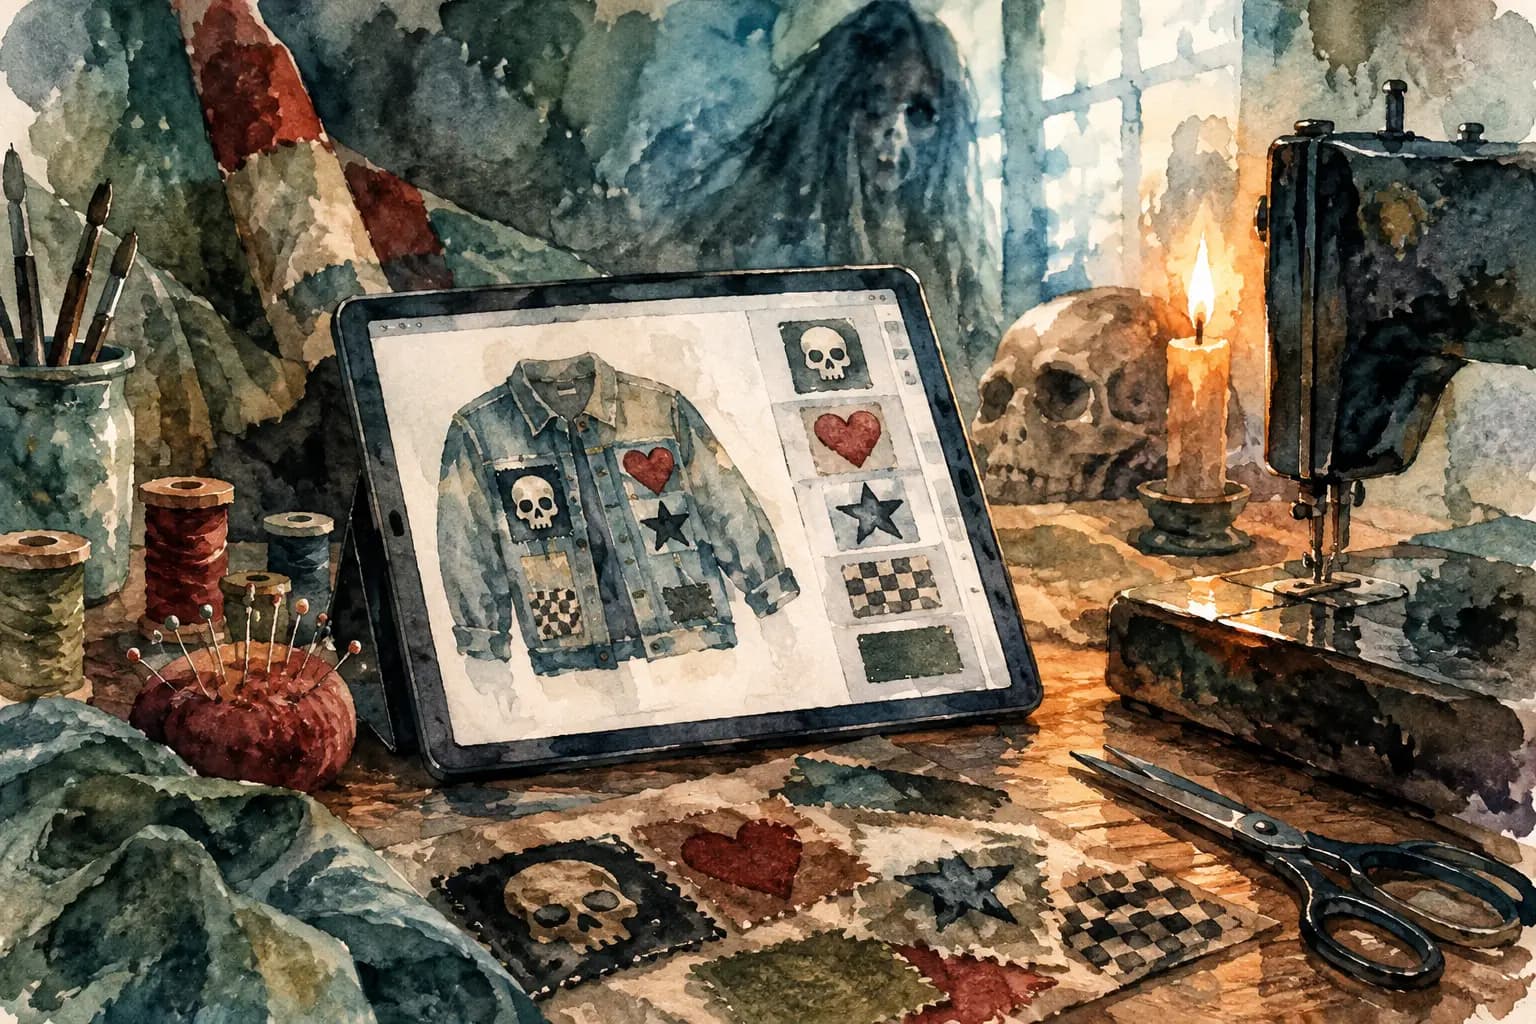
This is where a dedicated planning tool is more useful than generic image software. The Black Thread lets you choose a jacket or vest template, add patch images from your own collection or a community library, and move them around before your garment becomes permanent. You can work on front and back views, adjust scale and rotation, check contrast, and use centimeter measurements to keep the digital plan grounded in real fabric.
You do not need an account to start arranging patches. If you want to keep refining the build over time, saving the design gives you a reference when new patches arrive or when you finally set aside a night to sew.
Leave Room for the Jacket to Grow
Many first-time builders try to fill every inch immediately. That can work for a deliberately dense crust-punk style, but it can also leave no room for the band you discover next month, the patch you pick up on tour, or the one that becomes meaningful years later.
Empty space is not unfinished space. It can frame your strongest patches, make the garment easier to wear, and leave room for the story to keep changing. If you have a big collection, consider making temporary placement groups rather than forcing every patch into the first version. A jacket can evolve in chapters.
There is also a practical side to leaving gaps. Tight patch clusters are harder to sew, especially around thick seams or heavy denim. Edges can lift if too many patches overlap, and thick embroidery can make a vest stiff in places that need to bend. A little planning protects both the look and the lifespan of the build.
Turn the Design Into a Sewing Reference
When the layout feels right, save or screenshot it from both the front and back. Measure your physical patches again, because manufacturers are not always precise and handmade pieces can vary. Lay them on the actual garment before sewing to confirm that pockets, seams, and curves behave as expected.
Start with the pieces that define the layout, usually the backpatch and the largest front patches. Sew those first, then work outward. If you are using safety pins or fabric tape to hold pieces in place, try the jacket on between stages. Movement can reveal problems that a flat surface hides.
Hand sewing takes longer, but it gives you control around curved patch edges and thick material. A machine can be faster for straight, flat patches if your garment and needle can handle the layers. Neither method is more legitimate. The right choice is the one that keeps your patches secure and your jacket wearable.
Your custom battle jacket does not need to follow anyone else's formula. Plan carefully, sew what matters, and leave enough room for the next show, the next record, and the next piece of your story.