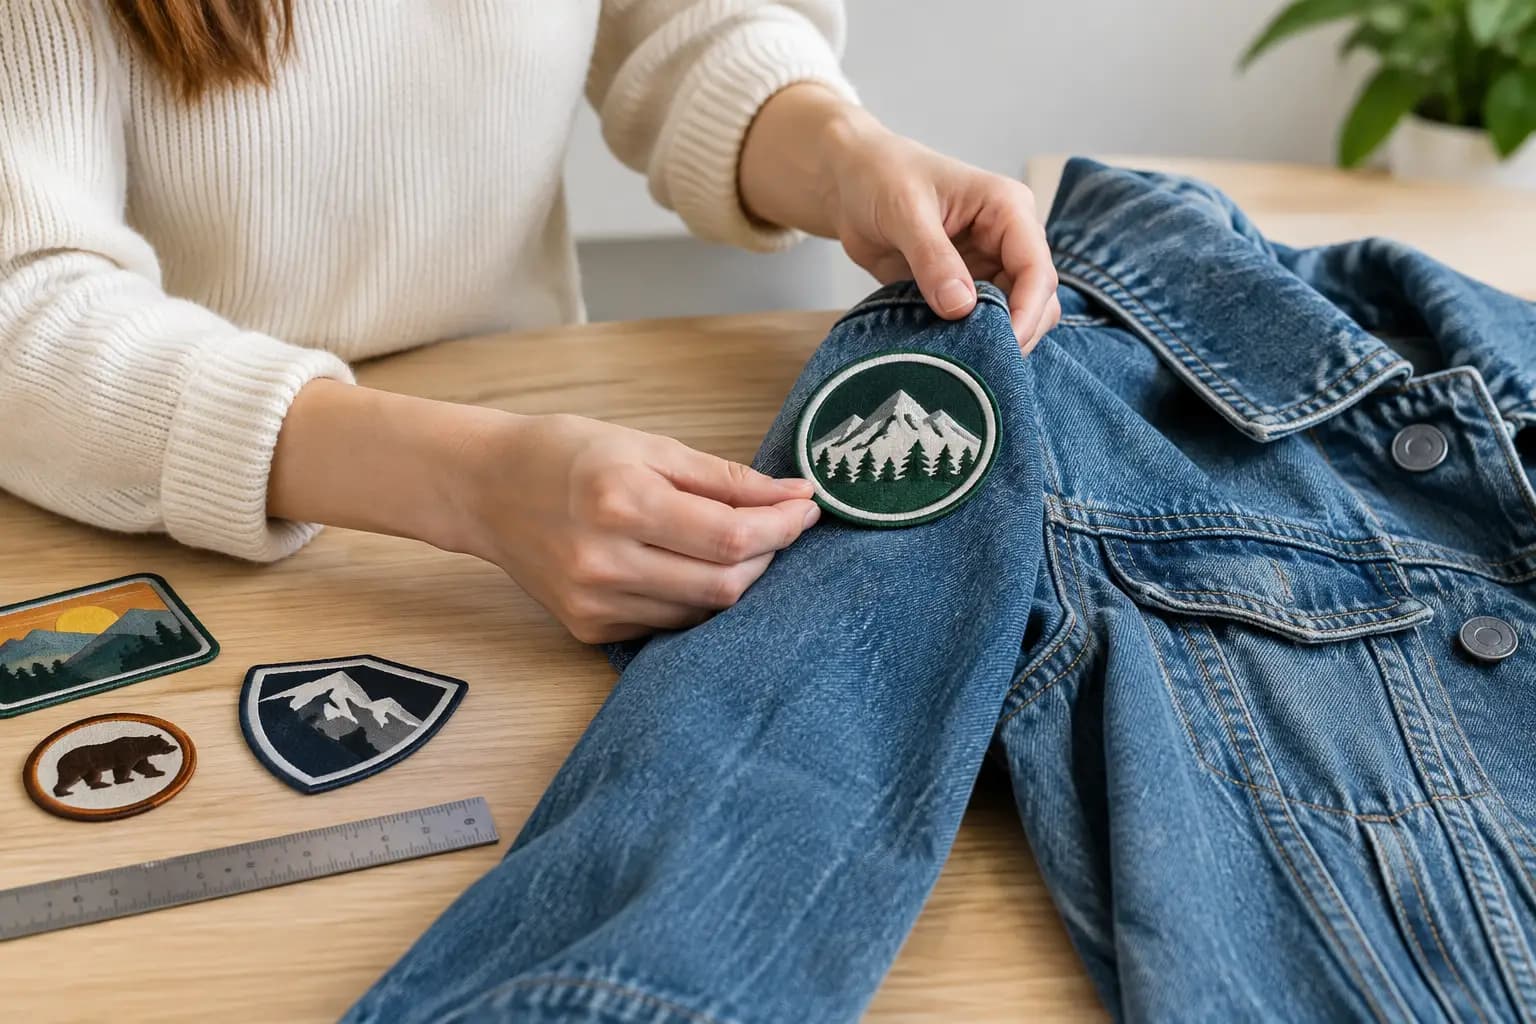
How to Measure Jacket Panels for Patch Layouts
Learn how to measure usable panel space on your jacket or vest so patches fit cleanly around seams, pockets, and curves before you sew.
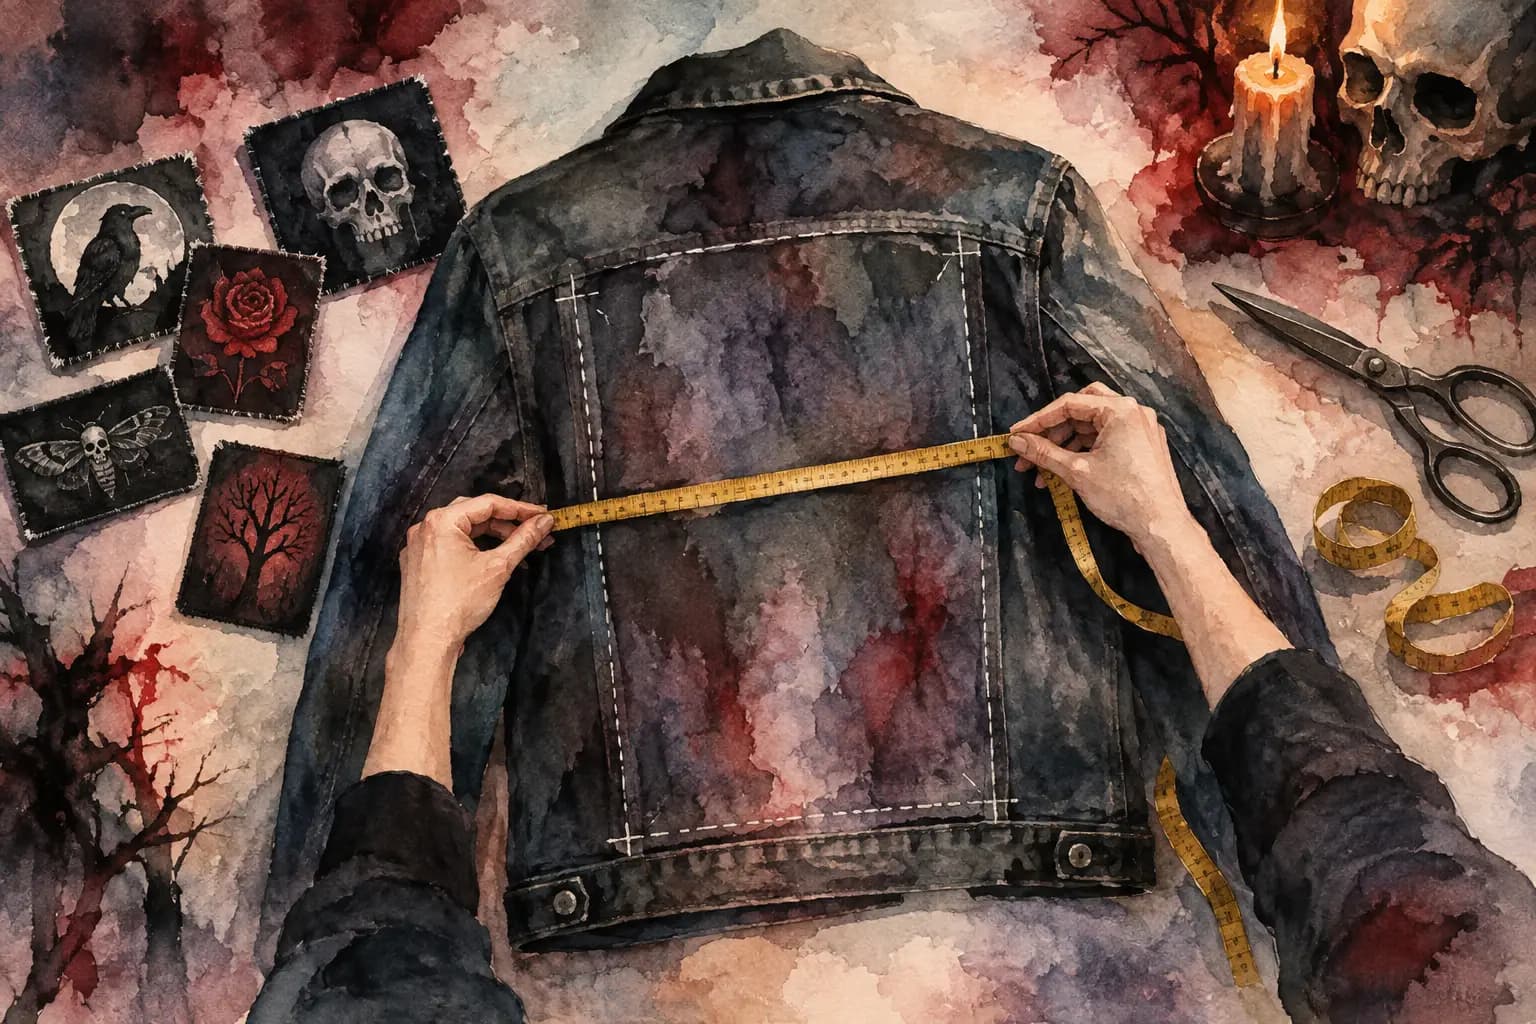
Watercolor illustration of hands measuring the back panel of a denim jacket with a tape measure, surrounded by dark-themed patches, scissors, a candle, and a skull.
A backpatch that looked perfect on your phone can turn out to be an inch too wide for the actual panel. Then you are choosing between folding the edge around a seam, cutting the patch, or starting over with a different jacket. Learning how to measure jacket panels before you sew saves patches, money, and a lot of annoyance.
You do not need tailoring skills or expensive tools. You just need to measure the usable flat space on your jacket or vest, not the whole garment. Seams, pockets, yokes, button plackets, and armholes all claim territory. Once you know where those boundaries are, you can plan a layout that looks intentional and still holds up after a hundred shows.
What counts as a jacket panel?
A jacket panel is a distinct section of fabric divided by construction seams. On a classic denim trucker jacket, the biggest one is usually the center back panel, the natural home for a backpatch. The front is broken into smaller zones: chest panels, lower body panels, and sometimes areas around or beneath pockets. A vest made by cutting off sleeves follows the same basic map, although the armholes create more usable room around the sides.
Do not treat every visible inch of denim as patch space. A panel may curve when worn, pull near a side seam, or sit directly over a pocket opening. That does not mean those areas are off limits - this is your kutte, not a uniform - but it does mean they need a more careful plan.
The goal is to find the usable patch area inside each panel. Think of this as the part you can sew through without crossing a structural seam or making the garment awkward to wear.
What you need before measuring
Lay the jacket flat on a hard surface and button it, zip it, or otherwise close it as you would wear it. Smooth the fabric gently, but do not stretch it. A flexible sewing tape is best. If you only have a rigid ruler, use it for straight edges and a piece of string for curves, then measure the string.
Keep a notepad, your phone, or a simple sketch nearby. You will want more than one number. Measure both width and height for every panel you may use, then write down the location. Photos with the measurements noted over them work well too.
For a full layout, record these areas:
- Center back panel
- Left and right chest panels
- Lower front panels
- Side panels, if your jacket construction leaves usable room
- Collar, shoulder, or yoke areas for small patches and pins
How to measure jacket panels accurately
Start with the back, because it sets the scale for everything else. Measure the width of the center back panel from the inside edge of one vertical seam to the inside edge of the other. Then measure the height from below the horizontal yoke seam to above the bottom hem seam.
That gives you the maximum size, but leave a margin. For most backpatches, keeping at least 1/4 inch clear of structural seams is a sensible minimum. A 1/2-inch margin gives you more breathing room and makes sewing less frustrating. If you want a packed, old-school patch wall, you can work closer to the seams. Just know that the garment may pucker or become harder to repair later.
On the front, measure each section separately. A chest panel might look like one clean rectangle, but the pocket flap, buttonholes, and vertical placket reduce the real space. Measure from the placket seam outward, not from the center line of the jacket. Measure from the yoke seam downward, then stop before any pocket, hem seam, or area you want to keep functional.
For lower front panels, measure around the pockets rather than assuming a patch can cover them. A patch sewn across a pocket can be a deliberate look, especially on a vest, but it turns that pocket into decoration. That trade-off is worth deciding before the needle goes in.
Measure around curves and tapered panels
Many jackets are not perfectly square. Their side seams angle inward, their armholes eat into the upper panel, and their hems sit wider than the waist. Measure the narrowest point when choosing a rectangular patch. A patch that fits at the bottom may still collide with the armhole or side seam higher up.
For odd-shaped woven patches, trace the general silhouette on paper first. Cut out the paper shape, place it on the jacket, and move it around. This is the fastest way to spot a problem with a curve, snap, pocket edge, or seam. It also lets you audition a layout without putting adhesive, pins, or holes in the denim.
Measure the patch, not just the panel
Patch dimensions are not always what sellers list. The embroidered border can make a patch wider than expected, and irregular die-cut patches need their widest and tallest points measured. Lay each patch face up and measure its actual width and height in inches or centimeters.
If a patch has a thick merrowed edge, give it a little extra room. Heavy embroidery does not bend cleanly over seams, and a large patch can distort if it is forced across a curved panel. Printed patches are often thinner and more forgiving, but they can still wrinkle if the garment pulls underneath them.
Build in room for seams, overlap, and wear
A jacket is not a flat poster board. It moves at the shoulders, bends at the elbows, creases at the waist, and stretches across the back when you reach for a drink in the pit. Your measurements need to account for that.
Keep patches away from high-stress points when possible. The middle of the back panel is usually stable. The upper front near the armhole and the lower front near the hem see more movement. Small patches can work there well, while large rigid patches may lift at the edges over time.
Overlapping patches is another choice with consequences. A small amount of overlap can create a dense, layered look and save a layout that is just a little too crowded. But you need to sew the lower patch first, and the overlap may cover lyrics, logos, or borders you wanted visible. If every patch overlaps, repairs become a hassle when one starts to come loose.
Leave extra space if you plan to add studs, chains, spikes, painted details, or pins. A panel that appears empty may be exactly where your future DIY ideas belong. Not every square inch needs filling.
Turn measurements into a real layout
Once you have panel measurements, sketch each usable area to scale. You can do this on graph paper, with paper cutouts, or in a digital planner. The important part is matching the panel proportions, not making a museum-quality drawing.
Choose one measurement system and stick with it. If your back panel is 18 centimeters wide and your backpatch is 17 centimeters wide, the fit is immediately clear. Switching between inches and centimeters halfway through invites bad math.
A digital layout tool can make this much easier, especially if you have a growing patch pile. The Black Thread lets you work with real-world centimeter measurements, resize patches, compare front and back views, and check contrast before you commit to thread. Treat the screen design as a reference, then compare it to the jacket itself before sewing, because every denim cut and every vest conversion is a little different.
When arranging patches, start with the largest piece. On most battle jackets, that is the backpatch. Place it first, then build outward with your largest chest or lower-back patches. Smaller logos, shaped patches, and filler pieces can solve the gaps afterward. Trying to place every tiny patch first usually leads to a crowded layout with nowhere for the pieces that matter most.
Check the layout while wearing the jacket
A flat measurement is your first check, not your last. Pin or tape paper templates in place, put the jacket on, and look in a mirror. Reach forward, raise your arms, sit down, and turn sideways. A patch that seemed centered on the table may sit too high once the jacket is on your body.
Pay special attention to the backpatch. It should sit centered between the vertical seams, but visual center is not always identical to mathematical center. If the jacket has an off-center label, a faded section, or a slightly uneven cut, trust what looks balanced from a few feet away.
Take a photo of the front and back. Photos reveal spacing issues that are easy to miss in the mirror, particularly when several patches have similar colors or busy artwork. A grayscale check can also help you see whether neighboring patches blur into one dark mass.
Common measuring mistakes to avoid
The most common mistake is measuring over seams instead of between them. That produces a number that looks generous but does not represent fabric you can easily sew through. The second is forgetting that a patch needs a border of space, especially a backpatch with thick embroidery.
Another mistake is copying someone else's layout without checking your own jacket cut. A Type III trucker jacket, a cropped denim jacket, a leather biker jacket, and a sleeveless vest can all wear the same patch collection very differently. There are scene conventions, sure, but there are no strict rules that matter more than whether your jacket feels like yours.
Finally, do not rush from measurements to permanent placement. Tape, pin, photograph, wear, adjust, then sew. That extra hour is cheaper than unpicking a full backpatch or replacing a patch you accidentally damaged.
Your battle vest will change over time. Leave room for the bands you have not found yet, the tour patch you have not picked up, and the strange little piece that becomes your favorite part of the whole jacket. Measure carefully now, then make it loud in your own way.