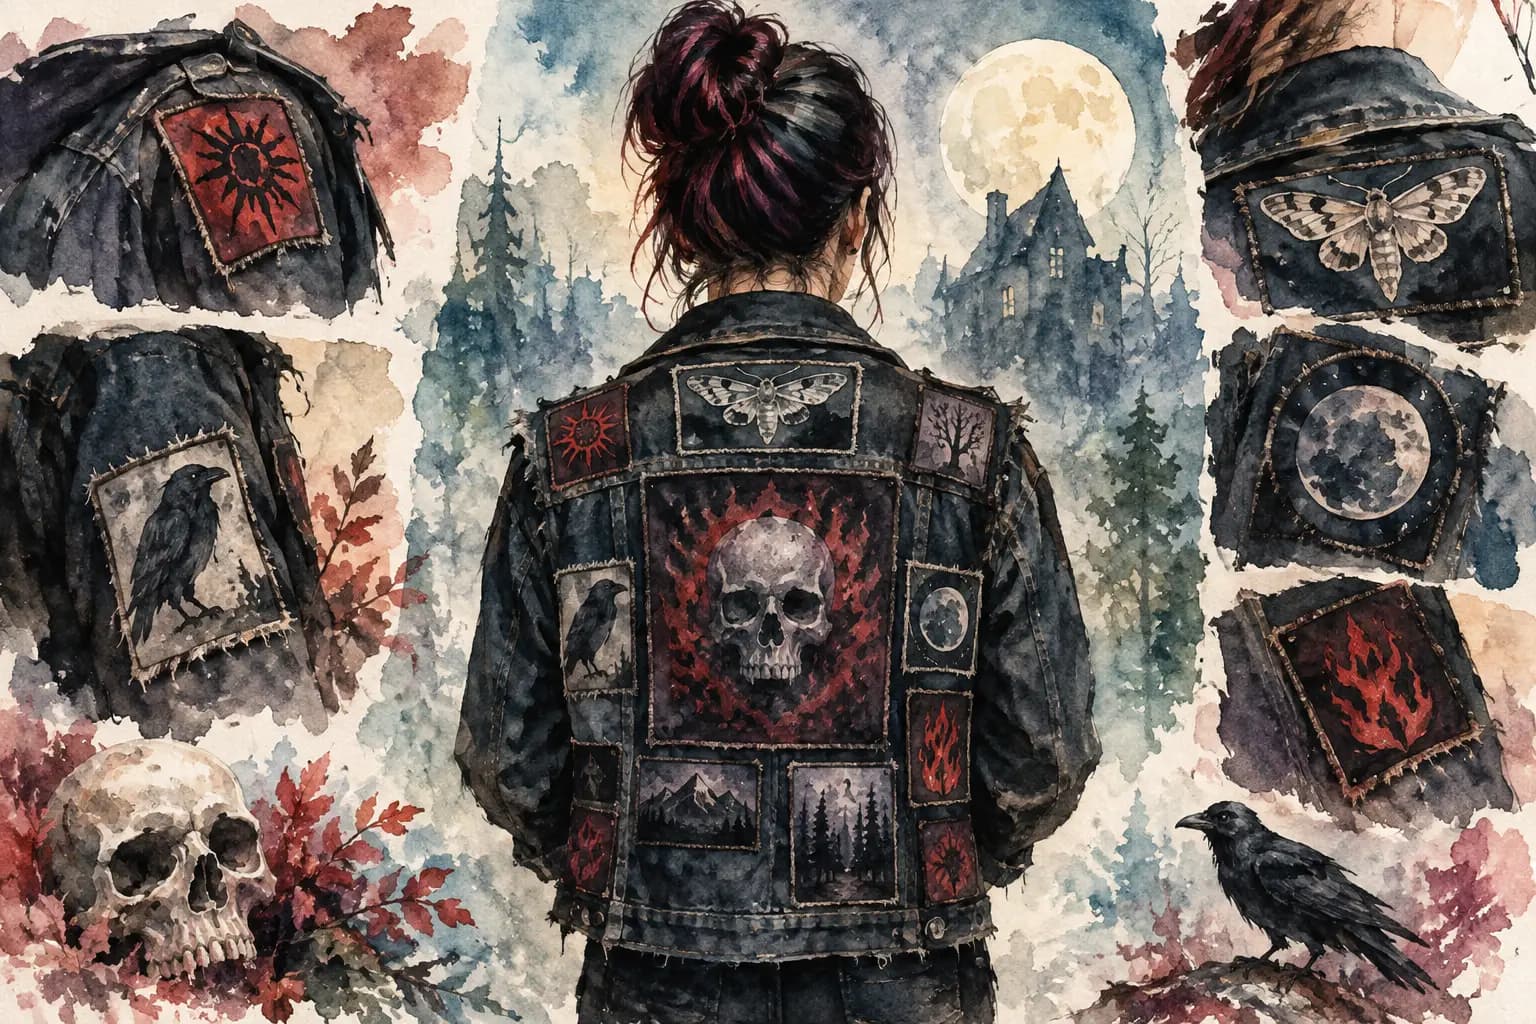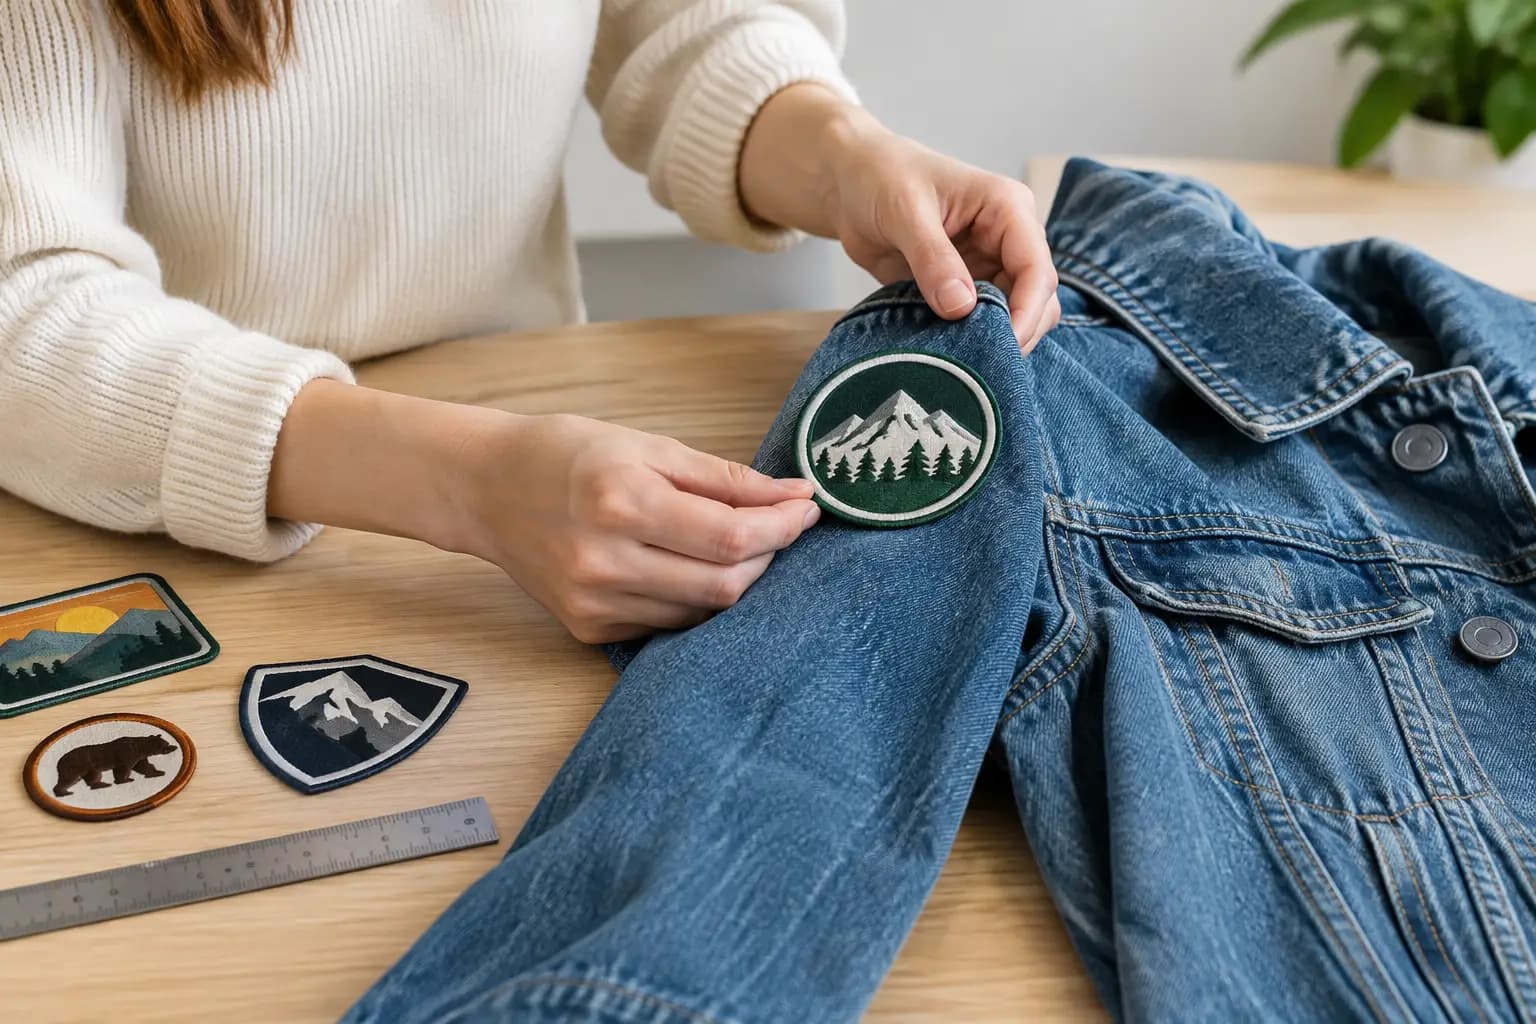
How to Plan a Backpatch That Fits Your Vest
Measure your vest first, then map the back before threading a needle, so a new backpatch anchors the layout instead of fighting the seams.
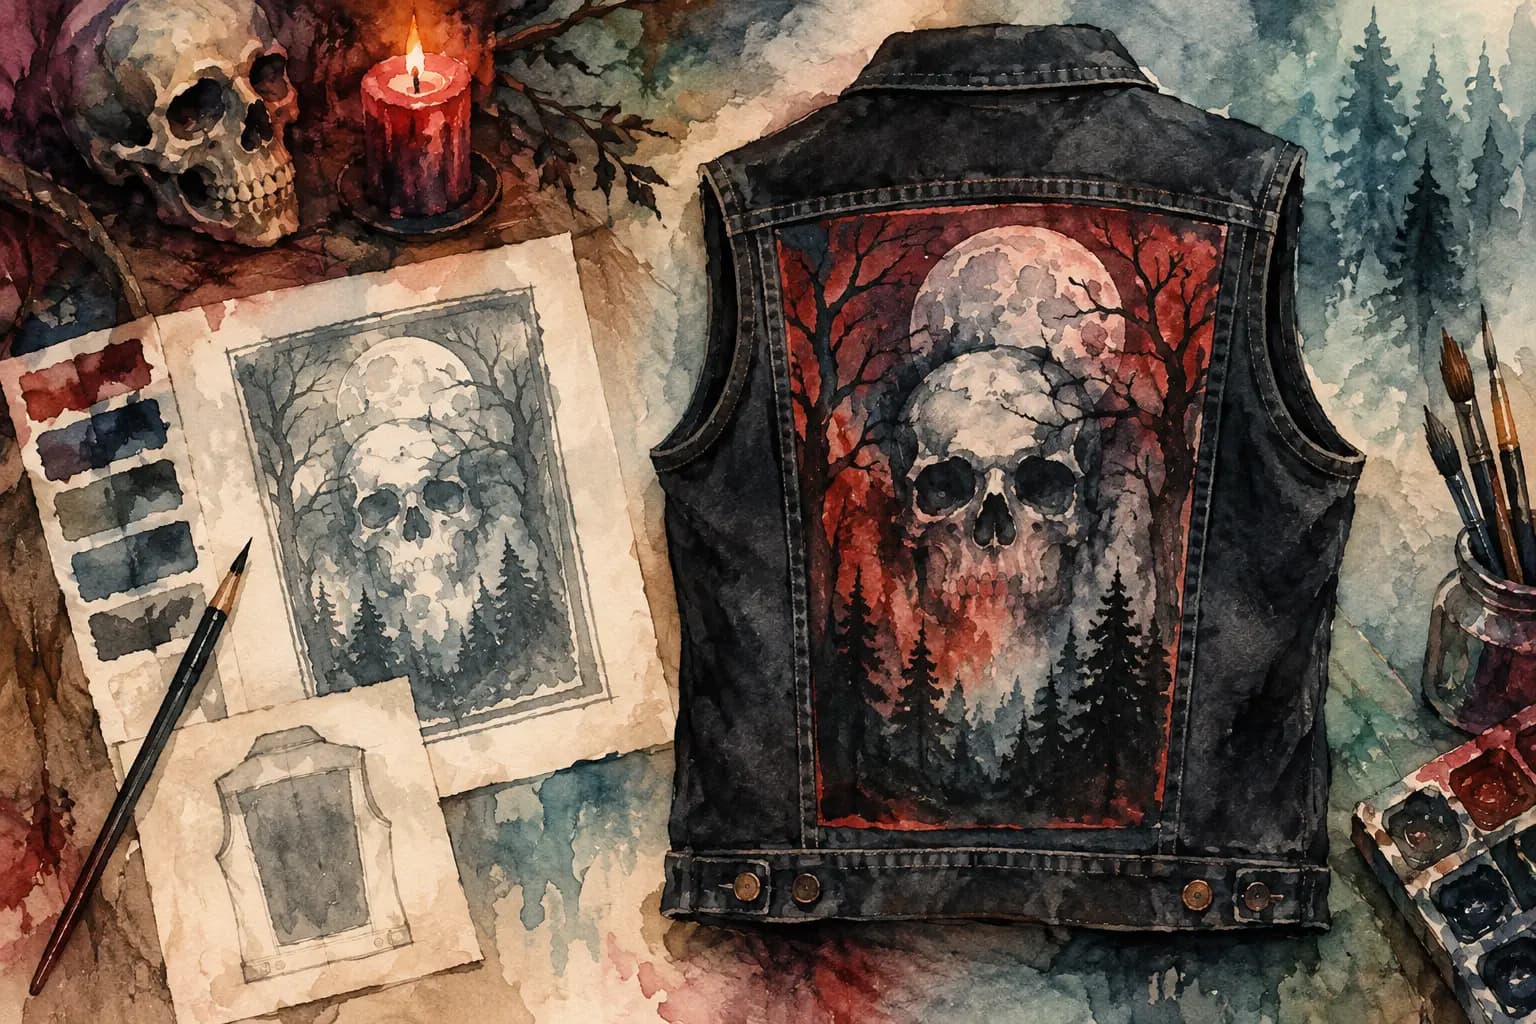
Watercolor-style illustration of a black denim vest with a skull-and-forest backpatch, next to sketches, a skull, and a candle.
A backpatch can make or break the whole jacket. It is the piece people see from across the venue, the thing that sets the tone before anyone notices your studs, chest patches, or sleeve details. Learning how to plan a backpatch before you sew means you get that impact without finding out too late that your favorite patch is too wide, too small, or fighting the seams of your vest.
There are no strict rules for a kutte. A pristine, centered logo can look right. So can a crooked, hand-cut patch with frayed edges and a few visible repair stitches. The goal is not to build a jacket that looks approved by someone else. It is to make choices that work for your garment, your patch collection, and the way you want the finished piece to feel.
Start With the Garment, Not the Patch
It is tempting to buy the biggest backpatch you can find and make it work afterward. Sometimes that works. More often, it creates problems around side seams, yokes, vents, waist tabs, or the collar. Measure your actual jacket or vest first, especially if you are working with a thrifted denim piece that has an unusual cut.
Lay the garment flat and measure the usable back panel. For most battle vests, that means measuring between the side seams rather than treating the entire width as available space. Then measure from the bottom edge of the back yoke or collar area down to the point where you want the patch to end. A patch that runs into the waistband can look intentional, but it may bunch when you sit or wear the vest over a hoodie.
Leave a little breathing room around the edges. A backpatch does not need to touch every seam to look powerful. In fact, a narrow denim border often makes the artwork easier to read and gives you room for small patches later. If you want a full-coverage look, account for the fact that the back panel is not perfectly flat when worn.
Check the Shape as Well as the Size
A standard rectangular backpatch is easiest to place, but it is not your only option. Shield-shaped, circular, die-cut, and hand-cut fabric backpatches can all work. Their placement just needs more attention.
A tall patch can create a strong vertical line on a vest with a long back. A wide logo might suit a roomy trucker jacket but feel cramped on a narrow vest. Circular patches usually need more surrounding space than rectangles because their empty corners expose more denim. That can be a feature, especially if you plan to frame them with smaller patches.
If a patch is slightly oversized, do not immediately trim it. First, see whether shifting it higher or lower solves the issue. Trimming can ruin a border, remove key art, or leave fabric that frays faster than you want. It depends on the patch material too: woven and embroidered edges behave differently from printed cloth.
Choose What the Backpatch Has to Say
Your backpatch is usually the main statement of the jacket. That does not mean it must be your number-one band of all time. It can represent a favorite record, a local scene, a political message, an artist, or simply artwork that belongs on your back.
Think about the relationship between the image and the rest of your collection. A dense black-and-white logo can anchor a jacket full of colorful patches. A detailed illustrated patch may need calmer pieces around it so the art does not disappear into visual noise. If your vest is already packed with bright thread, high-contrast shapes, and logos, a simple backpatch might bring the layout together better than another busy design.
This is where grayscale helps. Color can make two patches feel compatible on a screen, but their light and dark values may clash when viewed from a few feet away. Check your backpatch in grayscale alongside the surrounding patches. If the main design turns into a dark blob against black denim, add contrast with a lighter border, a lighter patch above it, or more visible negative space.
Plan the Full Back Before Sewing
A backpatch is not an isolated square of fabric. It creates a map for every patch that follows. Before threading a needle, decide whether you want the back to feel clean and organized, crowded and chaotic, symmetrical, or deliberately uneven.
A centered backpatch is the classic move because it naturally follows the garment's structure. It works especially well when you want matched side patches, shoulder patches, or a clean row above the main design. But an off-center backpatch can look great on a punk jacket, a vest built around odd-shaped patches, or a piece that is meant to evolve over years.
Pay attention to the areas immediately around it. The upper back is usually ideal for a rocker patch, a narrow logo, or a small row of band patches. The sides can hold vertical patches, tour strips, or weird shapes that would get lost on the front. The lower back is useful space too, but do not fill it blindly. Leaving one area open gives you room when you find the patch that absolutely has to go on the jacket six months from now.
Avoid treating every open gap as a problem. A packed vest can be incredible, but patch density should look chosen rather than accidental. If the backpatch is highly detailed, a border of tiny patches may crowd it. If it is minimal, smaller surrounding patches can make it feel more substantial.
Mock Up the Layout at Real Size
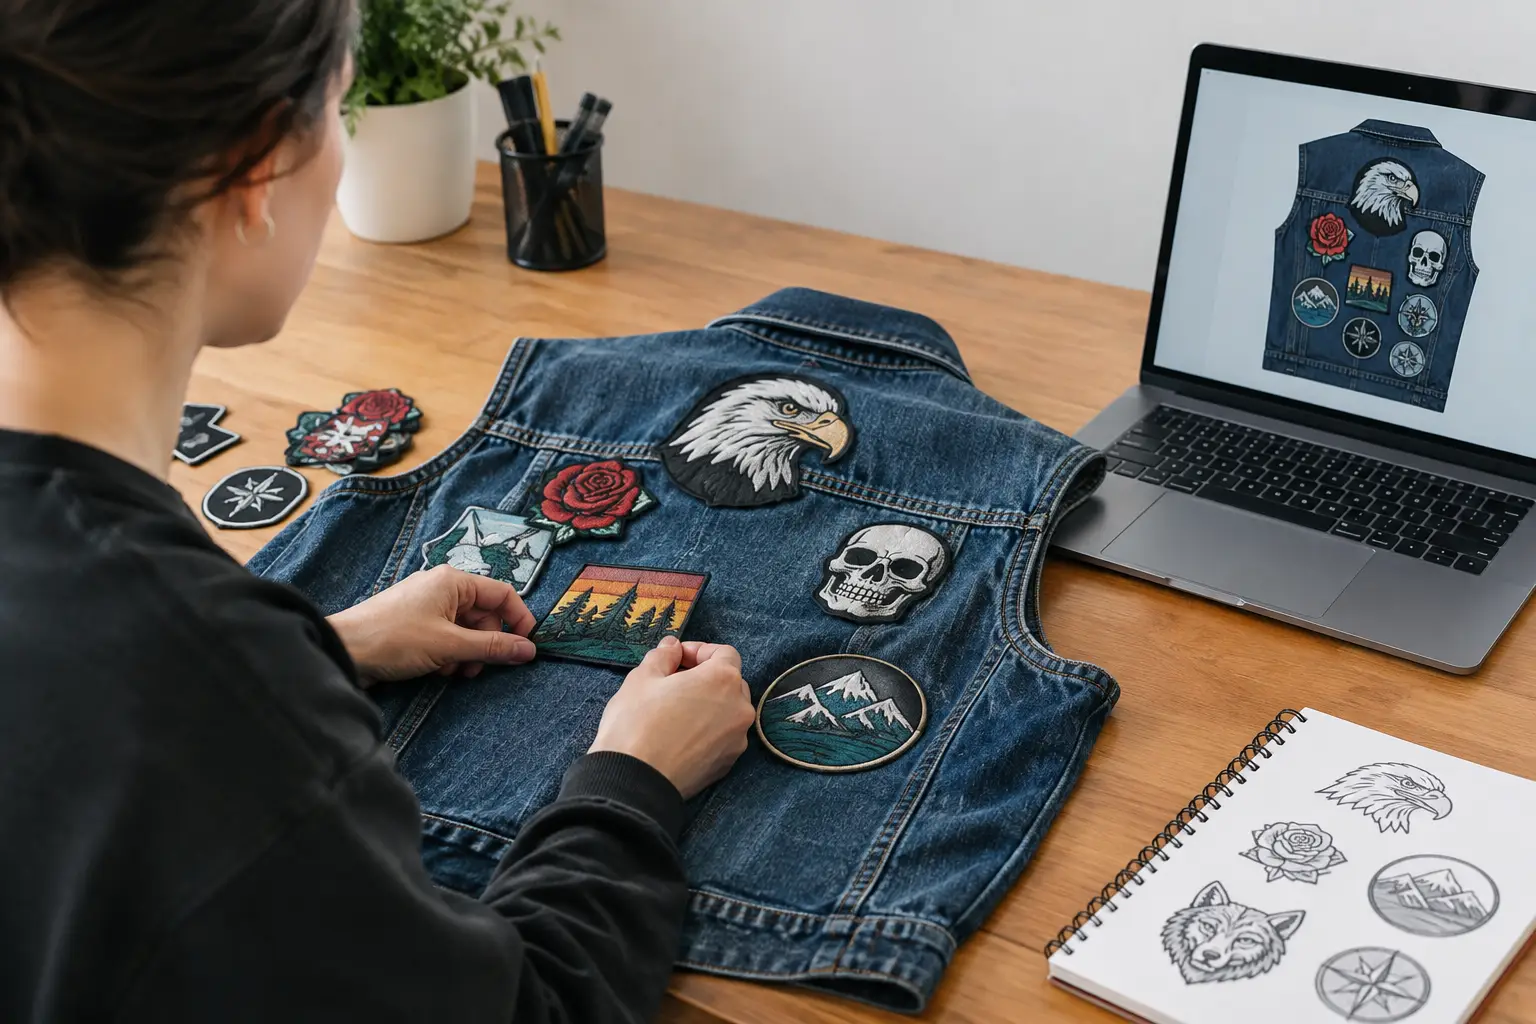
Paper templates still work. Trace your backpatch shape onto paper, cut it out, and tape it to the vest. Step back from it, put the garment on, and check it in a mirror. This quick test reveals whether the patch sits too low, pulls toward one side, or disappears under your hair.
A digital layout makes the process easier when you are comparing several patches or deciding between jacket colors. In The Black Thread's Battle Jacket Builder, you can choose a realistic jacket or vest template, upload your patch images, and arrange them on front and back views before making anything permanent. Use centimeter measurements to match your physical garment, then scale and rotate each patch until the layout resembles the real thing.
Do not judge placement only from a close-up view. Zoom out or look at the whole jacket on screen. Your backpatch should read first, then the surrounding areas should reward a closer look. If everything is shouting at the same volume, reduce the size of nearby patches or create a little more separation.
Test Placement Before You Commit
Once you have a design you like, pin or baste the backpatch in place. Safety pins are fast, but use enough of them that the patch cannot shift while you try on the garment. A few long basting stitches are even better if the patch is heavy or the denim is stiff.
Wear the jacket standing up, sitting down, and with whatever you normally layer underneath. A patch can look centered on a flat table but pull sideways across your shoulders. Check whether it catches on a hood, folds over a waistband, or feels uncomfortable against a chair. This is also your chance to see whether the placement still works with the jacket open from the front.
Before sewing, run through four practical checks:
- The patch clears seams, vents, pockets, and waistband hardware.
- The design looks centered or intentionally off-center when worn.
- Nearby patches have enough room to be added later.
- The fabric lies flat without puckering or pulling.
If something looks wrong at this stage, change it. Moving pins takes minutes. Unpicking a long line of stitching through heavy denim takes much longer and can leave visible needle holes.
Sew for the Life the Jacket Will Actually Have
Battle jackets get dragged through crowds, stuffed into cars, worn in rain, and washed only when absolutely necessary. Your backpatch needs stitching that can handle that life. Use a strong needle, durable thread, and small, close stitches around the full edge. Heavy patches may benefit from extra stitches at corners or points where the fabric wants to lift.
Hand sewing gives you more control around thick seams and awkward shapes. A sewing machine can be faster on a flat rectangular patch, but it may be frustrating if your jacket has bulky hardware or a narrow opening. There is no prize for using one method over the other. Use the method that lets you keep the patch flat and secure.
Let the patch become part of the jacket, not just something attached to it. A slightly imperfect stitch line, a visible repair, or an old patch layered over another can carry more character than a factory-clean finish ever could. Plan carefully, then leave room for the jacket to change with you.