Patch Library Organization Guide for Your Kutte
Learn how to sort, measure, store, and photograph your patch collection so you can plan a layout with confidence.

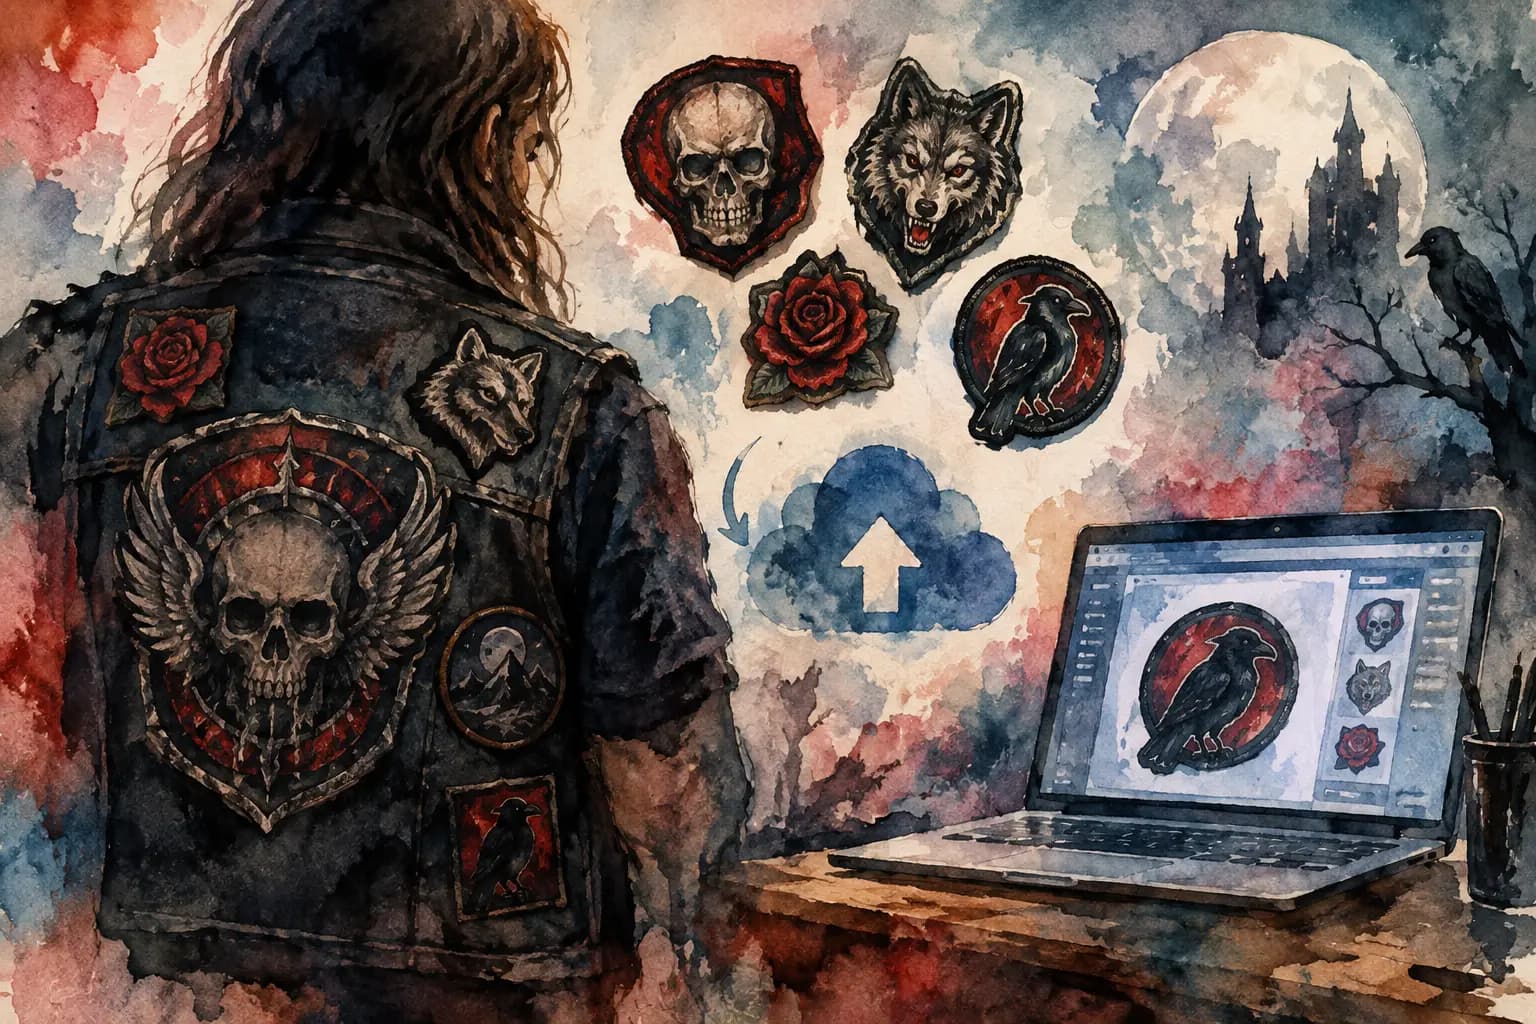
Watercolor-style illustration of an open wooden patch storage box beside a denim battle vest covered in skull, wolf, and raven patches, with a moonlit ruined castle in the background.
A patch pile starts out exciting. Then it becomes a shoebox full of folded embroidery, duplicate logos, mystery measurements, and that one perfect patch you cannot find when it is time to plan your vest. This patch library organization guide is for getting control of the chaos without turning your collection into a sterile catalog. The goal is simple: know what you own, protect the good stuff, and make it easier to build a jacket that feels like yours.
Start With One Honest Patch Sort
Put every patch in one place before you create categories. That means the envelope from the last show, the patches pinned to an old jacket, the stack waiting beside your sewing kit, and the pieces you bought because they looked cool but have not earned a spot yet.
As you sort, make three broad groups: patches for a current build, patches you definitely want to keep, and patches you are willing to trade, sell, or pass on. Do not overthink this first pass. A patch does not need to be assigned to a specific jacket to deserve a place in your collection.
This is also when you spot the stuff that needs attention. Separate loose threads, curled edges, water damage, and adhesive-backed patches that have started collecting dust. A rare vintage piece may need a protective sleeve before it goes anywhere near a crowded drawer. A cheap duplicate can live in your trade stack without taking up premium storage space.
Organize by How You Actually Choose Patches
There is no single correct filing system. Some metalheads build around genres, others around favorite bands, scenes, tours, or memories. The useful system is the one that matches how you make decisions when planning a battle vest.
For most collections, a few practical categories work better than trying to give every patch its own ultra-specific label:
- Backpatches and large-format pieces for the visual anchor of a jacket.
- Band patches grouped by artist, genre, or scene if your collection is big enough.
- Shape and format such as woven rectangles, embroidered cut-outs, shields, circles, and strips.
- Non-band patches including political statements, horror art, skate graphics, military surplus, local businesses, and personal symbols.
- Build status for patches reserved for a current jacket, saved for a future project, or available to trade.
You can combine categories when needed. For example, keep all your large patches together physically, then note the band, dimensions, and genre in a simple inventory. This prevents the classic problem of discovering too late that your planned side panel patch is actually too wide for the space.
Try not to organize only by color. Color matters when building a layout, but it is a frustrating way to find a specific patch later. Use it as a secondary note instead. A black-and-white logo patch might work on three different jackets, while the band name is what you will remember first.
Measure Patches Before They Become a Problem
Patch listings are not always accurate, and real patches can stretch, curl, or arrive slightly smaller than advertised. Measure the height and width of every patch you are seriously considering for a build. For shaped patches, measure the widest and tallest points.
Write measurements in inches if that is how you work, but centimeters are especially useful for jacket planning because they make small spacing differences easier to compare. You do not need a complicated database. A note on your phone, a spreadsheet, or an index card can do the job.
For each patch, track five useful details: band or design, dimensions, shape, condition, and where it is stored. If a patch is reserved for a particular project, add that too. A quick note like “7.5 x 10 cm, woven, black/red, drawer B, front left candidate” can save you from unpacking your entire library later.
Measurements matter most around the back, chest, and side seams. A patch that looks modest in your hand can crowd a pocket flap, overlap a zipper, or vanish next to a huge center backpatch. Planning with real dimensions lets you make those calls before the needle comes out.
Store Your Patch Library So You Can See It
Visibility is half the battle. If patches are piled on top of each other, the pieces at the bottom effectively do not exist. Flat storage works best for most collections because it protects shape and makes browsing quick.
Clear photo boxes, shallow drawers, trading-card binders with larger pockets, or archival document sleeves can all work. The best choice depends on how many patches you own and how often you pull them out. A binder is great for small woven patches and strips. Large backpatches need flat sleeves or folders so they do not stay creased.
Avoid storing patches in damp basements, hot cars, or direct sunlight. Heat can weaken old glue and warp plastic storage, while moisture can cause staining or mildew. If you have vintage patches, keep them away from anything with fresh adhesive, paint, or questionable thrift-store smells until you know it is clean and dry.
You can also make a “working tray” for your current vest. Keep only the patches under active consideration there. This creates a useful boundary between the jacket you are building now and the hundred possibilities waiting for another day.
Photograph What You Own
A basic photo inventory is one of the best upgrades you can make to your patch library organization. Lay patches flat against a plain background, take a clear photo, and name the image so you can find it again. Include the band name and size in the filename if possible.
You do not need studio lighting. You need honest images that show border shape, colors, and wear. Photographing patches also gives you a record of the collection for insurance, trades, or the painful event of something getting lost at a show, during a move, or in a borrowed jacket disaster.
Once you have photos, you can test layouts without dumping your whole collection on the floor. The Black Thread lets you upload patch images, scale them using real-world measurements, rotate them, and move between the front and back of a jacket or vest. It is a low-risk way to see whether your favorite pieces actually fit together before you commit with thread, glue, or a sewing machine.
Build Around Placement, Not Just Patch Favorites
The strongest patch libraries do not just collect designs. They help you make better placement choices. When you are planning a jacket, start with the pieces that have the least flexibility: the backpatch, large chest patches, wide strips, and anything with an unusual outline.
Then work outward. Front panels usually need room for pockets, snaps, seams, and the way the jacket folds when worn. A vest gives you more open territory, but it still has armholes and side seams that can distort a patch if you force it too close. Leather can be less forgiving than denim, especially with thick embroidered borders.
Leave some breathing room. A dense patch wall can look incredible, but only if the shapes and values still read from a few feet away. Check your layout in grayscale when you can. If every patch becomes the same dark block, a white logo, red detail, or light border may be what gives the whole piece structure.
There are exceptions. A deliberately chaotic crust-style vest does not need neat symmetry, and a punk jacket may look better when the patches feel collected over time rather than mapped like a grid. Organization is not about making every kutte orderly. It is about giving yourself enough information to choose your mess on purpose.
Make Room for Change
Do not reserve every good patch forever. A library should be alive, not a museum of future plans. If a patch has sat in your “maybe” stack for years, ask whether you would rather trade it for something that fits your current taste or build.
At the same time, keep a small personal archive. First-show patches, gifts from friends, retired jackets, and pieces tied to a specific era of your life do not need to compete for real estate on your next vest. They can simply be part of the story.
A well-organized patch collection gives you more than a cleaner drawer. It gives every new find a place, every jacket a clearer direction, and every future build a reason to start taking shape.