Punk Vest Designer for Better Patch Layouts
Learn how to lay out patches digitally before you sew, checking scale, contrast, and layout hierarchy for a battle vest that holds together front and back.
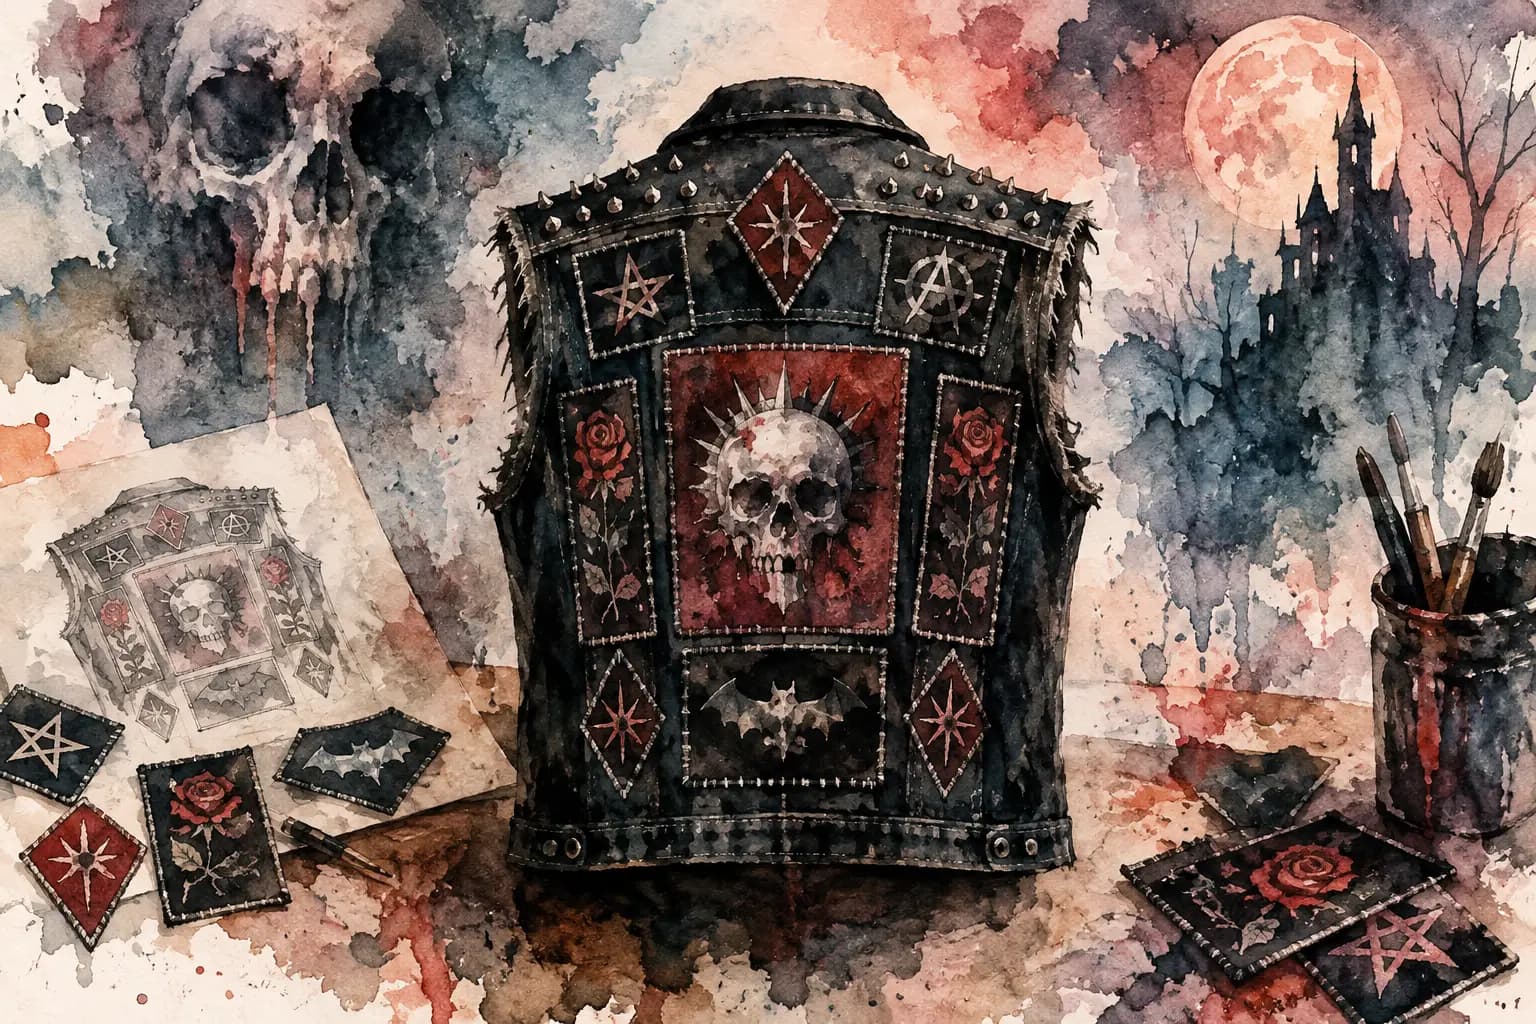
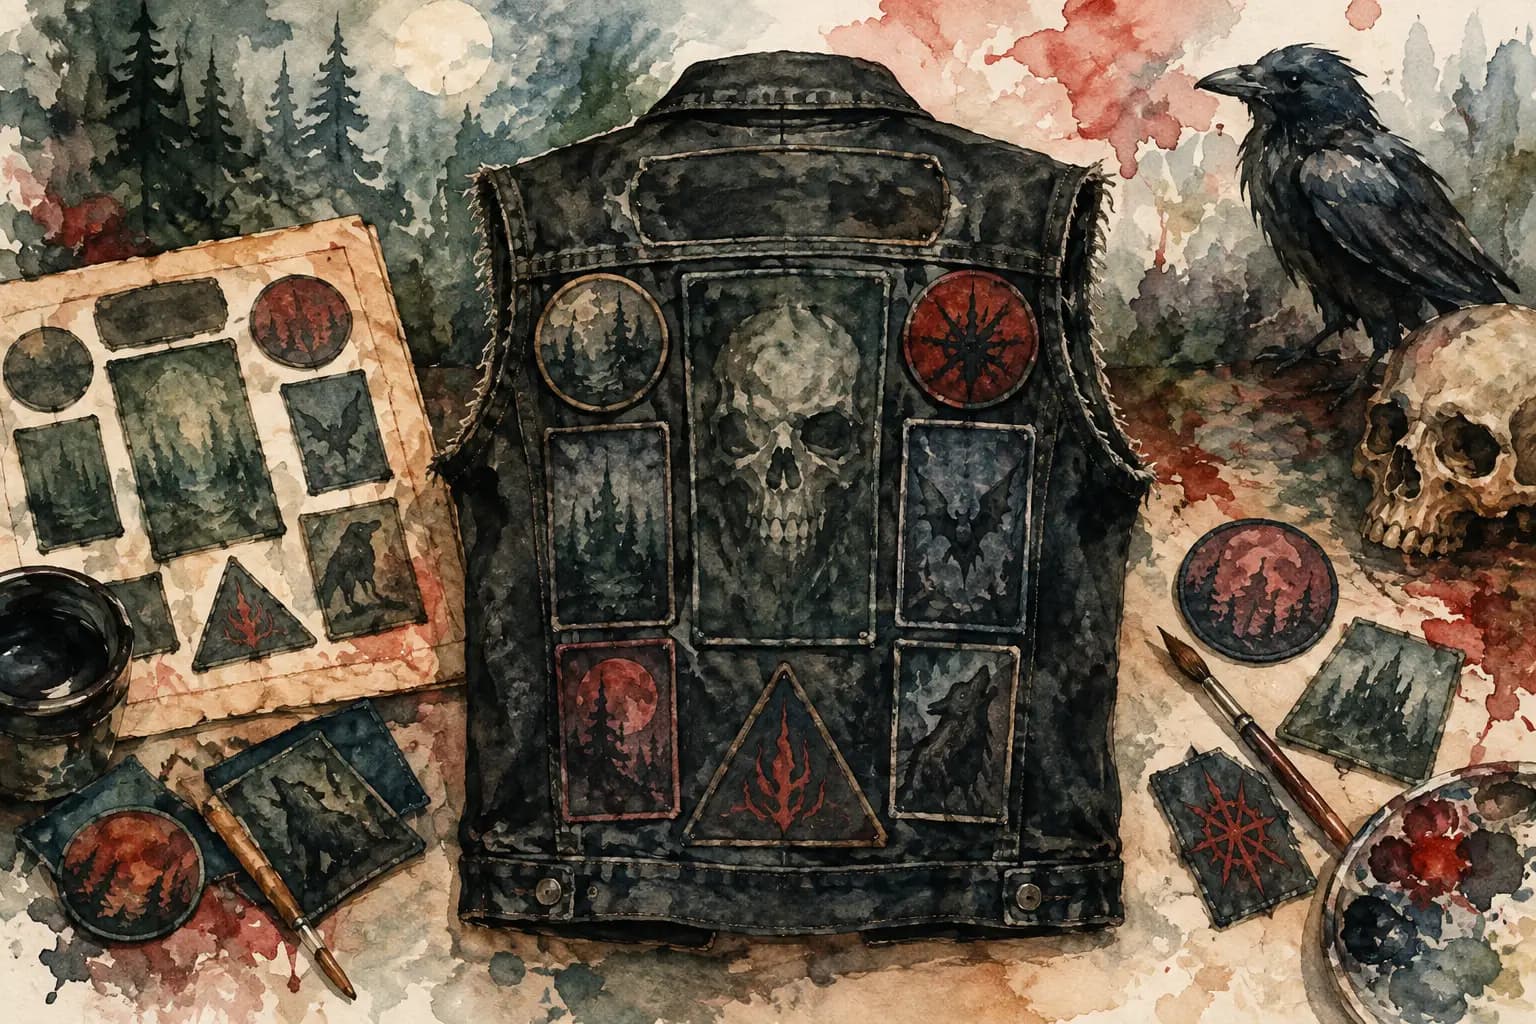
Watercolor illustration of a studded black punk vest with a skull, rose, bat, and pentagram patches, next to a sketch, loose patches, and paintbrushes.
A punk vest designer is not about making your battle vest look too polished or following somebody else's rules. It is about seeing the whole garment before the needle hits denim. A patch that looked perfect loose on your floor can disappear beside a large backpatch, crowd a pocket seam, or throw off the balance of the front. Planning first lets you make those calls without wasting patches, thread, or a perfectly good vest.
Your kutte is still yours. Whether you want a disciplined grid of studs and woven logos, a wall-to-wall crust-punk collage, or a nearly bare vest with a single massive backpatch, there are no strict rules. There are, however, practical choices that make the finished piece easier to wear, sew, and keep building over time.
A Punk Vest Designer Catches Problems Early
A physical vest gives you one chance at every placement decision. You can remove a patch later, but the outline of old stitches, faded denim, glue residue, and needle holes may stay behind. That history can look great when it is part of the story. It is less great when it comes from realizing your favorite patch was two inches too high.
Start by choosing a garment that is close to the one you will actually customize. A sleeveless denim vest, a full denim jacket, and a leather jacket all create different boundaries. Pockets, seams, panels, lapels, and collar shape affect where patches can sit flat. The front may offer less uninterrupted space than you expect, especially if you still want functional pockets.
Then work from the largest piece outward. Your backpatch usually establishes the visual center of the whole build. Place it first, check how much denim it leaves around the edges, and consider whether you want the surrounding space for small patches, studs, painted details, or nothing at all. A backpatch does not always need to fill the entire back panel. A little breathing room can make a strong design hit harder.
The front needs its own plan. Chest patches often work best when they respect pocket lines and button plackets instead of fighting them. A rectangular patch may sit cleanly above a pocket, while a circular one can bridge an awkward gap. If you wear pins, buttons, or a chain across the front, leave enough clear space so those details do not bury your patches.
Build a Layout With a Clear Hierarchy
A battle vest can be loud without being visually confusing. The difference is hierarchy: give the eye somewhere to land, then let it move across the details. That focal point may be a backpatch, a painted panel, a large embroidered logo, or an intentionally strange cluster of mismatched patches.
Think about patch size before you think about filling every empty inch. Large patches carry weight. A few medium patches create rhythm. Tiny woven logos and strips are useful for seams, lower panels, and small gaps, but they can turn into visual static if every available space gets the same treatment.
Color matters too, even on an all-black build. A red-and-white patch will pull attention from across the room. Bright thread, fluorescent ink, white borders, and reflective fabric all behave like visual volume knobs. If one patch is meant to be the statement, make sure nearby patches do not accidentally compete with it.
A grayscale preview is useful here. Without color, you can see whether the layout still has contrast. Two patches may be totally different shades in person but merge into one dark block from a few feet away. That may be exactly the look you want for a black-metal-heavy vest. If you want individual logos to stay readable, move similar-value patches apart or add a lighter border between them.
Rotation is another decision worth testing rather than guessing. Slightly angled patches can make a vest feel active and handmade. Too many severe angles can make it look like everything is sliding off. Straight rows feel deliberate, while uneven placement can feel raw and lived-in. Neither is automatically better. It depends on the bands, the garment, and the energy you want the piece to carry.
Leave Room for the Vest to Grow
Not every vest needs to be finished this month. In fact, many of the best battle jackets change for years as shows, tours, trades, and new favorite records add to the story. Leaving intentional open spaces is different from simply running out of patches.
Keep future additions in mind around the lower back, side panels, and areas near the shoulders. Avoid placing a valuable patch so close to a seam that you will have no way to add another piece beside it later. A digital plan makes this easier because you can test a packed-out version and a version with room to breathe.
Use a Punk Vest Designer Like a Sewing Reference
Once your layout feels right, the next job is translating it to the real garment. This is where real-world measurements matter. A patch can look appropriately sized on a screen but be wildly wrong if you do not compare it to the actual vest panel. Check the dimensions of the garment and patch, then use a ruler or measuring tape when you lay everything out physically.
The Black Thread lets you choose a jacket or vest template, add your own patch images or patches from a community library, and move them across front and back views before you commit. Scale, rotation, centimeter measurements, and contrast checks turn the design into a practical reference rather than just a nice mockup. You can start building without an account, while saving designs gives you a record you can return to when the next patch arrives.
When it is time to assemble, do not rely on memory. Screenshot or save your final layout, then recreate it on the garment with masking tape, safety pins, or fabric clips. Put the vest on before sewing. Look in a mirror, sit down, move your arms, and check whether a patch on the shoulder or chest folds in a weird way. What works on a flat surface does not always work on a body.
For the backpatch, find the true center line of the vest first. Fold the garment carefully or measure from the side seams so the patch does not end up slightly crooked. Some people love a deliberately off-center patch, but that should be a choice, not a surprise discovered after the final stitch.
Make the Plan Yours, Not Precious
A digital layout is a tool, not a commandment. Once you begin pinning real patches to real denim, texture changes things. A thick embroidered patch may sit higher than a thin printed one. Old denim may have faded areas that look better uncovered. A patch you expected to use might feel wrong the second it touches the vest.
Let the physical garment have a say. Adjusting the plan is part of the craft. What matters is that you are changing it because you can see a better direction, not because you had no way to test the layout in the first place.
The best battle vest is not the one that follows a checklist. It is the one that still feels like yours after a year of shows, rain, sweat, bad parking lots, new records, and a few more patches than you originally planned for. Start with a layout you can trust, then leave enough room for the story to keep getting louder.