How to Upload Custom Patch Images for Your Kutte
Upload your own patch photos to test layout, scale, and placement before you commit needle to denim.
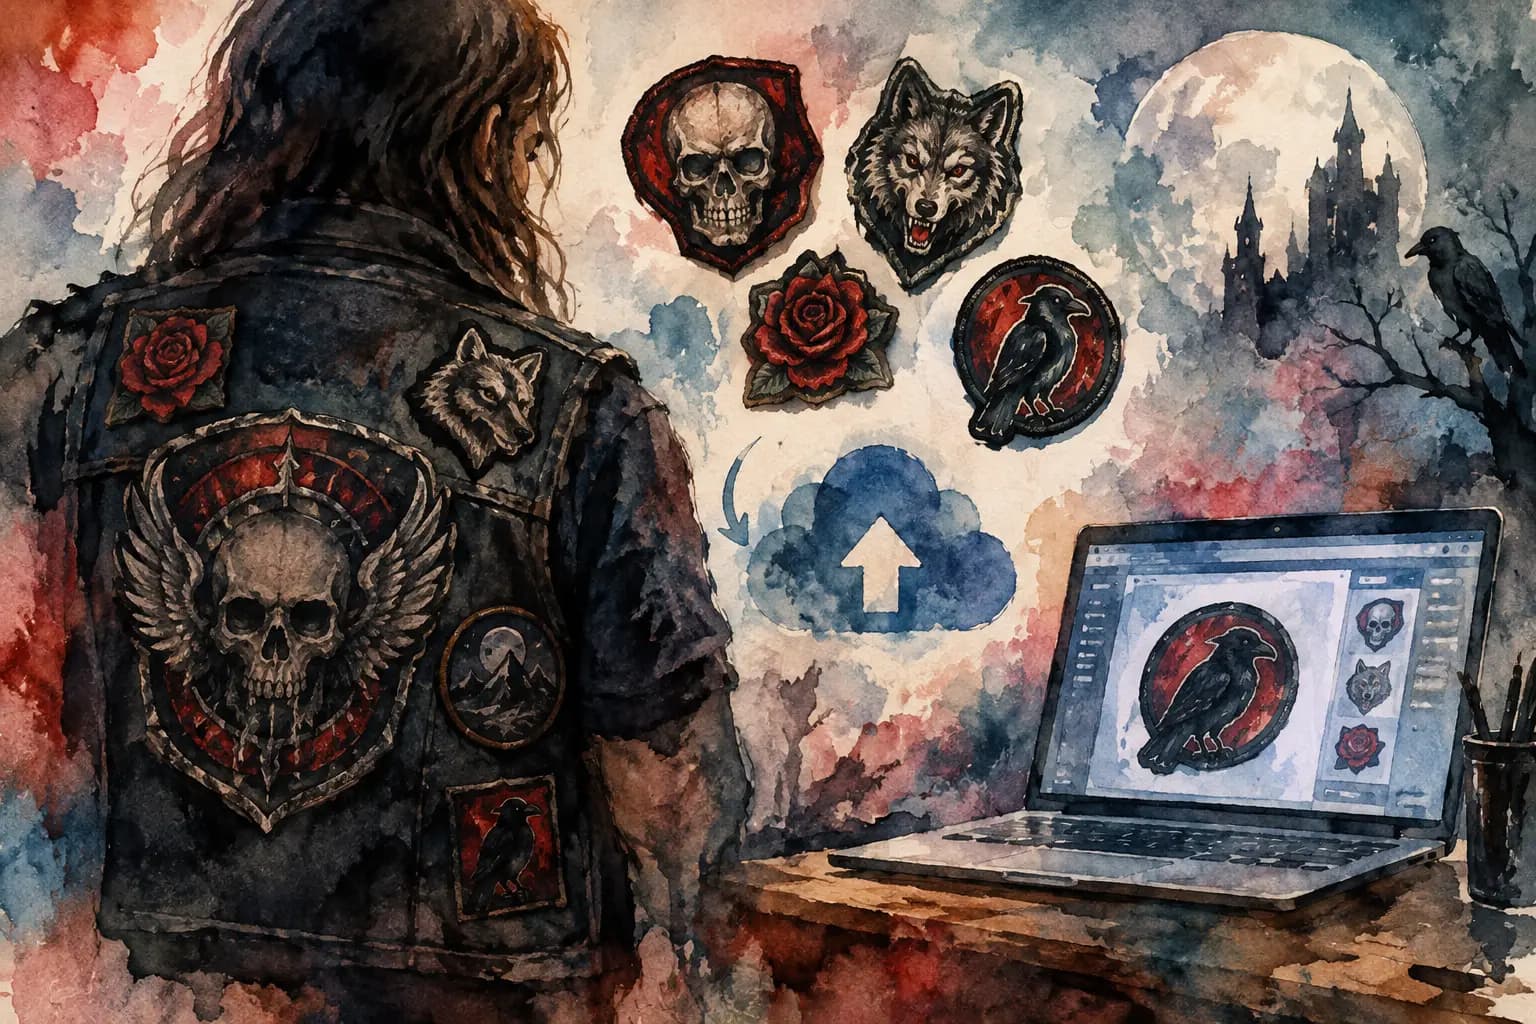
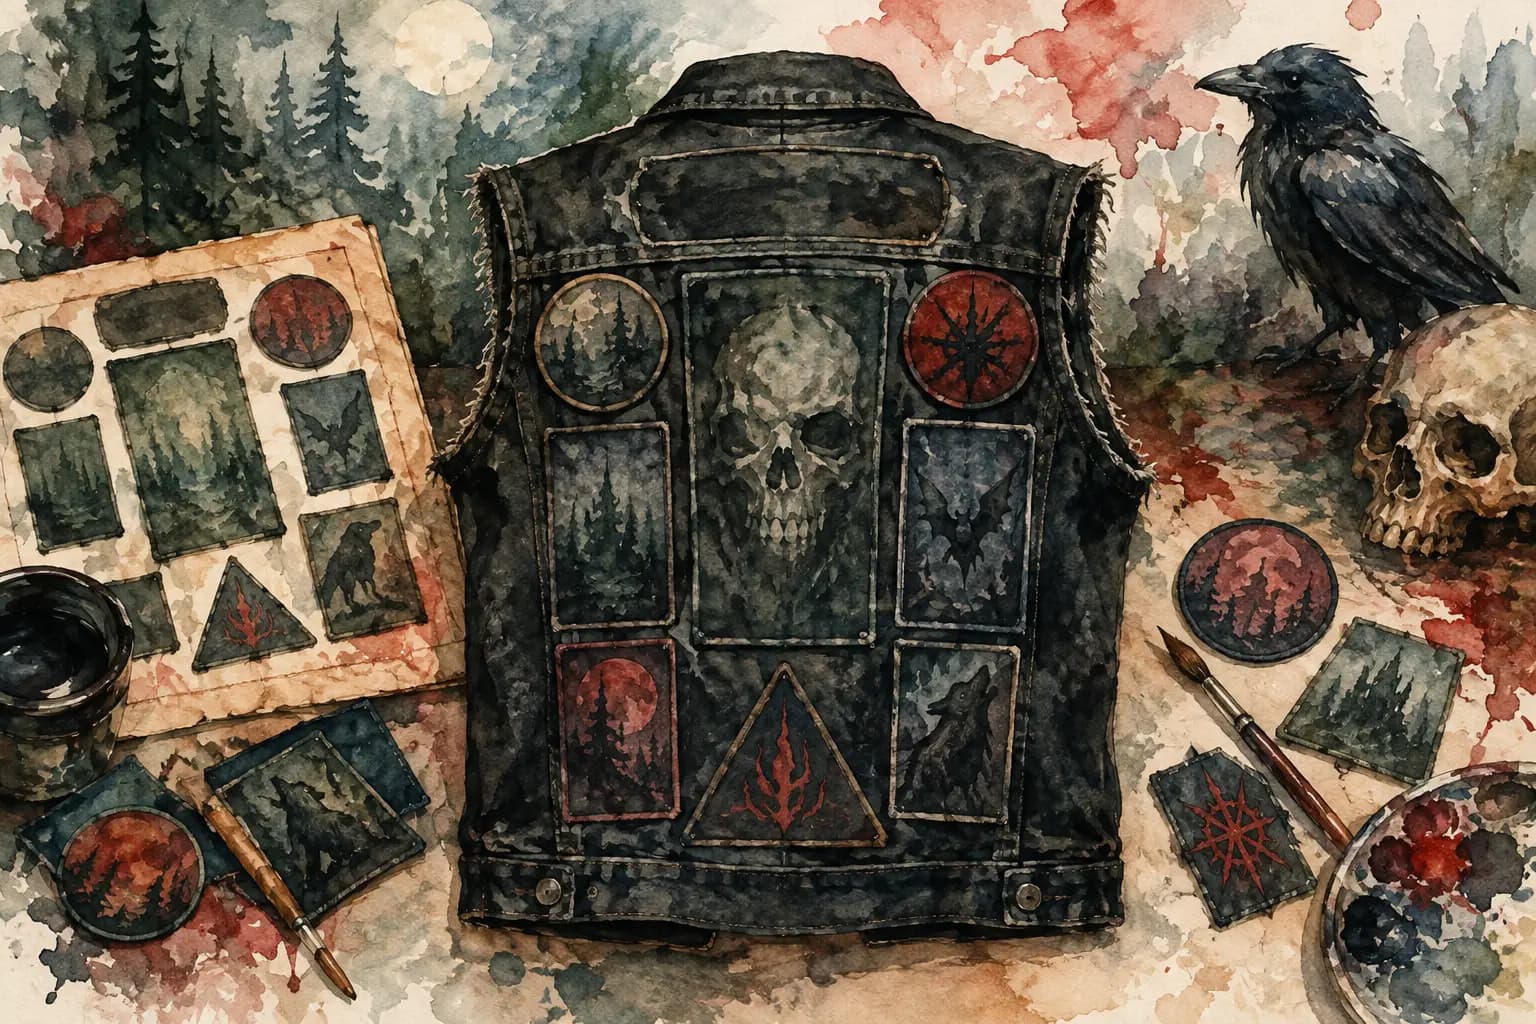
Watercolor illustration of a denim battle jacket covered in skull, wolf, and raven patches, beside a laptop showing patch-upload design software.
A patch can look perfect on your desk and completely wrong once it lands on denim. That is why it helps to upload custom patch images before you start sewing: you can see whether your backpatch dominates the vest in the right way, whether chest patches compete for space, and whether that oddly shaped logo actually works beside a pocket.
A battle jacket is personal, but it is also physical. Patches have borders, thickness, awkward cuts, and real measurements. Planning with your own images gives you a better read on the finished kutte before you make holes in a jacket you spent good money finding.
Why Upload Custom Patch Images Before Sewing?
Community patch libraries are useful when you are testing ideas, but your own collection is what needs to fit. Maybe you picked up a limited tour patch, made a bootleg with friends, or have a hand-painted piece that does not exist anywhere else. Uploading an image lets you design around the exact patch you own rather than a rough substitute.
It also makes layout decisions less expensive. A large woven backpatch may look manageable until you place it against the actual back panel of a vest. A row of rectangular patches may seem balanced until you realize one is twice as tall as the others. Seeing those proportions early is far easier than unpicking heavy thread later.
This is not about following a rigid set of battle vest rules. There are no rules that matter more than making a jacket that feels like yours. The point is to make intentional choices, whether you want a clean, organized layout or a dense wall of bands, scenes, and memories.
Get Your Patch Image Ready
You do not need studio photography to plan a jacket well. A clear phone photo usually works, especially if the patch is laid flat in even light. Put it against a plain surface that contrasts with its edges. Dark patches are often easiest to photograph on a light background, while white or pale embroidery reads better against something darker.
Shoot the patch from directly above whenever possible. Angled photos can make a square patch look trapezoidal, which leads to misleading spacing when you place it on a jacket template. If you only have an angled shot, it can still help with general composition, but do not trust it for exact alignment.
Crop tightly enough that the patch is the focus, while leaving a little breathing room around the edge. Avoid including your fingers, a cluttered table, or another patch in the frame. Those extra details can obscure the outline and make placement harder to judge.
For patches with transparent-looking backgrounds, such as cut-out logos or embroidered lettering, a photo with a clean background is especially useful. You may not get a perfectly isolated image, but you can still see the true shape and decide whether it needs a black fabric backing once it is sewn on.
Measure the Real Patch, Not Just the Photo
Images show shape and color. Measurements tell you whether the patch will actually fit.
Before adding a patch, measure its widest point and tallest point in centimeters. For a circle, measure straight across its diameter. For an irregular cut, measure the maximum width and height, including any border you plan to sew down. Write those numbers down or keep the patch beside you while you design.
A photo of a 4-inch patch and a photo of a 10-inch backpatch can appear similar in size on a screen. Real-world dimensions prevent that mistake. If your builder shows centimeter measurements, use them as a reality check while scaling each uploaded patch.
Add Your Patches and Build From the Largest Piece
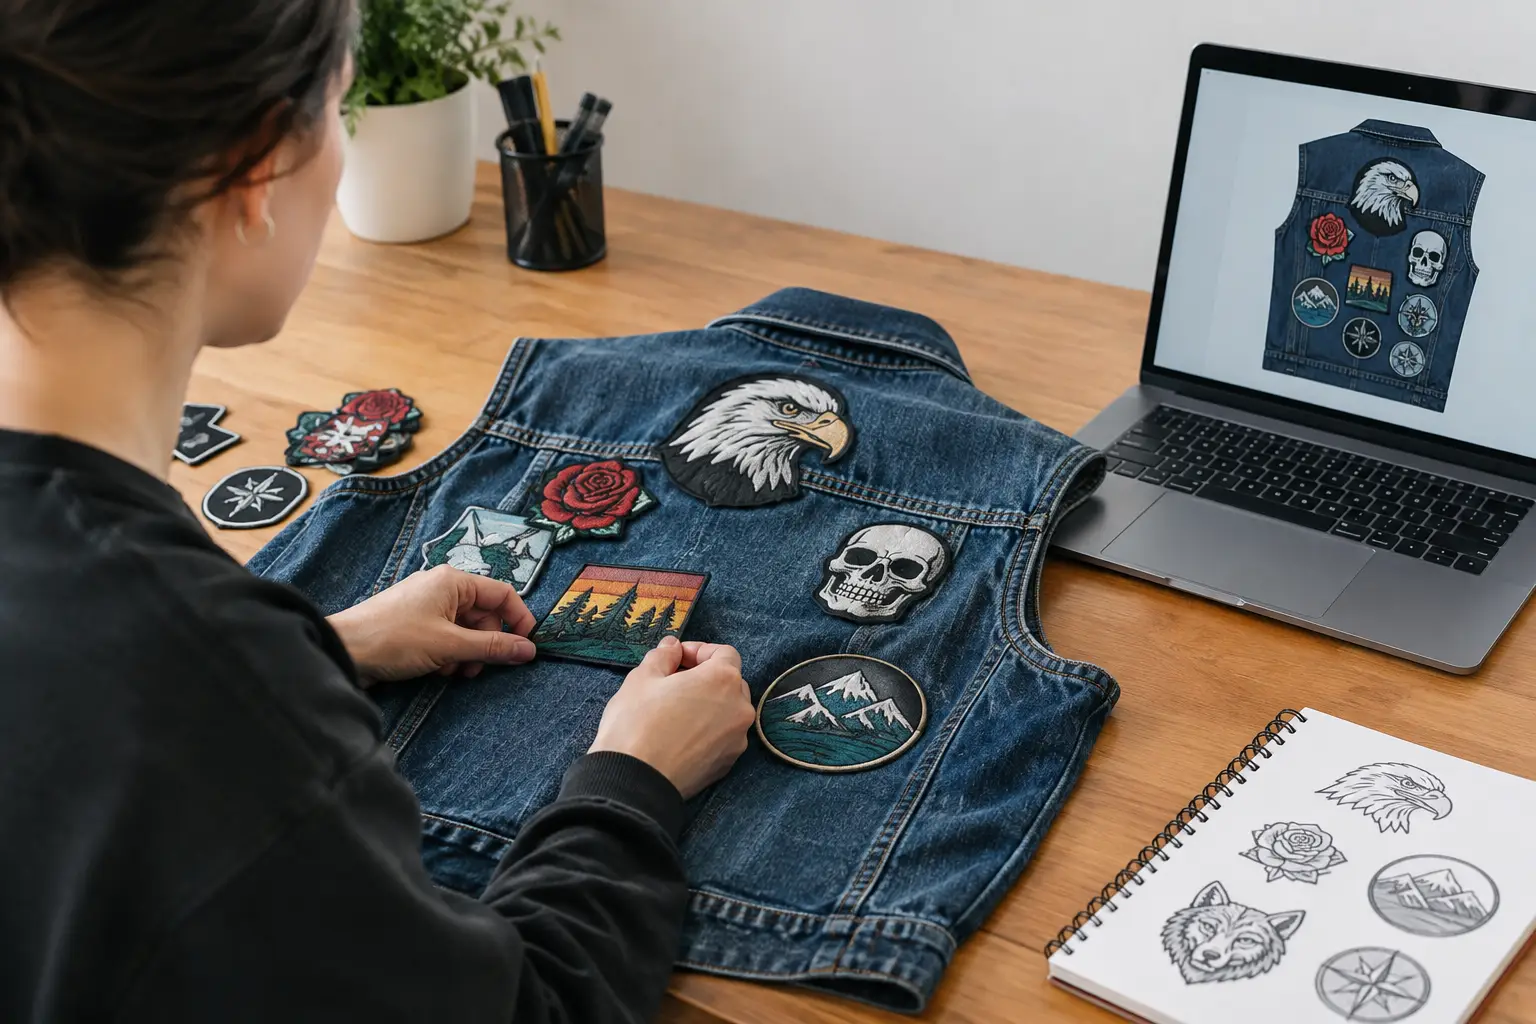
In The Black Thread's Battle Jacket Builder, start by choosing a denim jacket, vest, or other garment template close to the piece you plan to customize. Color matters more than people expect. A black-on-black patch may be visible enough on faded blue denim but disappear on black denim unless its stitching catches the light.
Then add your custom image and place it roughly where you expect it to live. Start with the largest or least flexible patch first. For most metalheads, that means the backpatch. It sets the center of gravity for the entire back and determines how much room remains for side panels, bottom rows, and shoulder pieces.
Once the backpatch is in place, add patches that have natural homes: chest patches, shoulder patches, name strips, or long rectangles that work along seams. Leave the small squares, circles, and weirdly shaped finds for later. Those are the pieces that can solve gaps without forcing your major patches into bad positions.
Use drag-and-drop placement for the broad composition, then refine it with scaling and rotation. A slight rotation can make an angled logo feel deliberate rather than crooked. On the other hand, rotating every patch can make a layout feel busy fast. It depends on the look you want and the actual condition of the jacket. A battered vest often suits more visual chaos than a crisp new jacket.
Check Both Sides of the Garment
Do not let the back consume all your attention. The front has practical limits: pockets, buttons, lapels, snaps, and areas that bend every time you move. A patch that looks great over a chest pocket may be annoying in real life if it stops the pocket from opening or catches when you put the jacket on.
Switch between front and back views as you build. Think about what the jacket looks like when it is open, zipped, buttoned, or worn over a hoodie. If you are working with a leather jacket, remember that thick seams and stiff panels can further limit where a needle will go.
A useful test is to give both sides one clear focal point. The back might have the main band statement. The front might have a strong chest patch, a cluster of smaller favorites, or room left intentionally bare. Not every inch needs coverage.
Use Color and Grayscale to Catch Problems
A full-color view tells you whether the jacket feels like you. A grayscale preview tells you whether the design still has structure.
Two patches can have completely different colors but nearly identical brightness. Put them side by side and they may blur into one visual block from a few feet away. Grayscale makes that easier to spot. If a dark patch disappears into the denim, you can move it, add a contrasting border, or place a lighter patch nearby to create separation.
This does not mean every patch needs high contrast. Low-contrast black metal layouts, faded punk denim, and all-black crusty vests can look excellent. The question is whether the low contrast is a choice or an accident. Planning lets you decide.
Leave Room for Sewing Reality
Digital placement is the plan, not the garment. Before committing, account for seams, pockets, lining, and the space needed to stitch around a patch. Most patches need a small margin around their edges, especially if you sew by hand. A layout with zero space between pieces may look tight on screen but become difficult once thick borders and uneven denim enter the picture.
Save a reference image of the layout before you start. If you are using a free account, save the design so you can return to it after a patch order arrives, a trade changes your inventory, or you decide that one logo belongs somewhere else. You can begin planning without an account or a download, then save and revise when you are ready.
It is also smart to test the big pieces physically. Lay the backpatch on the jacket, add a few surrounding patches without sewing, and take a photo from several feet away. Your eye catches different issues when the denim is real and hanging vertically.
Common Questions About Custom Patch Uploads
What image format should I use?
Use a common image file that is clear enough to show the patch edges and artwork. High resolution is helpful, but you do not need a massive file for planning. A clean, well-lit photo usually matters more than a complicated edit.
Can I upload hand-painted patches or DIY fabric pieces?
Absolutely. Photograph them flat, measure them at their widest and tallest points, and use those measurements when you scale the image. DIY pieces are often irregular, so leave a little extra room in the layout for their real edges and stitching.
Should I make every patch the exact real-world size?
For a final sewing reference, yes, as close as you can. For early experimentation, you can adjust sizes slightly to test compositions. Just do not fall in love with a layout until you have checked the measurements against the actual patches.
What if my patch image has a background?
That is fine for planning. A plain background will be less distracting, but it does not need to be perfect. Focus on placing and sizing the patch accurately, then remember that the physical patch edge is what will show on the jacket.
Your jacket will change as you find new bands, go to more shows, trade with friends, and decide what you want to represent. Keep the plan flexible enough to grow with you. The best time to upload an image is before the needle goes through the denim - and the second-best time is before the next patch forces you to rethink the whole layout.