How to Size Patches for Jacket Placement
Learn realistic patch dimensions for the back, chest, and sleeves so every piece fits its zone before you commit to sewing.
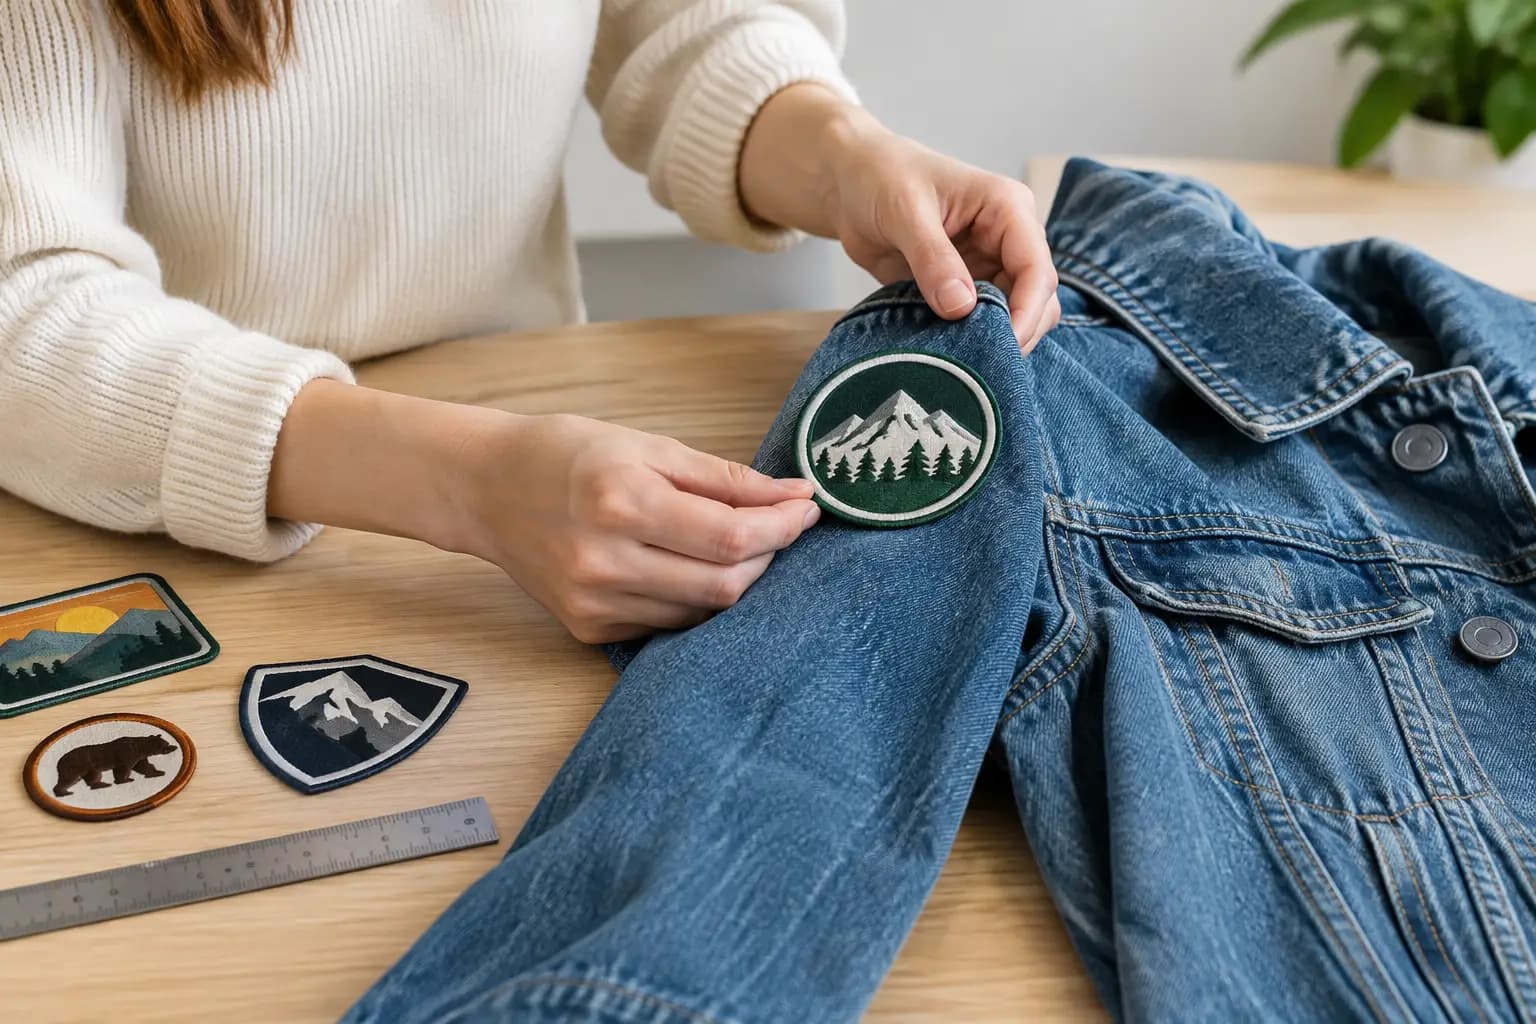
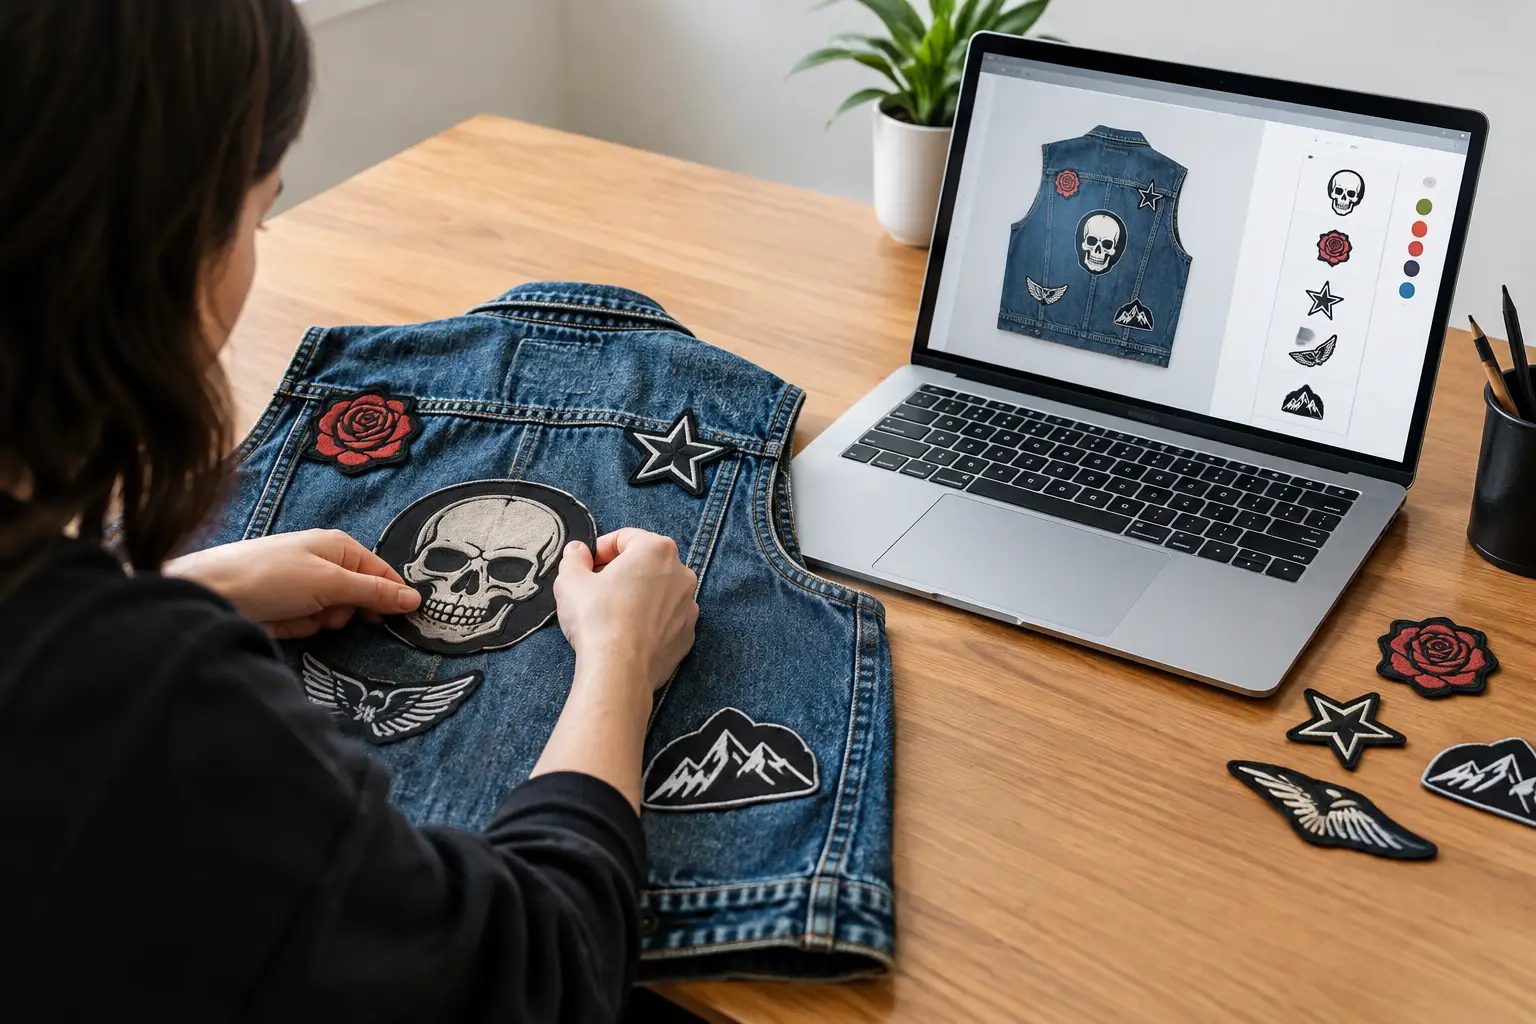
Close-up of hands sewing a circular mountain patch onto a denim jacket sleeve, with more patches laid out on the table.
A patch can be perfect on its own and still look wrong once it hits denim. That is usually not a patch problem - it is a scale problem. Learning how to size patches for jacket layouts means looking at the whole garment, not just the empty space in front of you. Your favorite band logo needs room to breathe, your backpatch needs to command the back, and the smaller pieces need to support the layout without turning it into visual static.
There are no strict rules for a battle vest or kutte. A jacket covered edge to edge can look brutal. So can a nearly bare black denim jacket with one huge backpatch and a few carefully chosen chest patches. But planning size before you sew saves you from crooked rows, swallowed-up logos, and expensive patches that never quite fit where you imagined.
Start With the Jacket, Not the Patch
Patch measurements only make sense in relation to the garment. A 12-inch-wide backpatch may dominate a small vest but look undersized on a roomy trucker jacket. Before deciding what belongs where, measure the usable panels of your jacket in centimeters or inches.
For the back, measure across the area between the side seams and from the yoke down to the waistband. Do not assume the entire back is available. Seams, pleats, vents, belts, and hardware can all affect where a patch can lie flat. On the front, measure each chest panel separately. A jacket’s buttons, zipper, pocket flaps, and angled seams take up more territory than most first-time builders expect.
Try the jacket on, too. Fabric shifts around the shoulders, chest, and ribs when worn. A patch that looks centered on a jacket laid flat can sit too high, too low, or too far toward one side once it is on your body.
Use the backpatch as your scale reference
For most battle jackets, the backpatch is the visual anchor. A typical large backpatch is often around 10 to 14 inches wide and 12 to 16 inches tall, though shapes vary wildly. Woven backpatches, printed fabric panels, and custom-cut pieces all behave differently.
Leave a small border between the backpatch and the jacket seams. An inch or so of visible denim around the edges often keeps the patch from looking cramped, but this depends on the garment and the look you want. If you plan to add shoulder patches, a bottom row, or a patch border around the centerpiece, reduce the backpatch size accordingly.
A huge patch does not always make the strongest back. If it runs into the arm seams or bunches over a center pleat, a slightly smaller piece with clean edges will look better and be easier to sew. The goal is not to fill every millimeter. It is to make the back look intentional.
How to Size Patches for Jacket Zones
Think of your jacket as a set of different-sized stages. Each zone can handle a different patch format, and matching the patch to the zone makes the finished layout feel more balanced.
Back panel
The back takes the biggest statement piece. Use your largest rectangular, shield-shaped, or custom-cut patch here. If you skip a traditional backpatch, you can build a collage, but choose one dominant image or logo so the design still has a focal point.
Medium patches around the backpatch are commonly 3 to 6 inches across. Small logos, mini woven patches, and 1-inch buttons can fill tight gaps, but do not add them just because space exists. Too many tiny elements around a large centerpiece can make it look like it is being crowded.
Chest panels
Chest patches are usually smaller than people expect. A rectangular patch around 3 by 4 inches is substantial on a chest panel, while a 1.5- to 3-inch logo patch can sit neatly above or beside a pocket. If your jacket has large chest pockets, use the pocket flaps as a guide rather than fighting them.
Name patches, band logos, and short text work well here because they are readable at close range. Reserve oversized graphics for the back unless you deliberately want an unbalanced, aggressive front. That can work, especially for punk jackets, but it should be a choice rather than an accident.
Shoulders, sleeves, and side panels
These narrow areas suit long strips, small squares, circular patches, and odd shapes. Sleeve patches often look best when they follow the sleeve’s vertical direction. A patch that is too wide may wrap around the arm and become hard to read, while a patch that is too tall can crease at the elbow.
For shoulder panels, keep the patch clear of the arm seam. The shoulder moves constantly, and stiff patches can pull or curl there. Small patches in the 2- to 4-inch range are usually easier to place than one large rigid piece.
Side panels are useful for narrow patches and designs that do not need to be seen head-on. They are also a smart place for patches that matter to you but do not need top billing in the overall layout.
Check Proportion, Contrast, and Spacing
A well-sized patch can still disappear if the colors and values blend into the garment. Black thread on black denim, dark red on oxblood leather, or a gray logo on faded charcoal can lose definition from a few feet away. This may be exactly the low-key look you want, but check it before committing.
View your planned layout in grayscale if you can. It strips away color and shows whether the design has enough light-and-dark contrast. If every patch becomes the same mid-gray, the jacket may read as one muddy block. A few high-contrast pieces, even small ones, can give the whole design structure.
Spacing matters as much as patch dimensions. Keep a consistent gap between patches when you want an organized grid or military-style layout. For a more chaotic crust, punk, or collage approach, vary the spacing - but avoid accidental-looking gaps that are too small to fill and too large to ignore.
A useful check is to step back six to eight feet. At that distance, you should still see the main hierarchy: backpatch first, larger supporting patches second, small details last. If every patch demands equal attention, resize or remove a few pieces.
Test the Layout Before You Sew
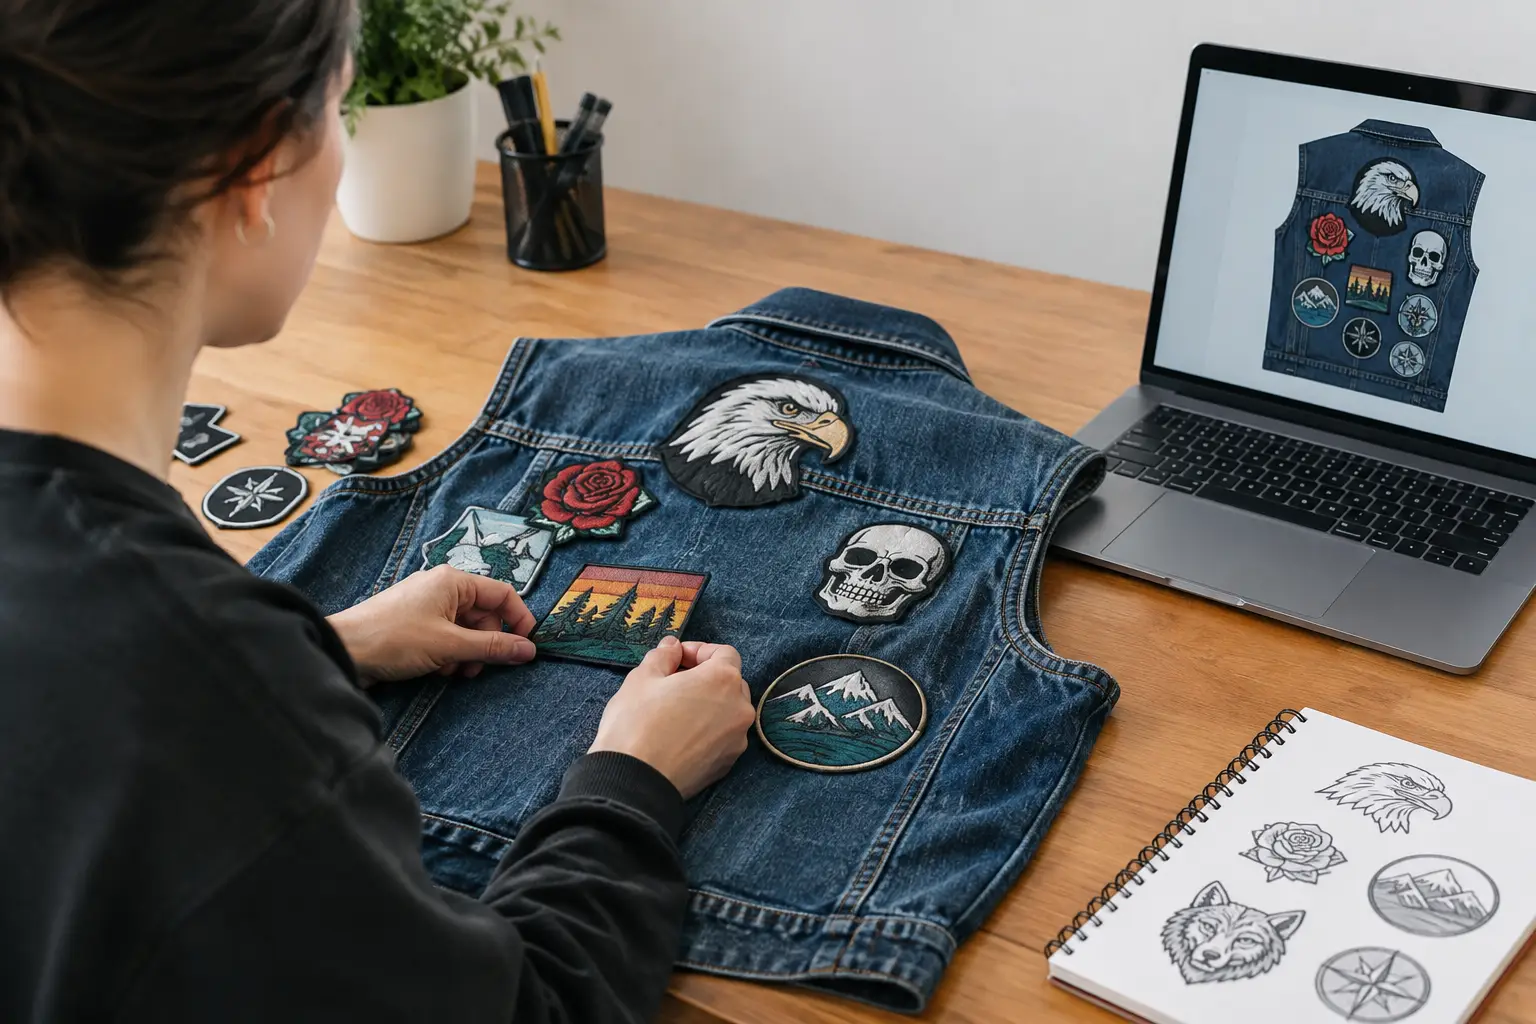
The easiest way to avoid sizing regret is to mock everything up first. Lay the jacket flat, place your patches, and take a straight-on photo. Masking tape, safety pins, or fabric clips can hold patches temporarily, though pins should be used carefully on leather or delicate material.
Check the layout from the front, back, and side. Then put the jacket on and ask someone to take another photo. This is where you catch a chest patch that sits under your arm, a sleeve design that wraps out of sight, or a backpatch that looks tilted once the jacket is worn.
For a more precise plan, use a digital layout tool that lets you work from real garment measurements. The Black Thread Battle Jacket Builder lets you choose a jacket or vest template, add your own patch images, scale them, rotate them, and switch between front and back views before a needle touches denim. It is especially useful when you own a stack of patches in different formats and need to see which combinations actually fit.
Give yourself a sewing allowance
Do not plan patch edges directly against thick seams, pocket edges, snaps, or zippers. Leave enough space to get a needle through the material and to keep the patch from lifting at the corners. On denim, even a quarter-inch of breathing room can make sewing much less annoying.
If you are layering patches, account for the extra thickness. A small patch sewn over the corner of a larger one can look great, but it may be difficult to stitch securely by hand. Test the stack with clips first and decide which patch needs the cleaner edge.
When Breaking the Usual Size Rules Works
Sometimes the best move is to ignore conventional placement entirely. An oversized chest patch can make a leather jacket feel like a stage costume. A tiny backpatch surrounded by acres of denim can create a stark, minimalist look. Mismatched patch sizes can tell the story of years spent collecting, trading, and finding bands one at a time.
The difference between intentional chaos and a layout that feels off is repetition. Repeat a shape, color, border width, or spacing idea somewhere else on the jacket. That small bit of visual rhyme makes unusual scale feel deliberate.
Before you sew, give the jacket one last look from across the room. If the biggest patches say what you want them to say and the smaller ones reward a closer look, the sizing is doing its job. Then save the reference, thread the needle, and make the jacket yours.