How to Layer Patches Safely on a Battle Vest
Learn how to stack patches on a jacket or vest without adding bulk, weakening the fabric, or hiding your favorite piece.
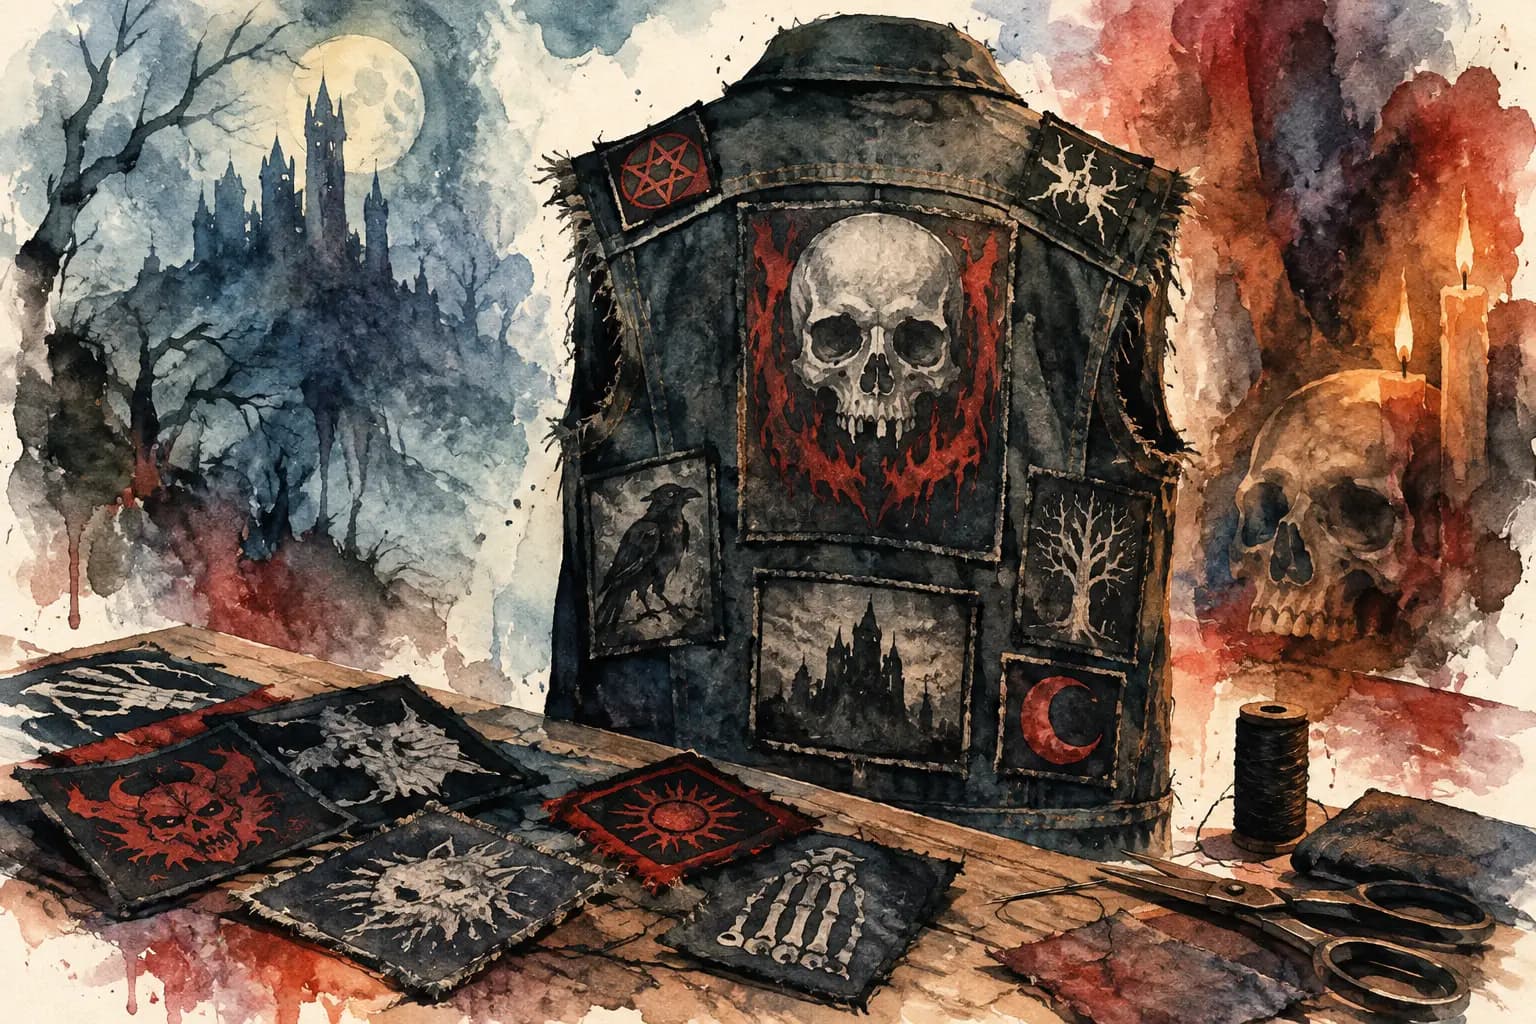
Watercolor illustration of a denim battle vest covered in skull, raven, castle, pentagram, and moon patches on a workbench, surrounded by loose patches, thread, scissors, and a skull with lit candles.
A layered patch layout can make a battle vest look dense, lived-in, and completely yours. It can also turn into a stiff, lumpy mess if every overlap gets stitched down without a plan. Knowing how to layer patches safely means protecting the garment, avoiding needle-breaking thickness, and making sure the patch you care about is still visible after the first pit, show, or rainy walk home.
There are no strict rules for what belongs on your kutte. A clean grid, a chaos vest, overlapping band logos, and patches climbing over seams can all work. The practical rule is simpler: build layers that can take real wear.
Start With the Jacket, Not the Patch Pile
Before placing anything, check the condition and material of your jacket or vest. Midweight denim is usually the easiest base for layered patches because it has enough structure to support stitching without becoming impossible to sew through. Thin fashion denim can stretch and pucker under a stack of patches. Heavy leather is durable, but hand-sewing multiple layers through it takes more force and the wrong needle can leave permanent holes.
Pay attention to the areas that move most. The shoulder blades, side panels, armholes, collar, and lower back all flex when you reach, sit, or wear a backpack. A small overlap in the middle of a back panel is usually no problem. Three heavy woven patches stacked across an armhole may crack, curl, or pull at the stitches over time.
Wash and dry a denim jacket before sewing if it is new or thrifted. You want any shrinking, dye bleed, or weird fabric behavior to happen before patches go on. If you are working with leather, clean it first and let it dry fully. Never sew onto damp fabric.
Plan the Main Layer First
Your biggest patch should set the direction. For most battle jackets, that is the backpatch. Place it first, then decide what can overlap its edges without covering the artwork or making the center too thick to stitch.
A backpatch does not need an empty border around it. Smaller patches can frame it, tuck beneath a corner, or slightly overlap an unimportant edge. The key is choosing a clear visual hierarchy. If every patch is fighting to be the focal point, the layout starts to look accidental rather than packed.
Think of your layout in three levels: the base patch attached directly to the jacket, a second patch that overlaps it, and an optional small top detail. More than three layers in one spot is possible, but it is rarely worth the bulk unless you are using thin printed fabric patches.
Before committing, lay everything flat and take a photo. Better yet, build the arrangement digitally first. The Black Thread lets you scale, rotate, and test patch placement on front and back jacket views, so you can spot collisions before putting a needle through denim. Use a grayscale preview too. Two patches may have different colors but still blur into one dark block from across a room.
Leave Room for Stitching
Every patch needs a usable edge. If an overlap covers the entire border of the patch underneath, you lose the easiest place to secure it. Leave at least a small exposed perimeter where possible, especially on large woven or embroidered patches that tend to curl at the corners.
If you want a patch to appear tucked under another one, sew the lower patch down first. Then place the top patch over it and stitch only its outer edge. Avoid sewing through the same dense spot repeatedly. Each pass of thread compresses the material and makes future repairs harder.
Choose Layer-Friendly Patch Materials
Not all patches behave the same way. Thin printed fabric patches are the easiest to overlap and stitch through. Woven patches are usually flexible but can fray if their edges are not finished. Embroidered patches look great and last well, but their dense thread backing adds thickness fast. PVC, rubber, metal, and thick leather patches are best treated as top-layer accents, not part of a tall stack.
Iron-on backing can be useful as temporary positioning help, but do not trust heat alone for a battle vest that will actually get worn. Heat may damage synthetic patches, leave glue residue, or fail after repeated washing and movement. If you use an iron-on patch, stitch it after it cools.
Be cautious with vintage patches and old screen-printed pieces. Their fabric may be thin, brittle, or already fading at the edges. Mounting one onto a slightly larger piece of sturdy black cotton before attaching it to the jacket can preserve it without changing its look much.
How to Layer Patches Safely While Sewing
Use a sharp needle that matches the job. A sturdy hand-sewing needle works for standard denim and most patch stacks. For leather, use a leather needle and test it on an unseen area or scrap first. Do not force a needle through a hard patch backing, a metal detail, or a thick seam. That is how needles bend, fingers get stabbed, and leather gets damaged.
A thimble is not glamorous, but it saves your hands when you are pushing through denim and embroidery. Waxed thread, upholstery thread, or strong polyester thread will usually outlast basic all-purpose thread. Choose black if you want stitches to disappear, or use a contrast color if visible construction is part of the jacket's character.
Anchor each patch with a few temporary points before sewing the full edge. Safety pins work well, though they can distort thin patches if pulled tight. Fabric clips are useful near thick layers, but keep them away from areas where they might leave pressure marks on leather. A few small basting stitches are the most secure option if the patches keep shifting.
Sew with short, even stitches around the exposed border. Pull the thread snug, not tight enough to pucker the jacket or bend the patch edge upward. When you reach an overlapped section, decide whether you are attaching the top patch only or catching every layer. Usually, attach the top patch only. Stitching all layers together can make the whole section rigid and may create a visible line across the patch underneath.
At corners, add an extra stitch or two. Corners and narrow points are where patches begin to lift. Tie off securely on the inside of the garment, then trim the thread close to the knot. If the inside is becoming a maze of knots and loose ends, cover a high-friction area with a small lining patch to reduce snagging.
Respect Seams, Pockets, and Moving Areas
A jacket seam is not automatically off-limits, but it changes the job. Side seams, yokes, pocket edges, and the center back seam are already thick. Adding several patch layers there can make hand sewing rough and machine sewing unrealistic.
If a patch crosses a seam, stitch each side separately and let the seam remain able to flex. Do not pull it flat so hard that the jacket loses movement. On a vest, check that patches near the side panels do not interfere with snaps, lacing, or the way the garment sits when open.
For chest patches, make sure you can still use the pocket if you care about that. A patch partially covering a pocket can look great, but stitching through the pocket bag closes it for good. Put your hand inside first and feel where the fabric layers are before sewing.
Test the Layout Like You Will Wear It
Once a section is pinned or basted, put the jacket on. Reach forward, raise your arms, sit down, and twist at the waist. A layout that looks perfect on a table can bunch at the shoulders or dig into your ribs when worn.
Check the inside too. Long thread floats can catch on shirts, jewelry, or backpack straps. Loose patch corners will worsen quickly once they start snagging. Reinforce trouble spots now rather than waiting until a favorite patch is hanging by one thread outside a venue.
After sewing, give the jacket a gentle shake and inspect every overlap. If a top patch is lifting, add a few discreet tack stitches through the edge. If the area feels like cardboard, remove one layer before it becomes a permanent annoyance. A battle vest should carry your history, not feel like armor you cannot move in.
Layering works best when it is intentional, not timid. Start with the patches that matter most, test the overlaps, and let the garment's movement tell you where to stop. Your jacket does not need to be perfect. It needs to survive the life you plan to give it.