Iron On Patch Application Tips for Battle Vests
Learn how to get iron-on patches to hold for good on a denim vest, and when to back them up with a few stitches.
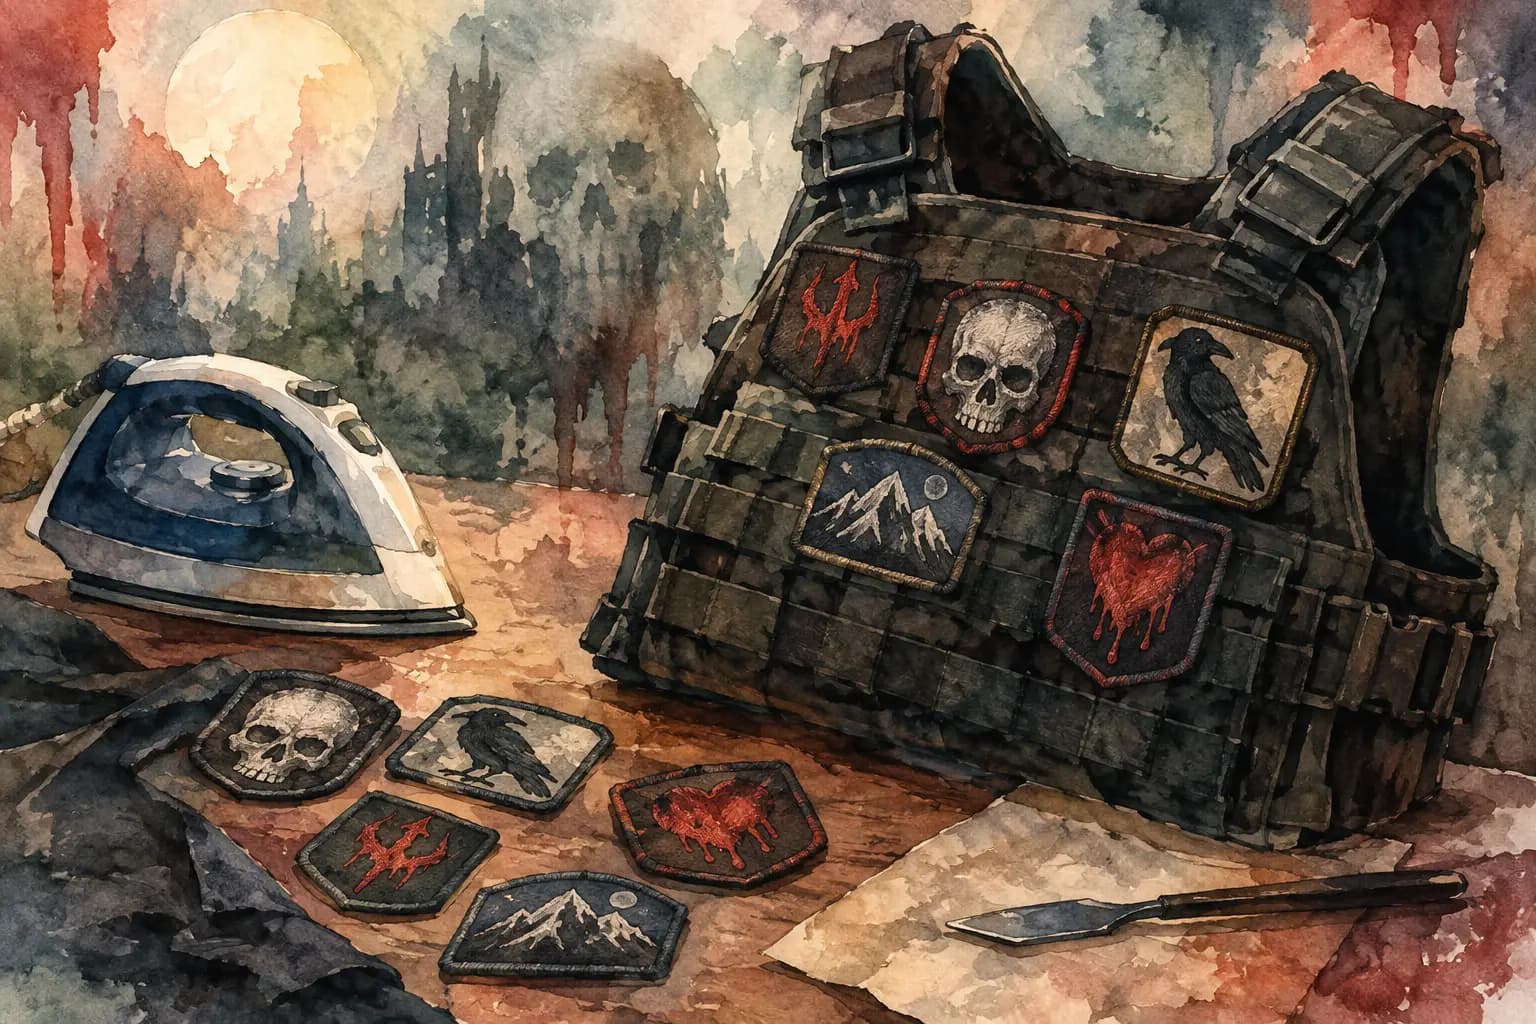
Watercolor illustration of a clothes iron beside a battle vest patched with a skull, raven, mountain, and dripping heart, with loose patches on the table.
A patch that peels off halfway through a show is not part of the look. These iron on patch application tips will help you get a clean hold on denim, avoid scorching your vest, and decide when that heat-activated backing needs backup from a needle and thread.
Iron-on patches are convenient, especially when you are building a jacket one piece at a time. But the adhesive is not magic. Fabric weight, patch size, garment material, heat, pressure, and placement all affect whether a patch stays put. Treat the iron-on layer as a useful tool, not a promise that the patch will survive every pit, wash cycle, and road trip on its own.
Start With the Right Garment and Patch
Iron-on adhesive works best on sturdy, natural-fiber fabric. A cotton denim jacket or vest is usually the easiest surface because it can handle the heat and gives the glue fibers something substantial to grip. Canvas and heavy cotton shirts can work too, although thinner garments may wrinkle or show an outline from the patch backing.
Leather, faux leather, nylon, polyester, and stretch fabrics are different territory. High heat can discolor, melt, stiffen, or warp them. Even if an iron-on patch appears to stick at first, it may release as the material flexes. On leather or a synthetic vest, sew the patch on, use an adhesive made specifically for that material, or ask a local alteration shop for help. Do not put a hot household iron directly onto leather just to save ten minutes.
Check the patch itself before you begin. A fully embroidered patch with a heat-seal backing is a solid candidate for ironing. Thin printed patches, large woven backpatches, unusually stiff patches, and patches with loose edges often benefit from sewing after the initial press. If a patch has no visible adhesive layer, it is a sew-on patch regardless of what a marketplace listing said.
Plan Placement Before Heat Makes It Permanent
A battle vest has its own visual logic, but it is still your vest. Some builders want a centered backpatch and tidy rows; others want a dense collage that grows over years. Either way, planning first prevents the most annoying mistake: fusing a patch into a spot that blocks the patch you really wanted later.
Lay the garment flat and test your arrangement with the patches unbacked. Pay attention to seams, chest pockets, buttons, zippers, armholes, and side panels. These areas make ironing difficult and create uneven pressure. A patch may look centered while the vest is hanging but sit crooked when you wear it, so check the layout on a flat surface and against your body if possible.
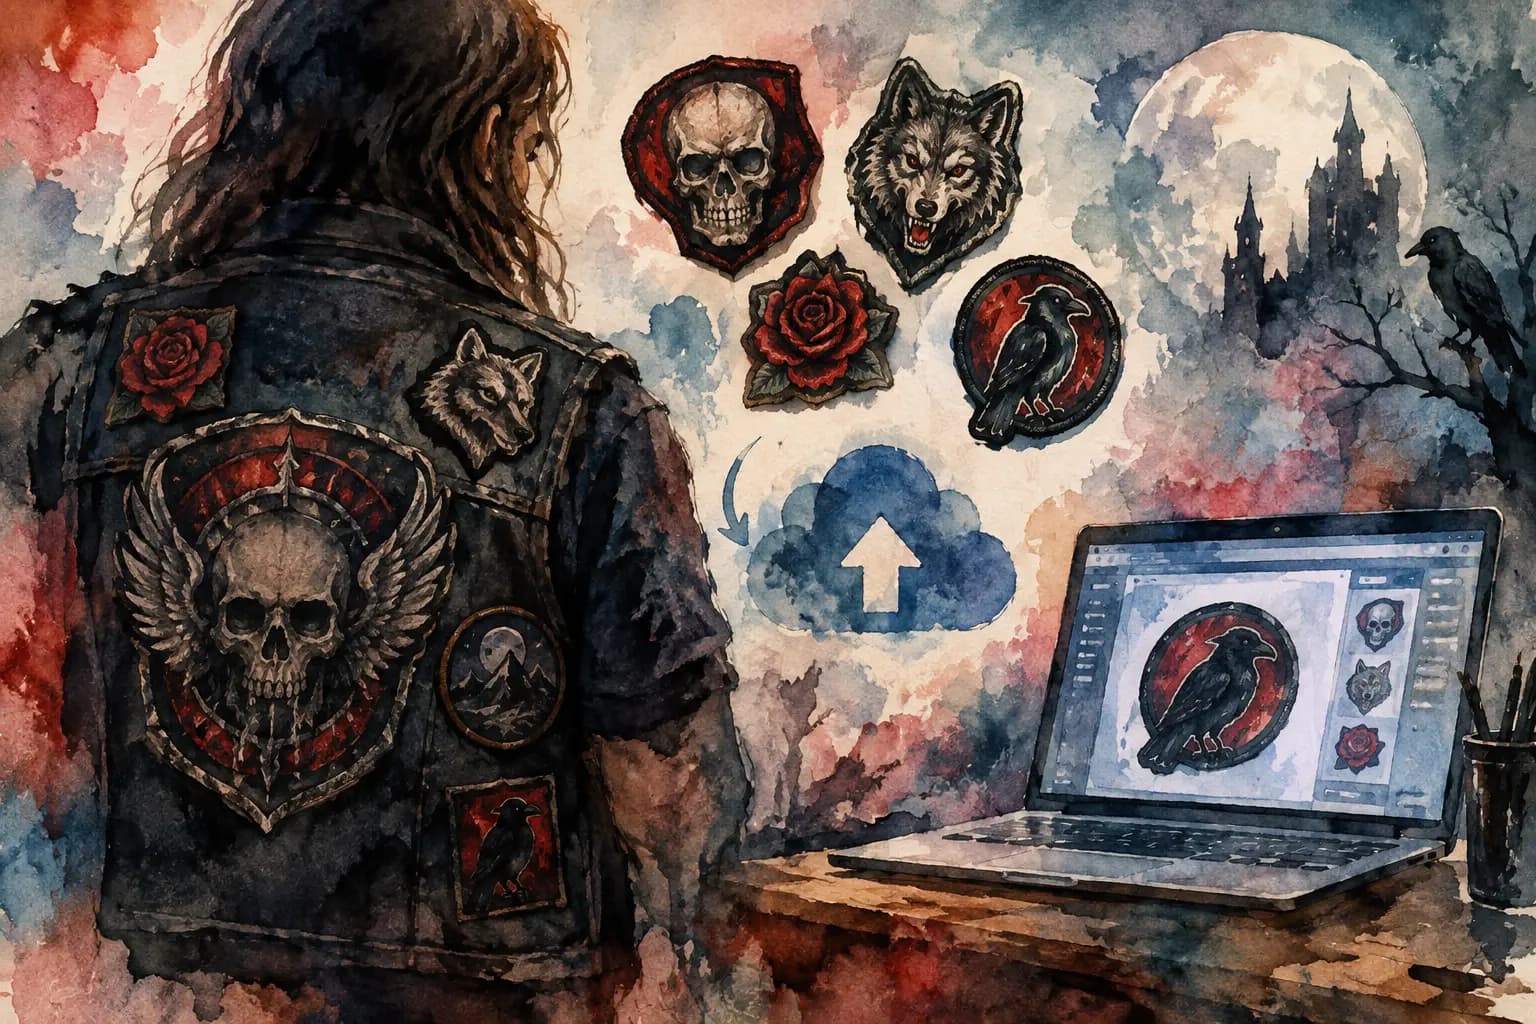
For larger layouts, photograph the arrangement before moving anything. You can also use The Black Thread to test patch scale, rotation, spacing, and front-and-back balance before committing to the physical vest. It is much easier to shift a backpatch by a centimeter on screen than to explain a melted glue mark around a patch you peeled back off denim.
Leave enough room around patches that will be sewn later. Crowding every gap can look great, but it also makes it harder to get a needle under an edge or work around thick embroidery. This matters most on the shoulders, upper chest, and near collar seams, where several layers of denim already make hand sewing slower.
Iron On Patch Application Tips That Actually Hold
Wash and fully dry the vest first, especially if it is new. Factory finishes, fabric softener residue, body oils, and dirt can interfere with adhesion. Skip fabric softener before patching. It can leave a coating that is great for soft towels and terrible for glue.
Set up on a firm, heat-safe surface such as a table covered with a folded cotton towel. An ironing board can work for smaller patches, but its padded surface sometimes prevents the pressure needed for a reliable bond. You need the patch and garment supported from underneath, not sinking into a soft board.
Set the iron according to the garment's care label. For cotton denim, that is often a cotton or high setting with steam turned off. Steam adds moisture and reduces direct, concentrated heat. Let the iron reach temperature before it touches the patch.
Place the patch adhesive-side down exactly where you want it. Cover the patch with a pressing cloth, a clean cotton bandana, or a piece of plain cotton fabric. This protects embroidered threads from direct heat and keeps the iron plate from picking up adhesive around the edges.
Press straight down with firm, even pressure. Do not slide the iron back and forth like you are removing wrinkles. Sliding can shift the patch, distort the threads, or smear hot adhesive beyond the border. Hold the iron in place for roughly 15 to 30 seconds, then lift and move to the next section if the patch is larger than the iron plate. The right time depends on the adhesive, patch thickness, and fabric, so follow any instructions supplied with the patch when available.
Turn the vest inside out if the placement allows it, then press from the reverse side for another 15 to 30 seconds. This heats the glue through the denim and often improves the bond. For a chest patch or anything near a pocket, you may not get a flat reverse surface. In that case, focus on careful front-side pressure and expect to reinforce the patch with stitches.
Let the patch cool completely before testing it. Hot adhesive is still setting. Once cool, gently check each edge with a fingernail. If a corner lifts, cover it again and press that area rather than trying to flood it with craft glue.
Pressure Matters More Than Brute Heat
Many failed iron-on patches are not caused by an iron that was too cool. They fail because the patch sat over a seam, pocket edge, rivet, or thick fold and never received even pressure. A flat patch on flat denim has a much better chance than one forced over a curved shoulder seam.
Use a small folded towel inside the vest to create a stable surface beneath the target area. For awkward spots, a tailor's ham or tightly rolled towel can help support the curve. Keep the patch as flat as possible, but do not force a rigid rectangular patch around a sharp bend. It may hold in the center while every corner works loose.
Large backpatches need patience. Press them in sections with overlapping coverage so no strip of adhesive is missed. Start near the center and work outward, checking that the patch stays straight as you go. If the design has a border, use it as a visual guide for alignment rather than trusting the jacket's center seam, which is not always perfectly straight.
When to Sew an Iron-On Patch Anyway
For a casual patch on a denim vest that will not see much abuse, iron-on adhesive may be enough. For a battle jacket that is going to shows, travel, weather, washing machines, and crowded rooms, stitching is the safer move.
Sewing around the edge prevents the most common failure: corners catching on another person's bag, jacket, or elbow and gradually peeling away. It also lets you use patches on materials that cannot take heat. A simple whip stitch, running stitch, or sewing machine line close to the border is enough. You do not need perfect tiny stitches unless that is the look you want.
Think about scale, too. Small patches can often survive with a few anchoring stitches at the corners after ironing. Medium patches benefit from a full perimeter. A large backpatch should usually be sewn all the way around, even if it has a strong iron-on backing. The adhesive keeps it stable while you sew; the thread keeps it on the vest.
If you want a deliberately rough DIY look, visible contrasting thread can become part of the design. If you want the thread to disappear, match it to the patch border or the denim rather than trying to match every color in the artwork.
Let the Adhesive Cure and Wash With Care
Give a freshly applied patch at least 24 hours before wearing or washing the vest. That cure time makes a real difference. Do not immediately fold the vest with the hot patch pressed against itself, and do not throw it into a dryer because you are impatient to wear it tonight.
When it is time to wash the vest, turn it inside out, use cold water on a gentle cycle, and air dry when you can. Heat from a dryer can weaken some adhesives over time and is rough on embroidered edges. Hand washing is gentler, but it depends on how grimy the vest gets and how much effort you are willing to put in.
Your jacket is meant to collect miles, stains, memories, and more patches. Give each iron-on a careful start, stitch down the pieces that matter most, and let the finished vest become yours through wear.