How to Sew Patches on Denim Without Regret
Plan your patch layout, pick thread that survives sweat and washing, and hand-stitch patches onto denim so they hold for years.
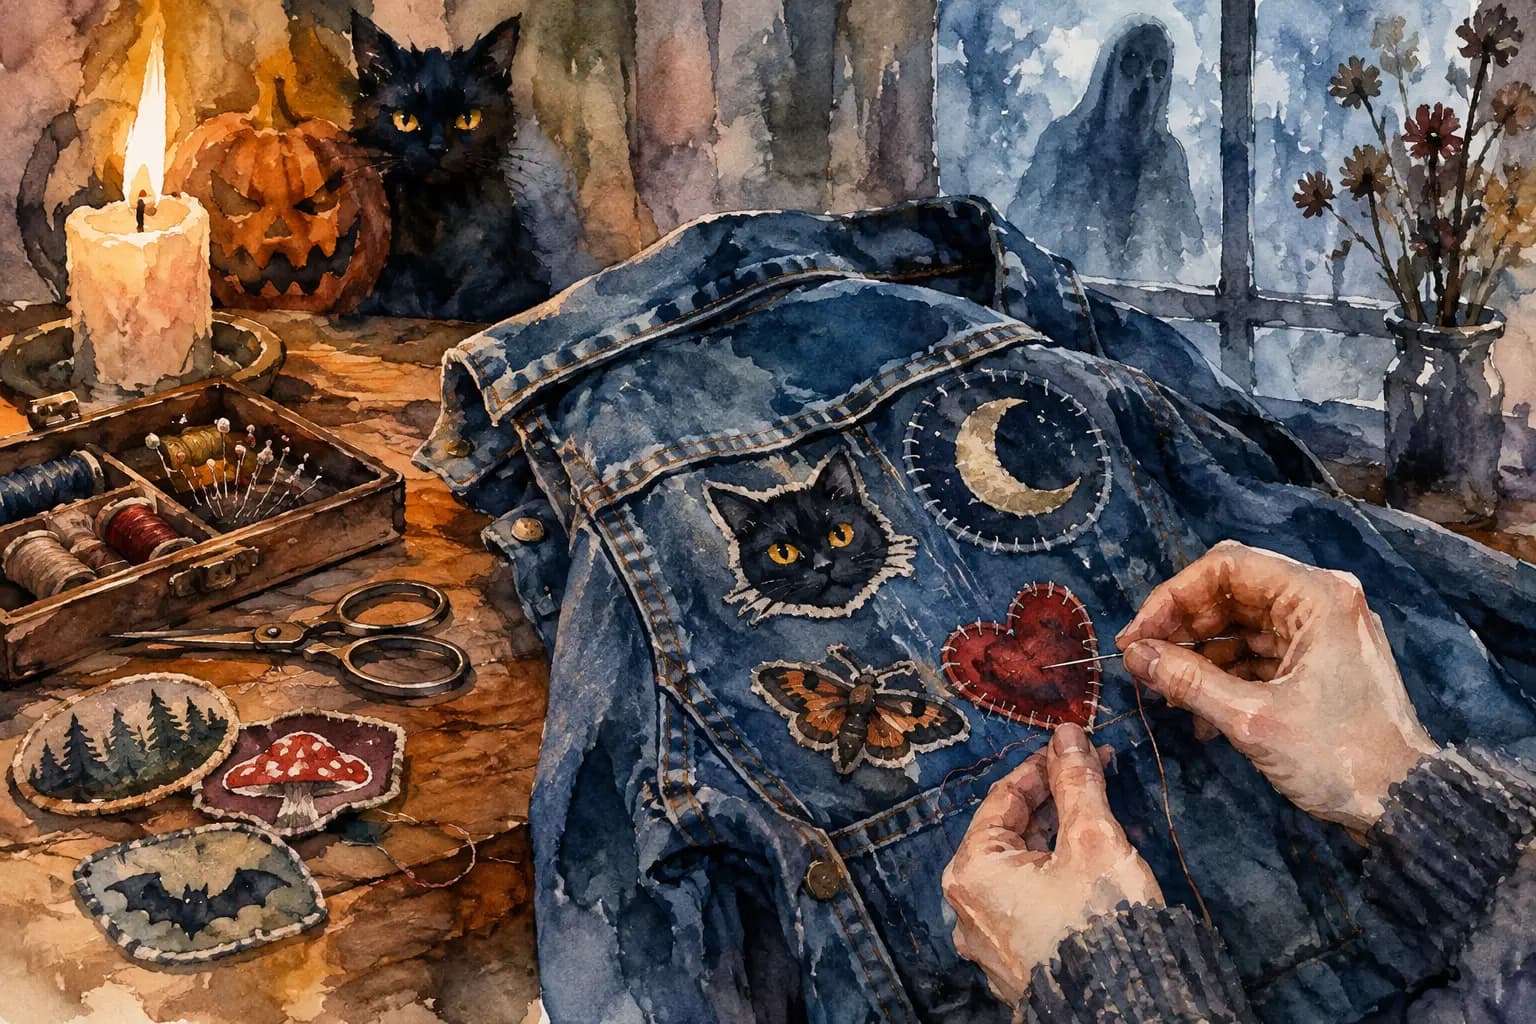
Watercolor illustration of hands hand-sewing a red heart patch onto a denim jacket already decorated with a black cat, crescent moon, and butterfly patches, beside a candle, jack-o'-lantern, black cat, and sewing supplies on a table.
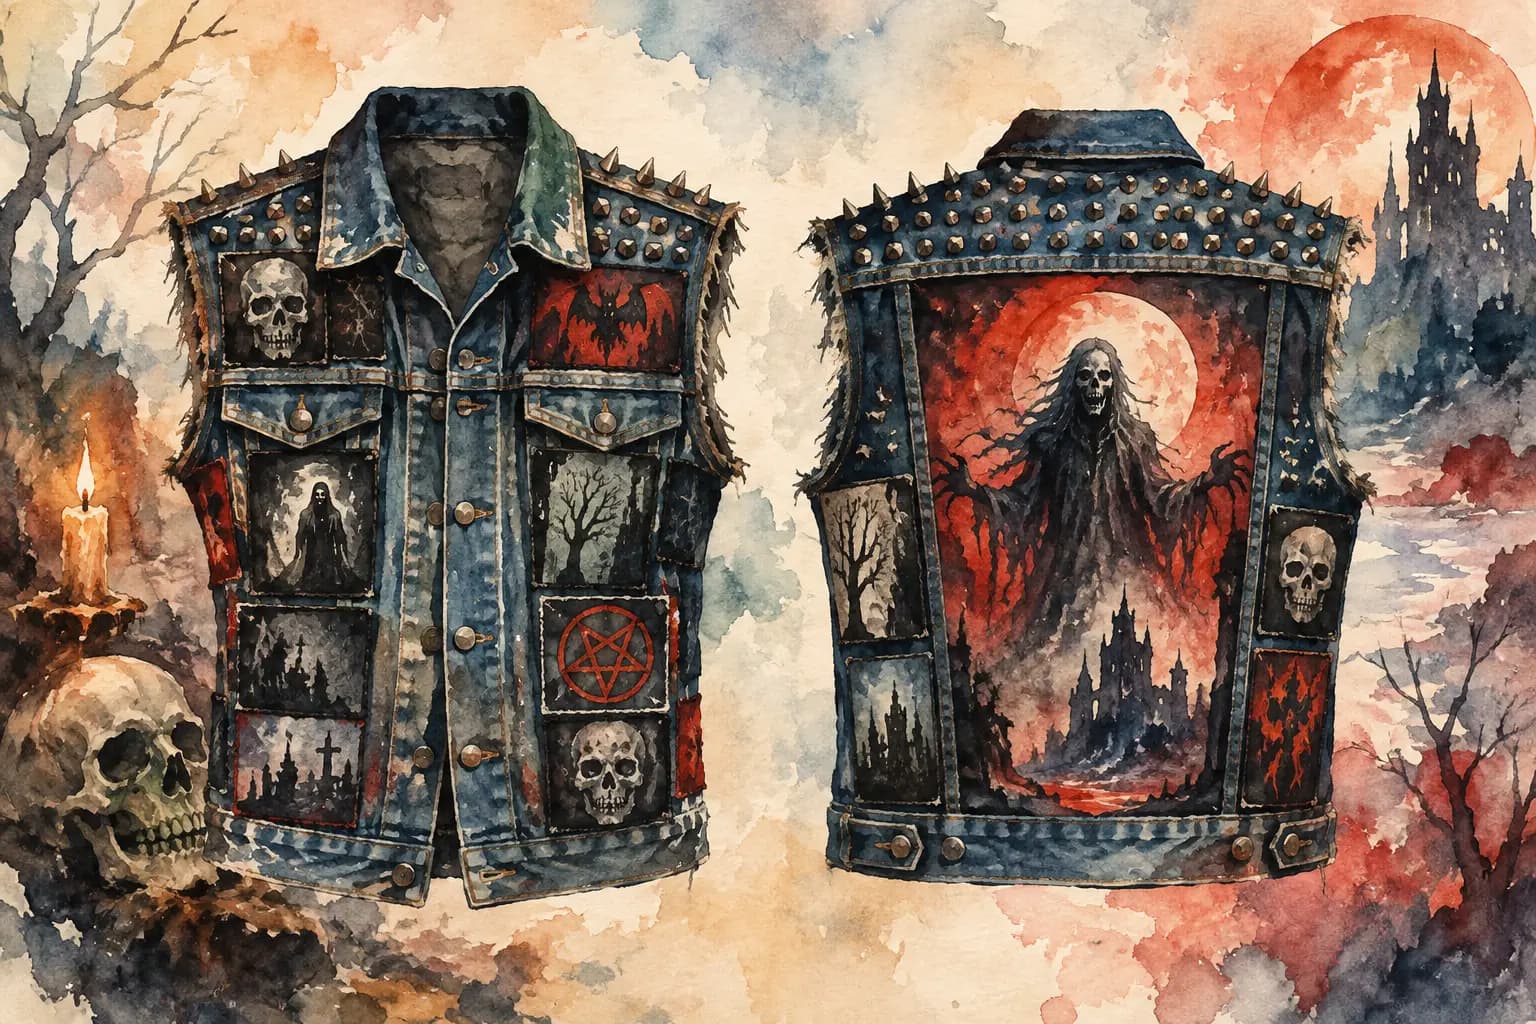
A patch can look perfect on your floor and completely wrong once it is permanently stitched onto a vest. That is why learning how to sew patches on denim starts before you thread a needle. A battle jacket is built over time, but every patch still has to earn its space - especially the backpatch, chest pieces, and the rare band patch you cannot replace.
There are no strict rules for a kutte. Sew it dense, leave breathing room, cover every inch, or let the denim show. The practical rules are simpler: plan the layout, use a stitch that can survive pits and laundry, and do not sew through pockets, linings, or seams by accident.
Plan the Layout Before You Sew
Put the jacket or vest on a flat surface and arrange your patches before attaching anything. Start with the largest piece, usually a backpatch, then position chest patches and side pieces around it. Smaller logos, pins, and odd-shaped patches can fill gaps later.
Step back from the garment several times. A patch may be straight against a table edge but look tilted when the vest is worn. Check whether a chest patch will disappear under a lapel, whether a shoulder patch will fold around the arm, and whether two detailed designs will blur into one visual mess from a few feet away.
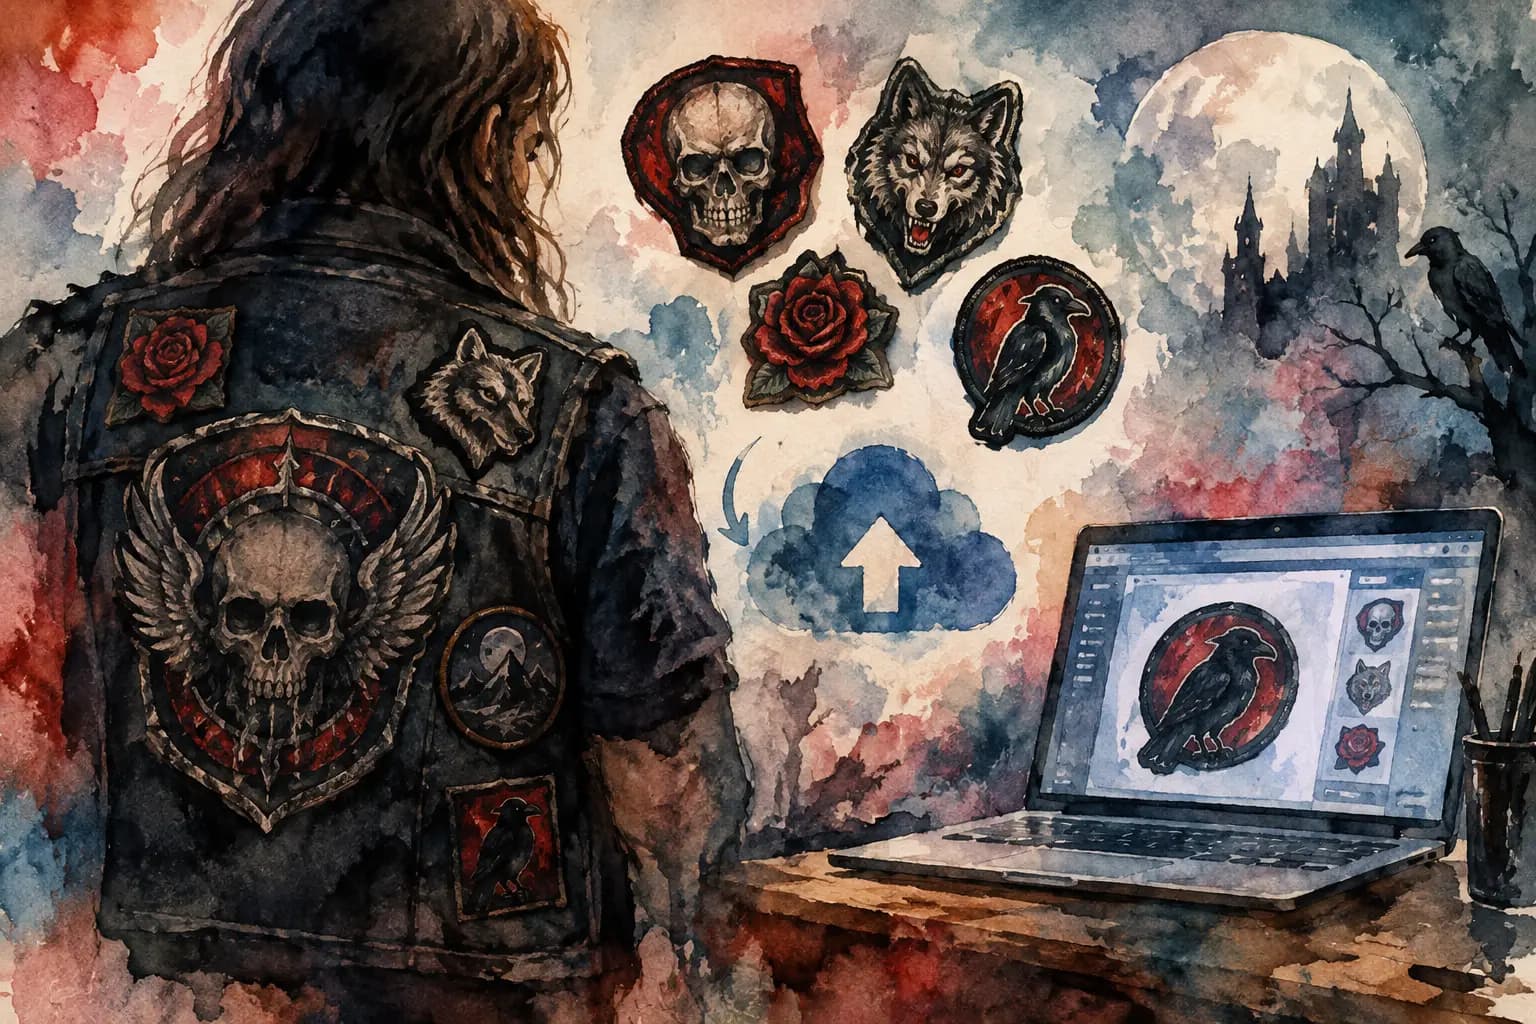
If you are planning a full jacket, it helps to test the design digitally first. The Black Thread lets you arrange patch images on front and back denim templates, check scale in real-world measurements, and move things around before the needle makes the decision permanent. It is especially useful for figuring out whether a backpatch leaves enough room for a row of smaller patches above or below it.
Once you like the placement, take a photo. Then secure each patch with safety pins, straight pins, or a few loose basting stitches. Safety pins are the safer choice if you want to try the jacket on before committing.
What You Need to Sew Patches on Denim
Hand sewing is the standard for a reason. It works around thick seams, uneven patch edges, and areas where a sewing machine would be awkward or risky. You need a sharp hand-sewing needle, sturdy thread, small scissors, pins, and a thimble if your fingers are not used to pushing through denim.
Choose polyester upholstery thread, heavy-duty all-purpose thread, or button-and-craft thread in a color that matches the patch border or the denim. Regular thin thread can work for a light woven patch, but it may snap on a stiff embroidered patch or a jacket that gets worn hard. Dental floss is a classic DIY option for thick visible stitching, though waxed floss can be difficult to knot neatly and is not ideal if you want an understated finish.
Avoid relying on fabric glue as the final attachment. Glue can make the denim stiff, seep through thin fabric, and fail after heat or washing. A tiny amount can hold a patch in place temporarily, but the stitches should do the real work.
Prep the Denim and the Patch
Wash and dry a new denim jacket before sewing. Denim can shrink, and it is better for that to happen before your patches are attached. Skip fabric softener if possible, since it can leave residue that makes temporary adhesive less reliable.
Trim loose threads from the back of the patch, but do not cut close enough to disturb the embroidered edge. If a patch has a very thin or fraying fabric border, fold that edge under slightly before you pin it down. You can also use a small amount of iron-on hemming tape around the inside edge for support, but test heat carefully. Many printed patches, synthetic materials, and old screen-printed designs do not enjoy a hot iron.
For a backpatch, remove the jacket lining first if there is one. You can stitch through a lining, but the result often bunches and makes the inside uncomfortable. If you want to preserve the lining, open a small section of its seam, sew the patch through the outer denim only, then stitch the lining seam closed afterward.
How to Sew a Patch on Denim by Hand
Thread your needle with an arm's length of thread, roughly 18 to 24 inches. Longer thread tangles more easily, and dealing with knots halfway around a large backpatch gets old fast. Double the thread and knot the ends together for strength.
Start from the inside of the jacket so the knot is hidden. Bring the needle up very close to the patch edge, then take it down through the denim about one-eighth inch away. Continue around the border with small, evenly spaced stitches. Keep the thread snug enough that the patch lies flat, but do not pull so hard that the denim puckers.
A simple running stitch is quick and has a raw DIY look. A whipstitch, where the thread wraps over the edge of the patch, holds embroidered borders securely and makes the stitch line more visible. For a clean, durable result, use a small whipstitch around the edge and add a few extra stitches at corners, points, and narrow sections that might catch on bags or jacket hardware.
When you reach the end, make two or three small knots on the inside of the jacket. Pass the needle under a nearby stitch before tightening each knot. Trim the tail short, but not flush against the knot.
Keep the Patch Flat While You Work
Do not sew with the jacket stretched tight over your knee. Let the denim rest flat, and check the front side every few inches. Large patches can slowly shift as you sew, even when pinned. If that happens, pull out the last few stitches and correct it now. A crooked stitch line is easier to fix than a patch you spend years pretending is supposed to be crooked.
For a rectangular patch, sew opposite sides in sequence rather than working all the way around from one corner. Stitch a few inches along the top, then the bottom, then one side and the other. This helps prevent the patch from pulling unevenly across the denim.
Sewing Around Seams, Pockets, and Thick Areas
The hardest parts of a denim vest are usually the center back seam, side seams, pocket flaps, and collar areas. Never force the needle. You can bend or break it, stab your thumb, or leave a stretched hole in the fabric.
If a patch crosses a thick seam, stitch up to the seam on one side, skip directly over the bulky section with a longer stitch hidden under the patch, and continue on the other side. The patch border will cover that bridge. For very thick spots, use pliers carefully to pull the needle through, keeping the point aimed away from your hand.
Think twice before sewing a patch over a working pocket. You may not care about losing the pocket, but a patch sewn through the pocket bag can create a strange lump and trap things inside. Pin the patch, reach into the pocket, and make sure the needle will only pass through the outer denim if you want the pocket to remain usable.
Backpatches Need Extra Attention
A backpatch is the anchor of many battle jackets, so it deserves more than a fast lap around the edge. Pin or baste it in several places, especially near the center. Large patches can billow if only the perimeter is stitched.
After sewing the edge, add a few discreet tacking stitches through solid dark areas of the design near the middle. Use thread that blends into the artwork. These stitches stop the patch from sagging, catching wind, or forming a pocket that snags on chairs and backpack straps.
If the patch is larger than the usable back panel, do not automatically cut it. Cropping can work for a deliberately rough punk look, but it can also remove lettering or make the design look cramped. Sometimes the better move is choosing a vest with a wider back, placing the patch on a jacket with a yoke, or letting the patch overlap a seam with careful stitching.
Care for a Sewn Patch Jacket
Turn the jacket inside out before washing, use cold water, and choose a gentle cycle if you must machine wash it. Air-drying is easier on thread, patch ink, and old denim. For a jacket packed with patches, studs, paint, or pins, hand washing only the areas that actually need cleaning is often the safer call.
Inspect your stitches after shows, travel, and heavy wear. A loose inch of thread is not a disaster if you catch it early. Reinforce it before the patch starts peeling back and gets lost somewhere between the venue floor and the parking lot.
Your first stitches do not need to be invisible or factory-perfect. They just need to hold. Put on the jacket, see how the patches sit when you move, and let the next addition respond to the one before it. That is how a piece of denim turns into your jacket.