Can Patches Damage Leather? What Actually Happens
See which patch attachment methods actually mark leather, and how to choose one that keeps a battle vest looking intentional.
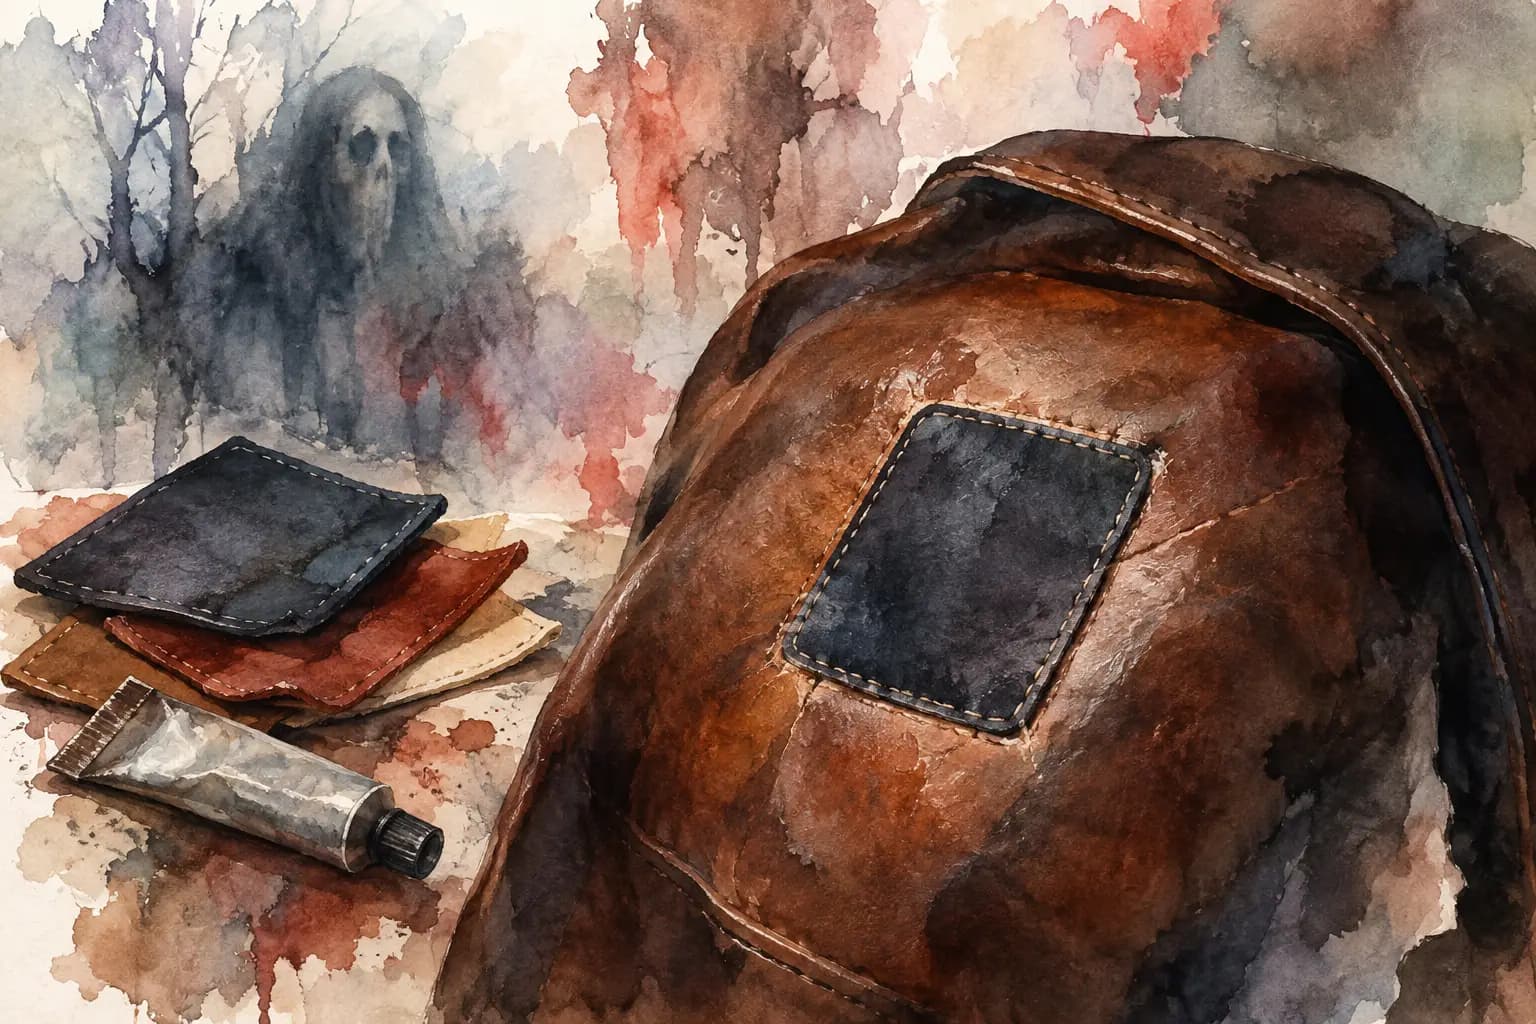
Watercolor illustration of a worn brown leather jacket with a stitched navy patch on the shoulder, beside a stack of leather patch swatches and a tube of glue, with a ghostly figure in the background.
A leather jacket can take years to feel like yours. The right creases, the softened cuffs, the show memories ground into the lining - that history is part of the garment. So, can patches damage leather? Yes, they can, but the amount of damage depends far more on how you attach them, the condition of the leather, and whether you ever plan to remove them.
For plenty of metalheads and punks, a patched leather is meant to be permanent. A few stitch holes and some honest wear are not damage in the tragic sense - they are part of the jacket's story. But if you are working with a vintage Perfecto, an expensive leather vest, thin lambskin, or a jacket you may want to change later, it pays to know exactly what each method does before the first patch goes on.
Can Patches Damage Leather Permanently?
The short answer is that stitches, adhesives, heat, and moisture can all leave a mark. Leather is not denim. Denim can usually handle a needle, a hot iron, a glue mishap, and a redo without much drama. Leather has a finished surface, a fibrous structure underneath, and natural oils that can be disturbed or permanently altered.
Sewing creates holes. Usually, those holes are tiny and not very noticeable once a patch covers them, especially on thicker cowhide. Remove the patch later, though, and the needle marks may remain. On soft or thin leather, repeated stitching in the same area can weaken the material enough for a line of holes to stretch or tear.
Adhesives can be worse. A strong glue may darken the leather, stiffen it, soak through thin skins, or pull away the finish when you try to remove the patch. Iron-on patches are the least leather-friendly option. Heat can dry out leather, cause discoloration, damage a coating, or make the surface shine in a way that does not blend back in.
That does not mean leather battle vests are off limits. It means the permanent nature of the build deserves a little more planning than a quick glue-and-go job.
The Attachment Method Matters More Than the Patch
A woven logo patch, an embroidered circle, and a huge backpatch all behave differently, but the attachment method is still the biggest risk factor. Choose it based on the leather, patch size, and how permanent you want the result to be.
Hand Sewing: Usually the Safest Long-Term Choice
Hand sewing is the standard for a reason. It gives you control, avoids heat and chemical residue, and holds up far better than most adhesives once the jacket starts seeing pits, rain, packed venues, and daily wear.
Use a sharp leather needle or a glover's needle rather than forcing a standard sewing needle through thick hide. A thimble or needle-nose pliers can save your fingers. Waxed polyester thread is a solid choice because it is durable and less likely to rot after years of sweat and weather. Keep your stitches close enough to hold the patch flat, but do not punch a hole every millimeter just because you can. Too many perforations can create a tear line.
For a large backpatch, start at the center top, then secure the opposite point before working around the edges. This helps prevent bunching and keeps the design sitting straight across the shoulders. Leather does not forgive crooked placement as easily as denim does.
Glue: Useful for Positioning, Risky as the Main Fix
A tiny amount of temporary fabric adhesive can help keep a patch from shifting while you sew. Treat it as a positioning aid, not the final attachment. Put it on the patch backing rather than directly on the jacket whenever possible, and use the minimum amount needed.
Avoid super glue, hot glue, contact cement, and random household adhesives. They can cure hard, crack when the jacket bends, bleed through the patch edge, or permanently change the leather underneath. Even specialty leather glues are best reserved for leather-to-leather repairs, not for attaching a patch you may someday want to move.
If the patch must be removable, do not glue it. A few careful stitches are easier to remove than a crusty adhesive stain.
Iron-On Patches: Skip Them on Leather
Never iron directly onto leather. The heat and pressure can damage the finish before the patch adhesive even bonds properly. Many iron-on backings also fail on leather because they are designed to grip fabric fibers, not a smooth or treated hide.
Some builders peel or trim away an iron-on backing and sew the patch on normally. That can work, but be gentle. If the adhesive is bulky or stiff, it may keep the patch from lying flat and make hand sewing harder.
Studs and Safety Pins: Different Marks, Same Commitment
Studs and spikes can be a strong alternative when a patch does not suit the spot, but they still puncture the leather. A properly set stud leaves a clean, intentional hole. A loose one can enlarge it over time as it pulls and twists.
Safety pins are great for testing a layout, wearing a patch for one show, or keeping a new piece in place before sewing. They are not a great permanent solution. Constant movement makes the holes larger, and cheap pins can rust or leave dark marks if the jacket gets wet.
Leather Type Changes the Risk
Thick, finished cowhide is generally the most forgiving material for a patched leather jacket. It can handle careful hand stitching and the occasional correction better than most fashion leathers. Even then, old leather can be dry beneath the surface, so do not assume thickness means indestructible.
Lambskin and other soft fashion leathers need more caution. They stretch easily, show needle holes more readily, and can tear if a heavy patch pulls against them. If your jacket is thin, choose lighter patches and avoid loading one small area with several dense embroidered pieces.
Suede and nubuck are their own headache. Their textured surfaces grab dust and adhesive, while needle holes can be hard to hide. Patches can be sewn onto suede, but test your technique in an unseen area first. Patent leather, faux leather, and heavily coated leather may crack or peel around stitches, especially if the material is old.
Before you commit, check the inner tag if it is still there. If the leather feels brittle, flakes, or cracks when gently flexed, condition or repair it before adding anything. A patch will not fix failing leather, and stitching through a weakened panel can speed up the damage.
Plan the Layout Before You Make Holes
The safest patch is the one you do not have to remove because it landed in the wrong place. Lay the jacket flat, take photos of the front and back, and arrange your patches with painter's tape or safety pins. Put the jacket on, move your arms, sit down, and see what shifts. A chest patch that looks perfect on a table can disappear under a lapel or fold into a pocket when worn.
Watch the stress zones: elbows, shoulder seams, side panels, cuffs, pocket openings, zippers, and the center back where the jacket bends when you sit. A patch near a seam may be difficult to stitch cleanly. One placed directly over a pocket can make that pocket useless. Thick embroidered patches on flex points can rub, curl, or feel uncomfortable.
Scale matters too. A giant backpatch is the visual center of most leather builds, but it should not run so close to the armholes or bottom hem that the edges constantly bend. Leave a little breathing room around seams. The same goes for rows of small patches: a tight, dense layout looks great until every edge catches on itself when the leather moves.
If you want to test different backpatch sizes, chest placements, and jacket colors without committing, build the layout digitally first. The Black Thread lets you arrange patches on front and back garment views, check scale in real-world measurements, and make the bad placement decisions before they become needle holes.
How to Sew Patches Without Stressing the Leather
Start with a clean, dry jacket. Do not sew while leather is soaked from rain or freshly conditioned, since it can stretch more easily and the finish may mark under pressure.
Use just enough tension to keep the patch secure. If you pull every stitch tight, the leather can pucker around the edge. A patch should lie flat while the surrounding panel still moves naturally. For heavy or oversized patches, add a few anchor stitches across the center only if the patch is sagging. Too many stitches through the artwork can look messy and create more holes than necessary.
Keep an eye on the lining. On a lined leather jacket, it is easy to accidentally sew the lining to the outer shell, creating an awkward pull inside. Slip a piece of cardboard between the leather and lining as a barrier, then remove it before the final stitches. If you need access between layers, open a small section of lining seam and close it neatly afterward.
When removing an old patch, cut the thread from the inside whenever you can instead of pulling it through from the front. Pulling can enlarge the holes and lift the leather finish. Afterward, gently press the area flat with your fingers. A little leather conditioner may help the surrounding panel look more even, but test it first because conditioners can darken some leathers.
A Permanent Build Is Not a Ruined Jacket
There is a difference between careless damage and a deliberate modification. A well-sewn patch on a leather battle vest changes the jacket permanently, but that is often the point. The jacket stops being a store-bought object and starts carrying your bands, shows, politics, artwork, and years in the scene.
Just make the permanence intentional. Skip the iron, avoid mystery glue, respect thin or dry leather, and give the layout enough thought that you will still want to see it on your back after the next hundred shows. The best patched leather is not the one that stays untouched. It is the one you wear hard because every mark on it belongs there.