Sew On Versus Glue Patches for Battle Vests
Weigh sewing against glue for attaching patches, and learn which method actually survives gigs, washing, and years on a battle vest.
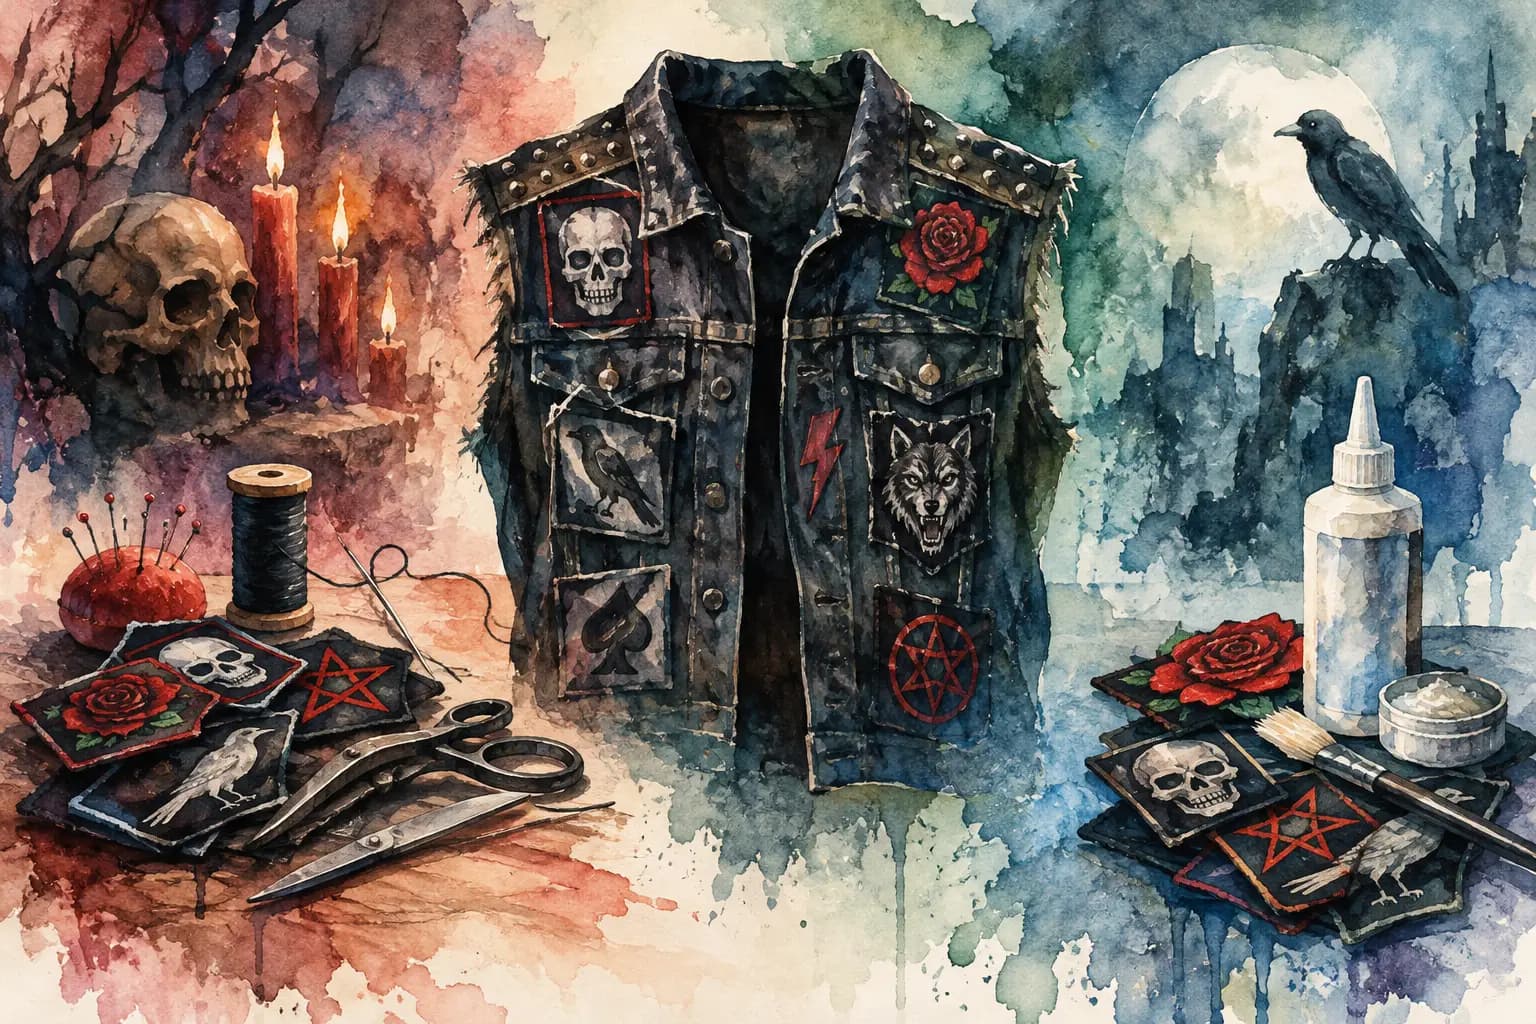
Watercolor illustration of a studded denim vest with skull, rose, raven, wolf and pentagram patches, flanked by sewing tools on one side and a glue bottle on the other.
A patch sitting crooked on a fresh denim vest is annoying. A patch that peels off in the middle of a show is worse. The sew on versus glue patches question comes up for nearly every first battle vest, and the honest answer is not that one method always wins. It depends on the patch, the garment, and whether you want a quick test layout or a jacket built to take years of gigs, travel, washing, and wear.
For most kuttes, sewing is the long-term move. Glue has a real place in the process too, especially when it is used with intention instead of as a shortcut for every patch. Here is how to decide before you commit.
Sew On Versus Glue Patches: The Core Difference
Sewing attaches the patch mechanically. Thread passes through the patch border and garment, creating a connection that stays put because the materials are physically joined. If a stitch breaks, you can repair that small area without starting over.
Glue creates a bonded layer between the patch and fabric. It can be fast, clean-looking from the front, and useful when a needle cannot easily pass through the material. But that bond has to handle flexing, heat, moisture, body movement, and the occasional snag. Some adhesives do this better than others, but glue is usually harder to repair once it starts failing.
That difference matters on a battle jacket because it is not a flat display board. Denim bends at the shoulders and elbows. Leather moves when you reach for the pit rail. A large backpatch pulls differently than a tiny chest logo. The attachment method needs to suit the job.
When Sewing Is the Better Choice
If you want a jacket that becomes part of your regular rotation, sew your patches. A hand-sewn patch can survive a lot, and it has the right DIY look even when the stitches are not perfectly invisible. Black thread disappears around most borders, while contrasting thread can become part of the design if that is your thing.
Sewing is especially worth it for backpatches, large woven patches, patches on high-movement areas, and anything you would hate to lose. The back of a vest catches wind, chairs, backpacks, and other people in packed rooms. It needs more than a light bond around the edge.
It is also the best choice when you are working with denim. Denim is forgiving, easy to pierce, and strong enough to support hand stitching. Use a sharp, sturdy needle and a thread that matches the patch border or jacket. Go around the edge with small, even stitches, keeping the thread snug but not so tight that it puckers the fabric.
You do not need to sew like a professional tailor. A basic running stitch or whip stitch works. What matters is getting secure coverage around the patch, reinforcing corners, and making sure the patch lies flat when the vest is worn. If you are attaching a heavy or oversized piece, add a few stitches through the middle as well as around the border. That stops it from sagging or catching.
Sewing on Leather Takes More Planning
Leather is where people hesitate, and fairly so. Every needle hole is permanent. Thin leather can often be hand-sewn with the right needle, but thick leather may require an awl, pre-punched holes, or professional help. Do not force a standard needle through tough leather and hope for the best. You can hurt your hands, bend the needle, or leave rough holes around a patch you spent months hunting down.
For leather, test your approach on an inconspicuous area or a scrap first. A small dab of temporary adhesive can help hold the patch in place while you stitch, but the stitches should still do the real work.
When Glue Patches Make Sense
Glue is useful for positioning patches before sewing. A tiny amount of fabric-safe adhesive, a few dots of wash-away glue, or even a temporary basting method can stop a patch from sliding while you work. This is particularly helpful with awkward shapes, thin woven patches, and placements near seams or pockets.
Glue can also be practical for materials that are difficult to stitch, provided you use an adhesive made for fabric or leather and understand the trade-off. Some people glue patches onto a leather jacket because they do not want to puncture it. That can work for small decorative patches in low-stress areas, but it is not the same level of security as stitching.
Iron-on patches sit somewhere in the middle. Their heat-activated backing is a type of adhesive, not a permanent promise. An iron-on can hold well on a flat cotton or denim surface, yet corners may lift with wear and washing. For a battle vest, treat the iron-on backing as placement help, then stitch around the edge when you can.
Avoid using school glue, hot glue, or random craft adhesives. Hot glue can create stiff lumps, soften in heat, and leave strings or residue. General-purpose glue may soak through fabric, discolor denim, or become brittle. The fastest fix can become the messiest cleanup.
Think About the Patch Before the Method
A clean embroidered patch with a thick border is easy to sew. You have a clear edge to follow, and the stitching can vanish into the border. Woven patches are often thinner and more likely to fray, so a close stitch line matters. Printed fabric patches may need extra care because a needle too close to the design can pull at the material.
Patch size changes the equation too. A small 2-inch logo can stay put with a modest amount of sewing or a quality adhesive. A giant backpatch has far more surface area, weight, and leverage. Sew it. The same goes for patches over jacket seams, near armholes, or on pockets that open and close.
Before attaching anything, check how it behaves on the garment. Put the jacket on, move your arms, sit down, and look at the patch placement in a mirror. A design that looks perfect on a table can bunch once it wraps around your shoulder blade or chest.
Plan First, Then Make It Permanent
The best way to avoid a glue-versus-sewing regret is to settle the layout before either one. Arrange your patches on a flat jacket, take photos, and live with the arrangement for a day or two. If you have a growing pile of patches, planning digitally can save you from shifting everything after the first stitch.
The Black Thread lets you map out a vest or jacket with realistic garment views, patch scaling, rotation, and centimeter measurements before you touch the fabric. That is useful for more than looks. It helps you spot when a chest patch will run into a pocket, when a backpatch needs room around the side seams, or when two shapes will compete for the same space.
Once the layout feels right, take reference photos from the front and back. Measure the center points and distances from seams if you want the physical placement to match your plan. Then use pins, clips, or temporary adhesive to hold each patch where it belongs before sewing.
A Practical Rule for Building Your Kutte
Use glue for temporary placement, careful testing, or small low-stress details on materials you cannot reasonably stitch. Use sewing for the patches that define the jacket: your backpatch, your favorite bands, large pieces, and anything placed where the garment flexes or gets dragged through daily life.
There are no strict rules for a battle vest. Plenty of great jackets have visible glue, rough hand stitching, safety pins, studs, repairs, and stories built into them. But if you want your patches to stay on long enough to collect those stories, let glue assist the process and let thread carry the load.
Start with the patch you care about most, place it with patience, and make the attachment strong enough that the next time you see it under venue lights, it is still exactly where you put it.