How to Arrange Band Patches on a Battle Jacket
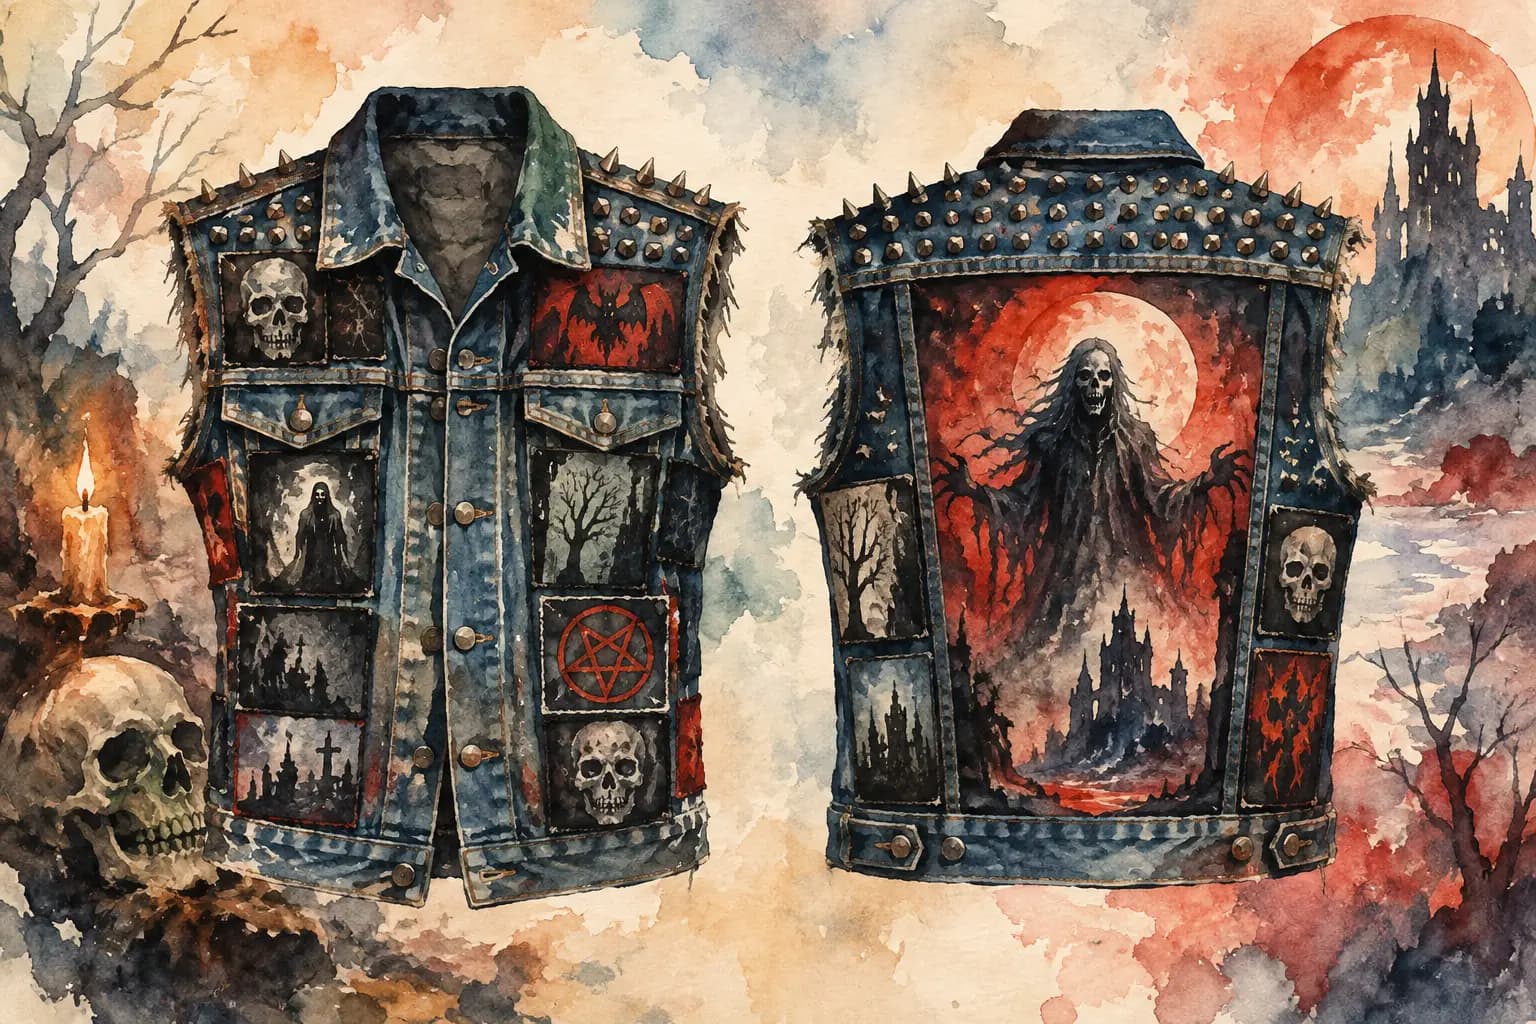
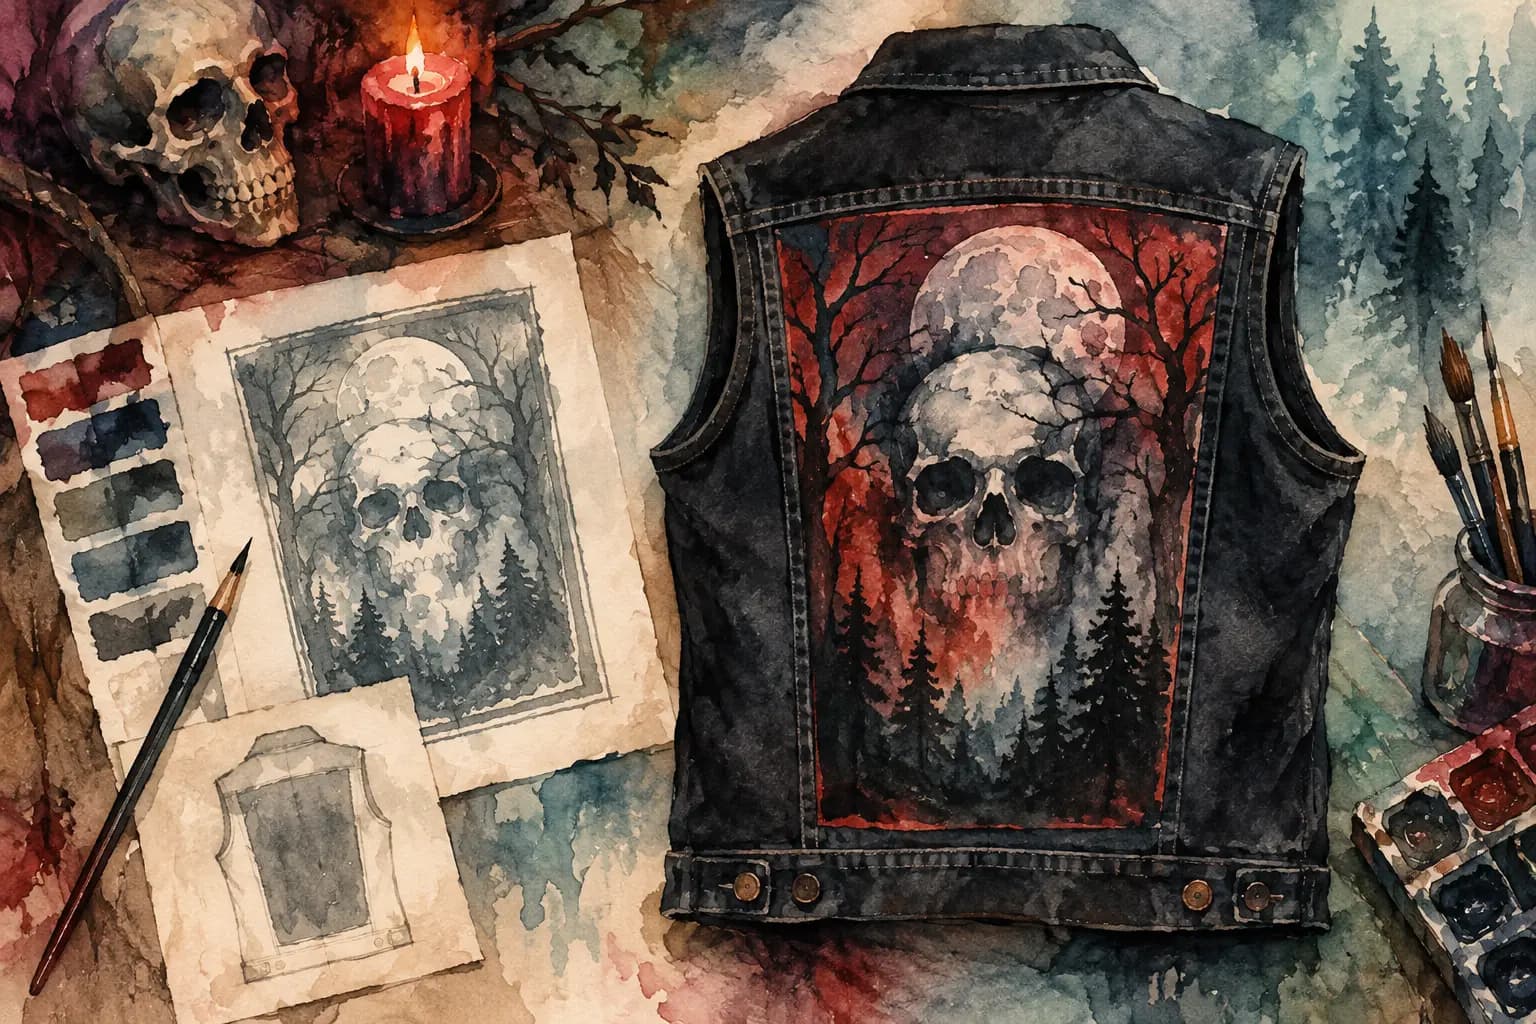
See how to balance a backpatch, chest panels, and sleeve patches into one layout you can test with tape before committing to permanent stitches.
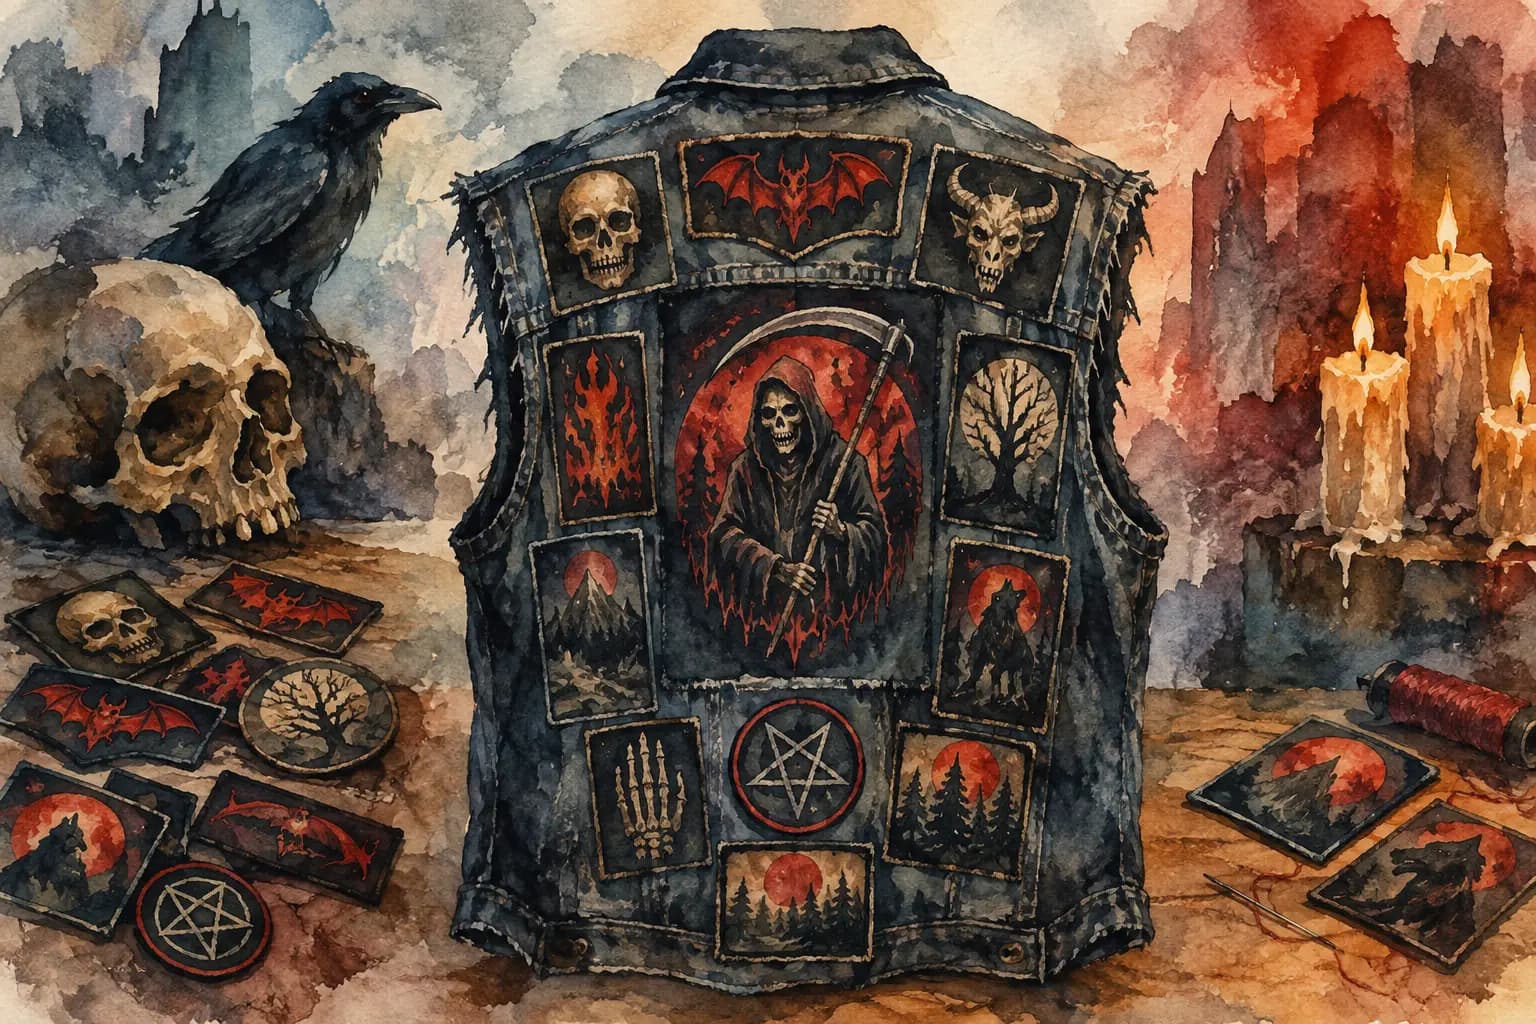
Watercolor illustration of a denim battle vest back covered in skull, bat, demon, grim reaper, and pentagram patches, surrounded by a raven, skull, candles, and loose patches on a table.
A battle jacket can take years to build, but one rushed placement decision can haunt you every time you put it on. A patch that looked perfect on your desk may crowd a pocket, disappear into dark denim, or leave an awkward gap once the rest of the jacket starts filling up. Learning how to arrange band patches before you sew lets you make the jacket feel intentional without sanding away the chaos and personality that make a kutte yours.
There are no strict rules. A crust-covered punk vest, a clean black metal jacket, and a classic heavy metal kutte can all use completely different visual logic. Still, a few practical choices will help your patches fit the garment, survive wear, and look right from across a venue.
Start With the Backpatch
For most battle jackets, the backpatch is the visual anchor. It sets the scale, color palette, and general mood for everything around it. Put it in place first, even if you are not ready to sew it yet, and treat it as the point every other patch reacts to.
Center it between the shoulder seams rather than simply centering it by eye. On a vest, leave enough room at the top that the patch does not ride up into the collar when you move. On a denim jacket, check where the yoke seam, waist tabs, and any pleats sit. A large rectangular backpatch may need to sit slightly higher or lower than you expected to avoid looking trapped between construction details.
The shape matters as much as the artwork. A wide logo backpatch creates natural side columns for smaller patches. A tall rectangle leaves more room below it for a bottom row. A circular or shield-shaped piece gives you more freedom, but it can make the surrounding empty space more noticeable. That is not necessarily bad - negative space can keep a packed jacket from becoming visually unreadable.
If you do not have a backpatch, choose another anchor: a large center patch, a painted panel, or a cluster of similarly sized patches. Starting with the biggest visual element prevents the common mistake of filling the entire back with small pieces, then realizing nothing important has room to breathe.
How to Arrange Band Patches for Balance
Balance does not mean making both sides identical. In fact, mirror-image layouts can look more like a uniform than a lived-in battle vest. What you want is visual weight that feels stable when someone sees the jacket from a few feet away.
Think about patch size, color, and contrast. A small bright embroidered logo can pull as much attention as a larger black-and-gray woven patch. If you place three high-contrast patches on one side of the back, give the other side something substantial to answer them: a large logo, a shaped patch, or a cluster with a similar overall weight.
Lay your patches out on the jacket without attaching anything. Step back, take a photo, and look at the photo rather than the garment in your hands. A phone screen reduces the layout to its basic shapes, which makes empty pockets and accidental clumps easier to spot. A grayscale view is especially useful for black denim and dark patches. Colors that feel distinct up close may turn into one dark mass at concert distance.
Avoid lining every patch up with a ruler unless that clean, military-grid look is what you want. Slight shifts in angle and spacing can make a layout feel more natural. The key is deliberate irregularity. A crooked patch should look like a choice, not like it drifted there because the layout was never planned.
Build the Back in Zones
Once the backpatch is set, work outward in zones. The area above it is usually best for narrow logo patches, arched patches, or small rectangular pieces. This upper band is visible when you are standing in a crowd, but it can get cramped fast, especially on smaller vests.
The side areas beside the backpatch are ideal for standard rectangles, strips, and vertical designs. Try to maintain enough space between patches that each design can be read. A tiny gap of exposed denim is often better than forcing pieces to overlap in a way that hides lettering or makes sewing difficult.
Below the backpatch, use the remaining space according to the cut of the garment. Long strips and landscape patches often work well along the lower back. On shorter vests, a few smaller patches may look better than one oversized piece that wraps around the hem or interferes with waist adjusters.
Leave seams, pleats, and high-stress areas in mind. A patch sewn directly over a center pleat can bunch when you move. Thick embroidery across a waistband may make the jacket uncomfortable. You can absolutely break these conventions if the result is worth it, but test the fit while wearing the garment before committing.
Give the Front a Different Job
The front of a battle jacket is not just a smaller version of the back. It is broken up by pockets, buttons, lapels, zippers, and the way the garment folds when worn. That makes it a good place for patches that reward a closer look.
Chest panels usually suit smaller rectangular patches, name-strip formats, and designs that fit above or below pockets. If you want a traditional look, use the left and right chest areas for bands, scenes, labels, or local patches that matter to you. They do not need to match. One side can carry a dense cluster while the other holds a single statement piece, as long as the overall front does not feel like it is tipping sideways.
Do not cover a pocket just because there is open space. If you use the pocket, keep it functional. If you never use it, covering it can make sense, but remember that pocket flaps and seams move differently from the flat denim around them. Secure the patch carefully so it does not catch or curl.
On leather jackets, think twice before filling every front panel. Leather has fewer forgiving flat surfaces than denim, and too many thick patches can make the jacket stiff. A more spaced-out arrangement may look stronger and wear better.
Use Sleeves, Shoulders, and Side Panels With Purpose
Sleeves are prime real estate, but they are also constantly bending. Long, narrow patches work well down the outside of a sleeve, while small round or shield patches can fit around the upper arm. Keep bulky embroidered pieces away from the inside elbow if comfort matters to you.
Shoulders and collar areas are highly visible, so they are good for patches you want people to notice first. They can also be awkward to sew because of seams and multiple layers of fabric. Pin or baste pieces in place, put the jacket on, and move your arms before stitching. If a patch digs into your neck or folds over your shoulder, relocate it.
Side panels can hold smaller leftovers, but do not treat them as a dumping ground. A few well-placed patches around the ribs can connect the front and back layout. Too many can make the jacket feel crowded from every angle.
Plan Around the Patches You Actually Have
Collectors often build layouts around future patch purchases. That is fine, but leave flexible spaces rather than reserving exact holes for patches that may never arrive. A small gap can be filled later with a pin, a hand-painted detail, a stud pattern, or a patch you find at a show.
Mixing woven, embroidered, printed, and screen-printed patches adds texture, though it comes with trade-offs. Thick embroidered borders create strong separation between patches, while thinner printed patches can disappear beside them. Put delicate or lightly printed pieces where they will not be constantly rubbed by backpack straps, seat backs, or your own arms.
It also helps to decide what story, if any, the jacket tells. You might organize by genre, era, local scene, favorite records, or pure visual instinct. You do not owe anyone a ranking system. A classic band logo can sit beside a brand-new discovery if both belong on your jacket.
Test the Layout Before You Save & Sew
Use masking tape, safety pins, or fabric clips to create a full temporary layout. Wear the garment, sit down, raise your arms, and look at it in daylight as well as indoor light. Check whether patches stay flat and whether the back design remains centered when the jacket is actually on your body.
For a lower-risk way to experiment, build the layout digitally first. The Black Thread lets you choose a jacket or vest template, place your own patch images, scale and rotate them, check front and back views, and use real-world measurements as a sewing reference. You can start designing free without an account, then save a version when you want to keep refining it.
Take your time with the temporary stage. Sew the backpatch and your largest pieces first, then fill in the smaller patches around them. Once the major shapes are locked down, the rest of the jacket becomes much easier to read.
Your battle jacket does not need approval from a layout chart, a comment section, or the person standing next to you at a show. Make the placement work for your body, your patch pile, and the bands that got under your skin. Then sew it on, wear it hard, and let the jacket pick up its own history.