How to Plan Battle Jackets That Feel Like You
Choose the right garment, anchor the back with one strong patch, check contrast, and leave room to grow before committing to permanent stitches.
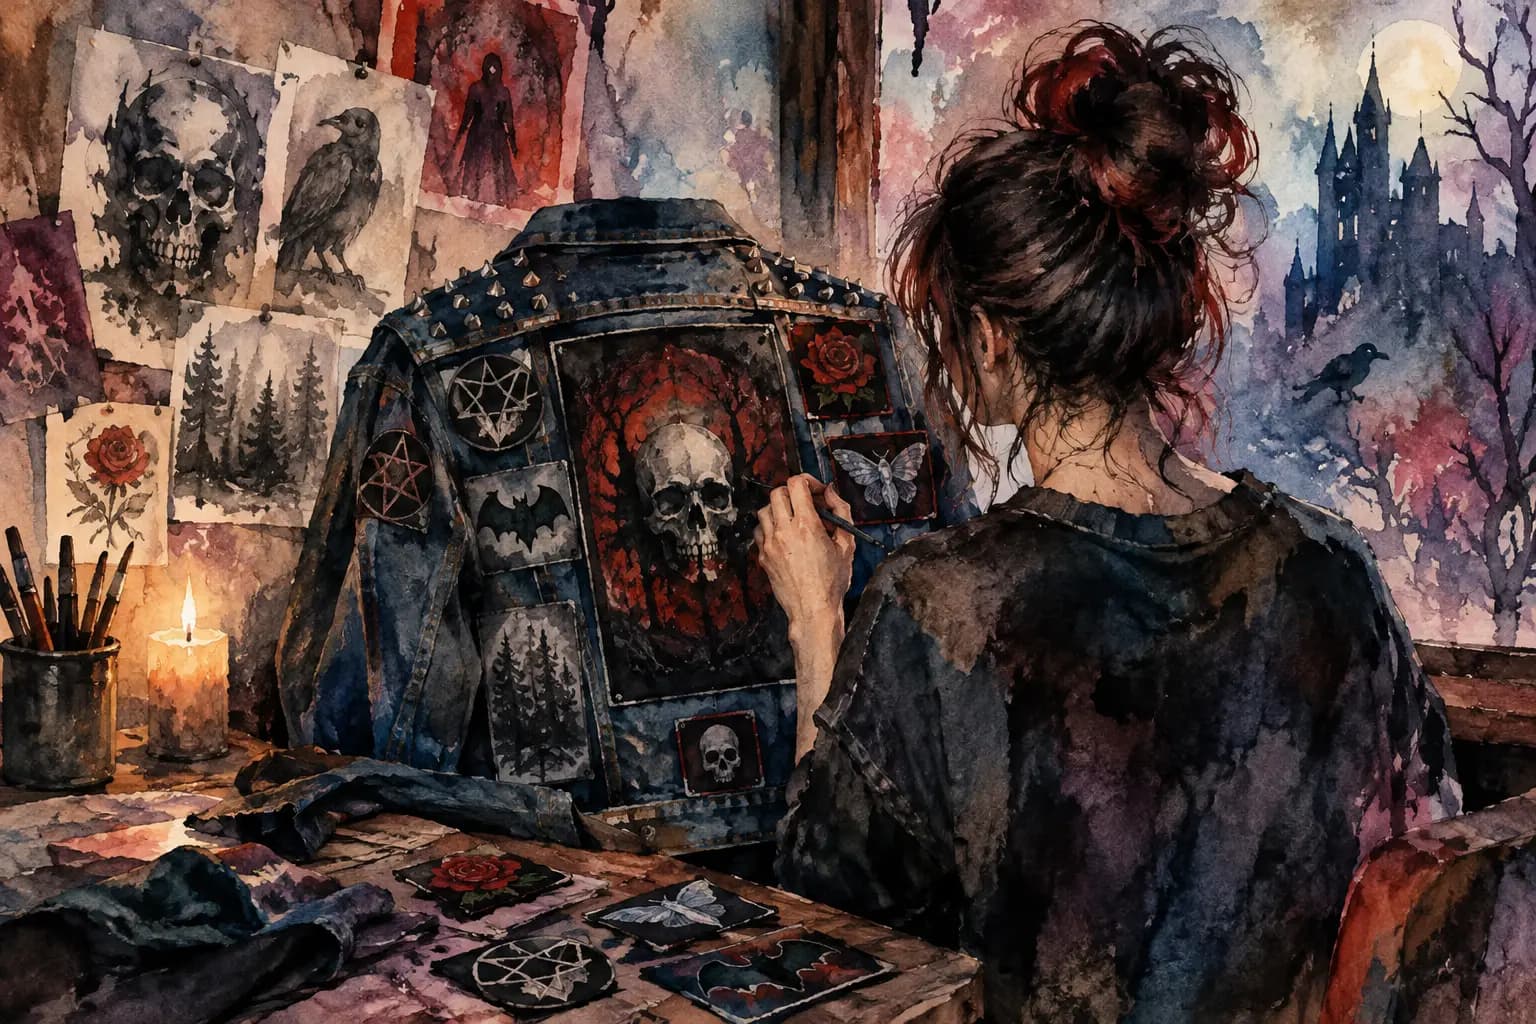
Watercolor painting of a person sewing a skull backpatch onto a studded denim battle vest by candlelight, surrounded by patch sketches.
A battle jacket is not just merch stitched onto denim. It is a record of shows, scenes, favorite records, old friendships, new obsessions, and the bands that got you through something. That is why planning matters. A patch can be rare, expensive, or impossible to replace, and once you sew it down, its place is permanent.
The good news is that battle jackets do not need to follow a rulebook. A clean, symmetrical metal vest can look as right as a chaotic punk jacket covered edge to edge. What matters is making intentional choices before the needle hits the fabric. A little planning saves you from a crooked backpatch, a crowded chest, or realizing your best patches disappeared into a dark denim background.
Start With the Jacket, Not the Patch Pile
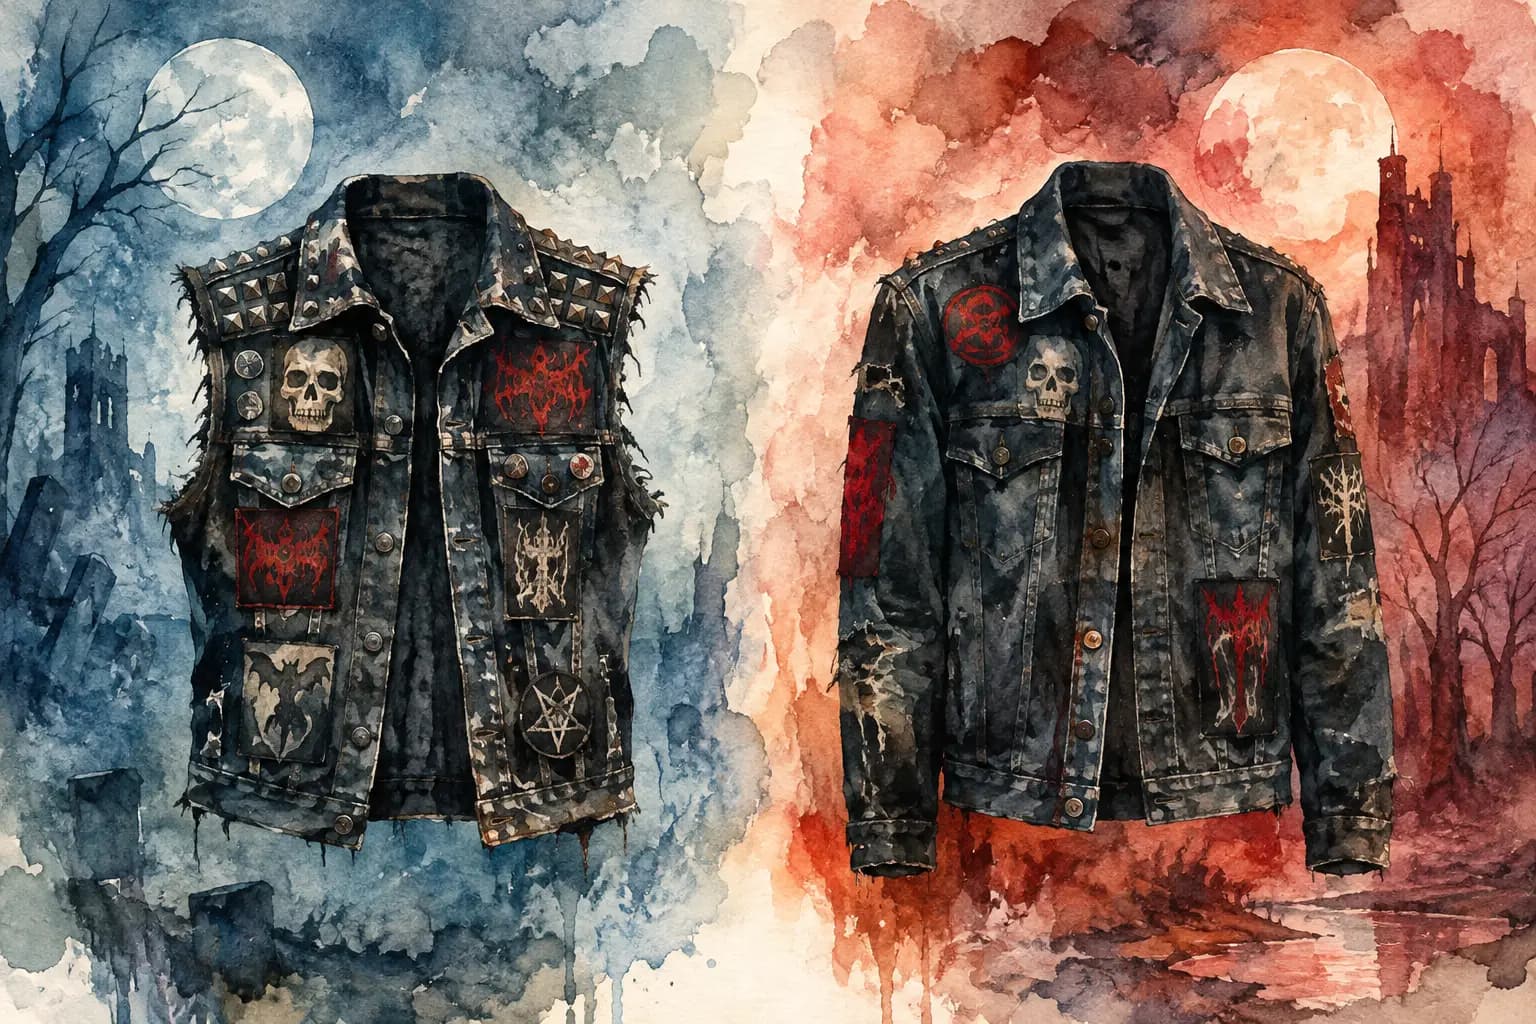
The garment sets the whole mood. A sleeveless blue denim vest is the classic choice, but black denim, faded gray, leather, canvas, and full-sleeve jackets all create a different foundation. Before choosing placement, decide whether you want the jacket to feel sharp and organized, heavily worn-in, minimal, or completely overloaded.
Fit matters as much as color. A vest that sits close to the body gives you less usable space but keeps the patch layout visible and tight. An oversized jacket gives you more room, especially across the back, though patches can sit differently when the fabric folds or the garment hangs loose. If you plan to wear it in a pit, over a hoodie, or through every season, leave enough room to move.
Look at the jacket as a collection of zones: the back panel, upper chest, lower front, shoulders, collar, and side seams. Each has different limits. Thick seams and pockets can make sewing difficult. Stretchy areas can distort patches. Sleeves are great for narrow logos and smaller designs, but they are not always the best home for detailed artwork people need to see from a distance.
Build the Back Around One Strong Decision
For most battle jackets, the backpatch is the anchor. It usually establishes the visual center and tells people what kind of jacket they are looking at before they notice anything else. That does not mean it has to be your favorite band. It can be the patch with the strongest artwork, the best shape for your jacket, or the one that fits the story you want the piece to tell.
Measure the back panel before buying or sewing. A backpatch that looks huge on a table may leave awkward gaps once it is centered between shoulder seams and above the waistband. A too-small patch can work, especially if you want a framed layout with surrounding patches, but it should look intentional rather than lost.
Then decide how the rest of the back will behave. A large rectangular backpatch often works well with smaller rectangular patches above and below it. A shaped patch may call for looser spacing and irregular pieces around the edges. If your patch collection is full of circles, shields, and odd cuts, do not force it into a rigid grid unless that contrast is the point.
Leave breathing room where it helps. Not every inch needs a patch. Negative space can make a centerpiece hit harder, especially on black denim or leather where a busy layout can become visually flat from a few feet away.
Check Your Contrast Before You Sew
A black-and-white patch on black denim may look perfect up close and disappear across a venue. The same is true for dark red, navy, purple, and low-contrast artwork. Contrast does not mean every patch needs a white border. It means the overall arrangement should still read when people are not standing directly in front of you.
Try viewing the layout in grayscale. If the patches turn into one dark block, move a lighter design outward, add a border patch, or create a small break between crowded areas. This is especially useful for all-black metal layouts, where texture and shape do much of the work.
Give the Front a Different Job
The front of a battle vest is more personal and more practical. It is where pockets, zippers, lapels, and movement affect placement. It is also the part you see most often while wearing it, so make it yours.
Chest patches traditionally work well as band logos, name strips, small woven patches, and compact designs. They frame the jacket without competing too hard with the back. You can mirror the two sides, build a deliberate imbalance, or let one side become a dense cluster while the other stays open. There are no strict rules here. The best layout is the one that feels like your jacket rather than somebody else's template.
Avoid placing a patch where a pocket needs to function unless you are happy to sacrifice the pocket. Also be careful with patches that cross a zipper or sit too close to the armhole. Fabric bends there constantly, and stiff patches can wrinkle, lift, or feel uncomfortable.
Pins, buttons, and studs can help fill small gaps, but do not use them only because a space feels empty. A few well-placed details add character. Too many can turn the layout into noise and make sewing repairs harder later.
Plan With Real Sizes, Not Just Patch Images
Patch photos can be misleading. A tall woven patch and a wide embroidered patch might look similar on a screen but occupy completely different amounts of jacket space. Record the real height and width of each piece before committing to a layout.
This is where a digital mockup is genuinely useful. The Black Thread lets you choose a jacket or vest, add patch images, scale and rotate them, switch between front and back views, and work with centimeter-based measurements. You can start planning without an account, then save designs if you want to keep refining them before sewing.
Use the mockup as a reference, not a commandment. Denim shifts. Patch edges vary. Your finished jacket will gain character from tiny imperfections. The goal is not factory precision. It is avoiding the kind of mistake that costs you a favorite patch or forces you to unpick several inches of stitching.
Make Room for Future Finds
A finished-looking jacket does not have to be finished forever. Many of the best battle jackets evolve over years. Leave a few areas open if you know you are always picking up patches at shows, trading with friends, or digging through merch bins online.
If you want a more complete first build, choose a stopping point anyway. Wear it for a while before filling every last gap. Seeing the jacket in daylight, at a show, and in photos can change how you feel about the balance. The empty spot you wanted to cover may become one of the reasons the whole thing works.
Sew in an Order That Prevents Regret
Start with the largest pieces, especially the backpatch. Once the anchor is down, you can adjust the smaller patches around it with more confidence. Pin everything in place first, then put the jacket on or hang it upright. Flat on a floor, a layout can look perfect. On a body, it may sit too high, lean toward one side, or fold in an unexpected way.
When you are ready, use a thread color that either blends into the patch border or becomes part of the look. Matching thread makes the patch appear cleaner; contrasting thread can give a rougher DIY finish. Neither choice is more authentic. It depends on whether you want the stitching to disappear or speak up.
Sew securely, particularly at corners and on patches near high-movement areas. A few extra stitches are worth it when a jacket is headed for crowds, travel, rain, and repeated washing. If hand sewing feels slow, that is normal. Put on an album, take your time, and treat it as part of the build.
Let the Jacket Keep Its Story
The strongest battle jackets are rarely the ones that look most expensive or most perfectly coordinated. They are the ones that feel lived in. Maybe the layout is pristine, maybe it is patched over old seams and show stains, maybe the bands make sense only to you. That is enough. Plan carefully, sew with purpose, then wear it until it becomes part of your own history.