Build Better Battle Vests With Jacket Templates
See how jacket templates let you test patch sizes, rotation, and front-to-back balance before a needle ever touches your vest or jacket.
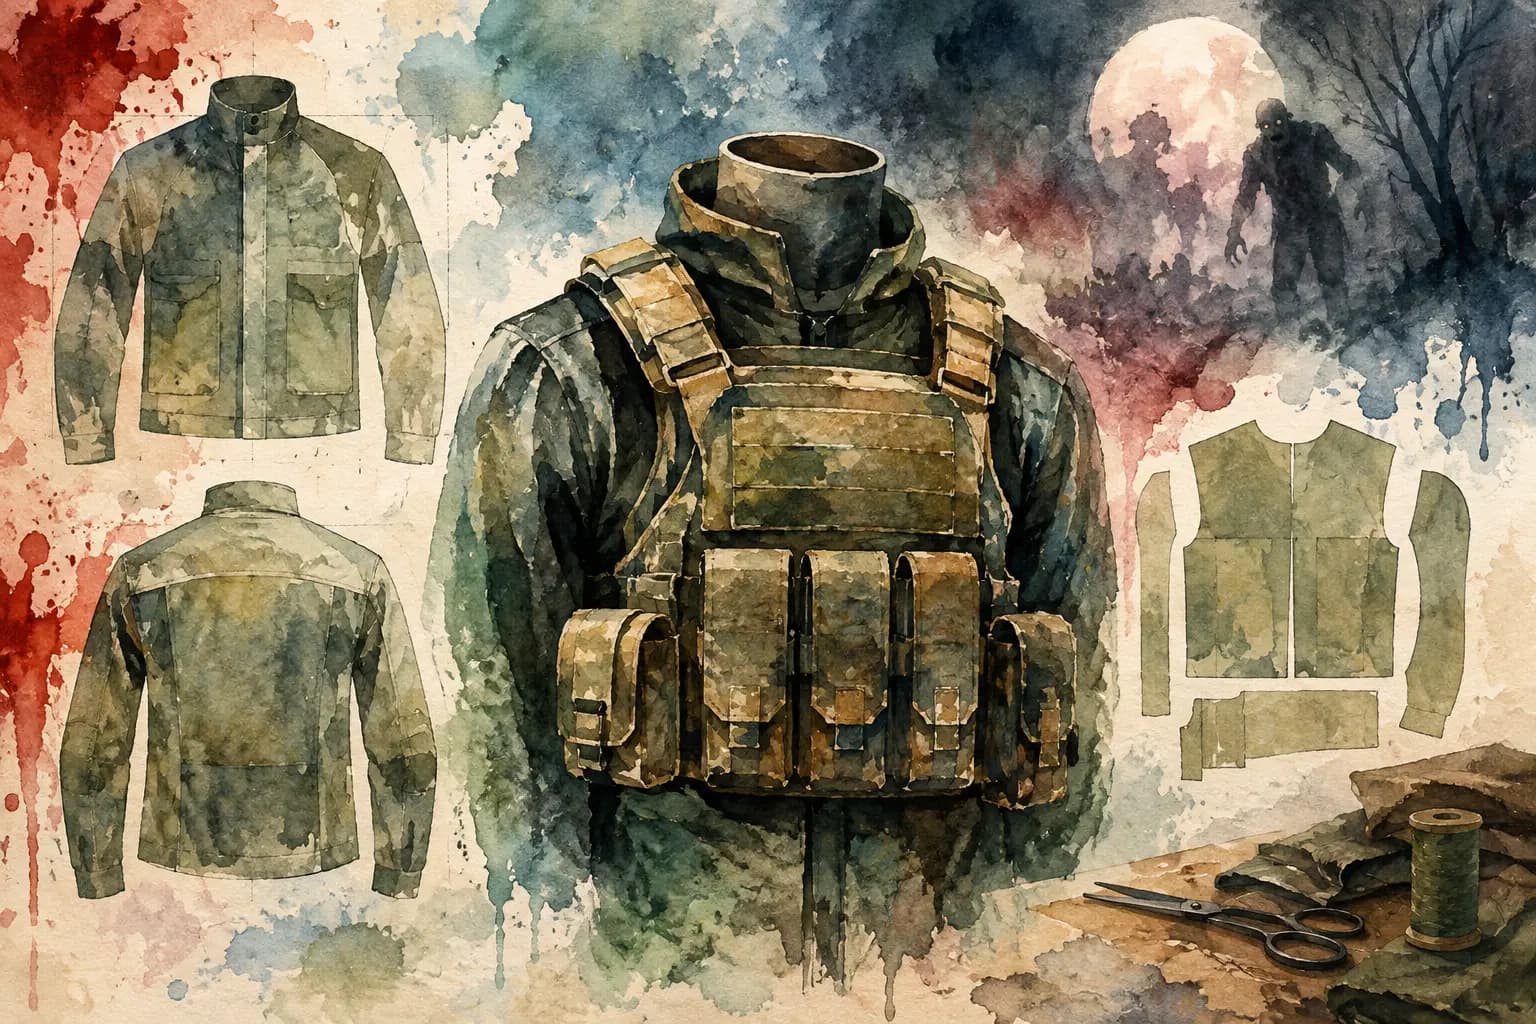
Watercolor pattern-sheet style illustration of a jacket shown from front and back, a tactical-style vest with pouches in the center, a vest pattern with fabric pieces, scissors and a thread spool, with a ghostly figure and moon in the background.
A crooked chest patch can be fixed. A backpatch that is too wide, a layout that feels crowded, or a rare patch sewn into the wrong spot is harder to live with. Jacket templates give you a place to test the whole idea before a needle touches denim, leather, or thread.
For a first battle vest, that means less guesswork. For someone with a stack of patches gathered over years of shows, trades, and late-night merch drops, it means seeing which pieces actually belong together. The point is not to make every kutte follow the same formula. It is to make the permanent version feel intentional.
Why jacket templates save good patches
A battle jacket is not a flat poster board. Seams interrupt the design, pockets take up valuable space, lapels fold, and a patch that looks right by itself may disappear once it sits next to a larger piece. The front has to work when the jacket is open, buttoned, or moving through a pit. The back needs enough breathing room for the backpatch to hit hard without turning every smaller patch into visual noise.
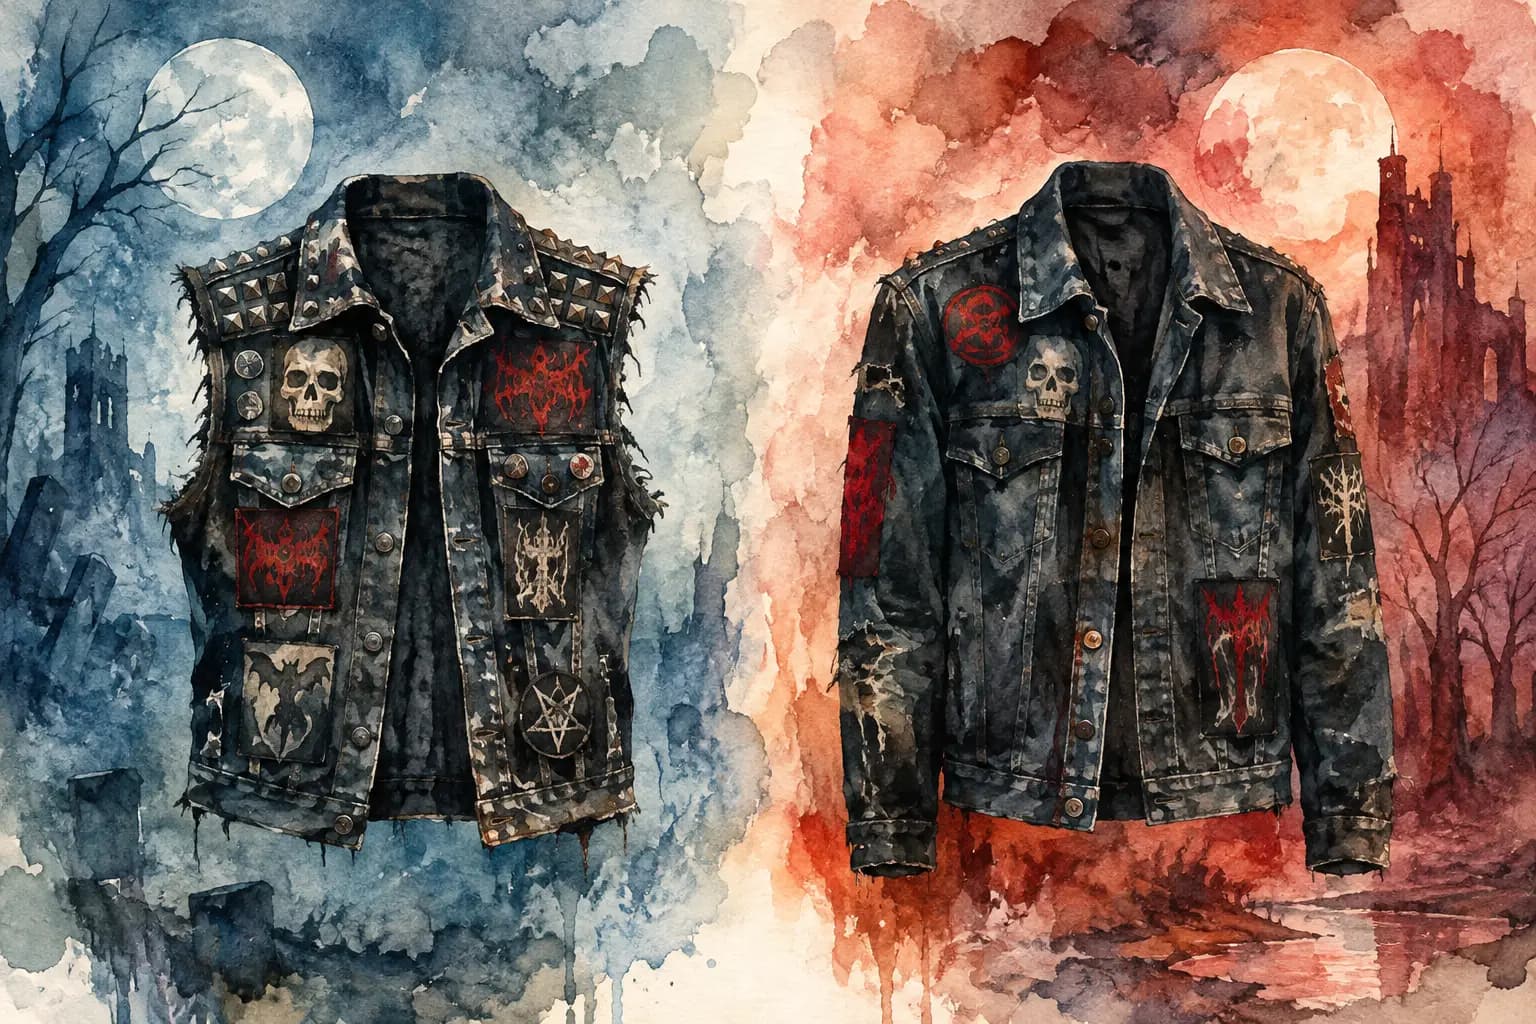
Planning on a realistic garment shape exposes those problems early. You can compare a vest against a sleeved denim jacket, test black versus blue denim, and look at the front and back as one complete build. That matters when a layout has a clear theme, but it matters just as much when your jacket is a chaotic record of bands, scenes, friends, and places you have been.
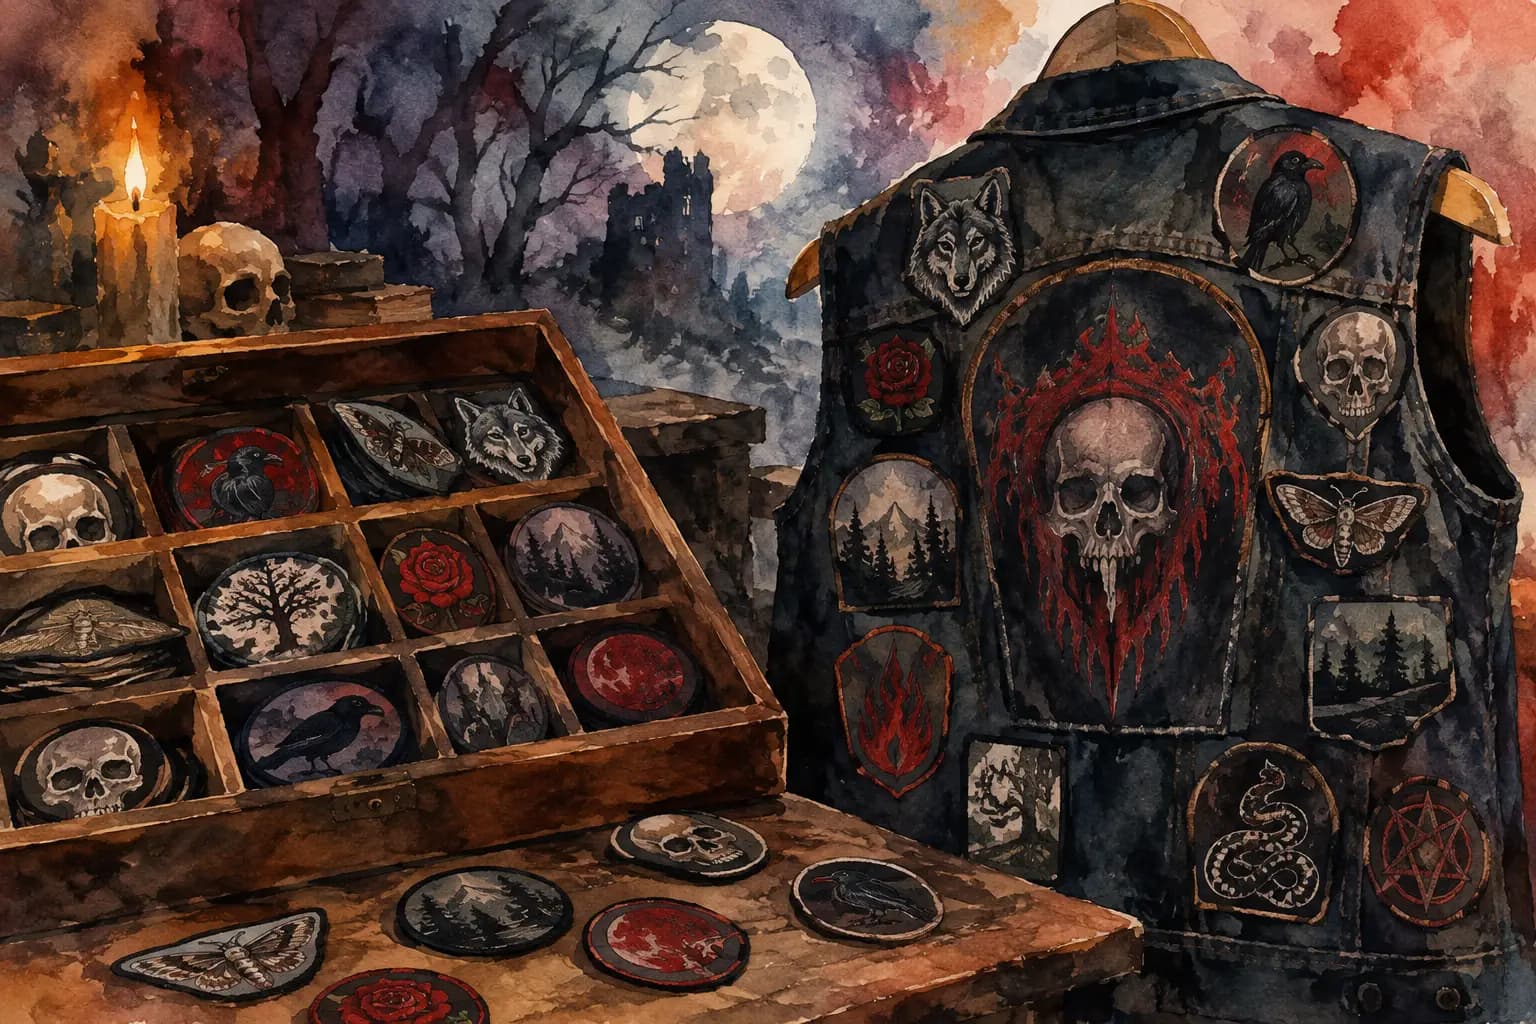
Templates are also useful when patches arrive in different formats. A rectangular woven patch, a circular embroidered patch, a tall logo, and a long strip patch do not fill space the same way. Their borders, thread density, and colors change how heavy a section feels. Seeing them together is better than discovering the clash after everything is stitched down.
How to use jacket templates before you sew
The best planning process is simple: choose the garment, add the patches you actually own or want to use, then refine the placement until it feels right. You do not need an account or a download to start building. Save the design later if you want to revisit it between patch purchases.
Choose the jacket shape first
Start with the garment you are customizing, not with the patch pile. A sleeveless denim vest gives you broad shoulder space and an open chest, while a trucker-style jacket brings sleeves, pockets, and more seams into the equation. Leather can handle a very different visual approach from faded blue denim, especially if you are working with high-contrast embroidered patches.
Pick a template that is close to the real garment's cut and color. It does not need to be the exact same brand or wash, but it should give you an honest sense of available space. If your actual jacket has oversized pockets, a narrow back panel, or unusual seam lines, leave extra room around those areas when you build the digital layout.
Then decide what leads the design. For many metalheads, it is the backpatch. For punk and hardcore jackets, the statement may be a cluster of smaller patches, a painted panel, or a chest arrangement that feels more immediate. There are no strict rules here. Starting with one visual anchor simply makes the next decisions easier.
Add your patches at realistic sizes
Upload images of patches you own, use a community patch library, or work with placeholders while you are still deciding what to buy. The important part is scale. A patch listed as 4 inches wide has a very different presence from a 12-inch backpatch, even if both images look similar on a phone screen.
Use real-world centimeter measurements when you can. Measure the patch itself, including its border, then scale it to match. If you are unsure of a final patch size, set aside a little clearance rather than packing every gap tight. Denim shifts, patch edges are not always perfectly square, and hand sewing needs room to happen.
Rotate patches when the shape calls for it, but do it with purpose. A slight angle can make a chest patch sit naturally beside a pocket or echo the line of a lapel. Too many tilted patches can make a jacket look accidental unless that rough, collage-like feel is exactly what you want. The template lets you test both without committing.
Check the front and back as one garment
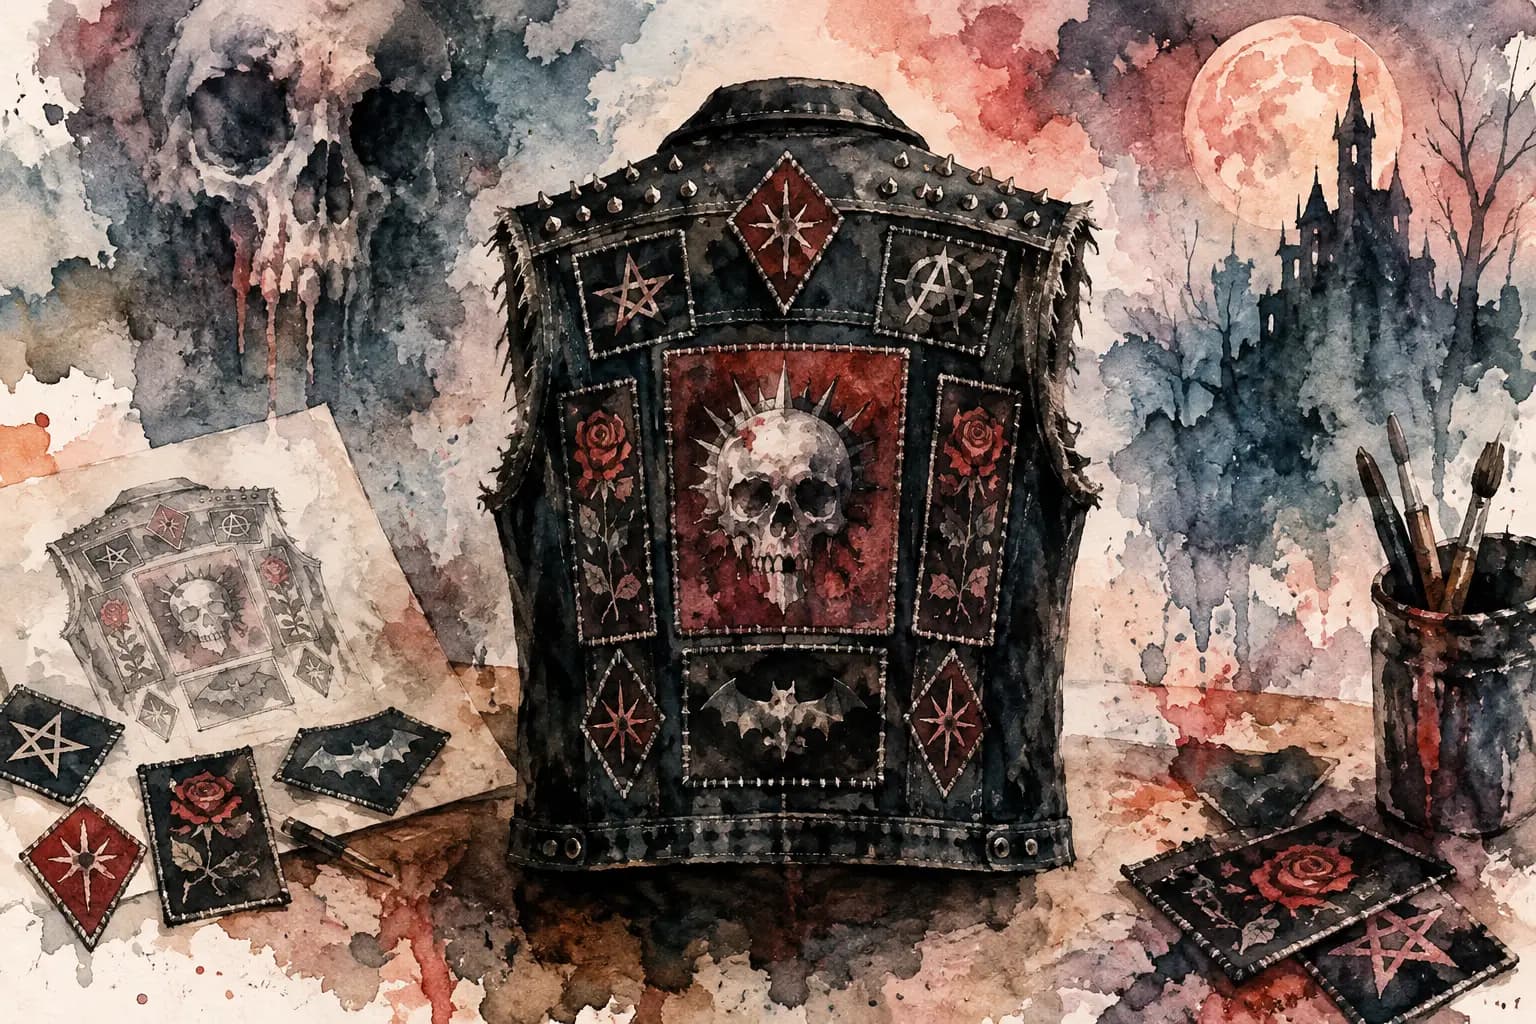
A strong back should not leave the front as an afterthought. Switch between views while you work. If the back carries a huge, detailed illustration, the front may benefit from simpler logos and smaller chest pieces. If your front is dense with pins, patches, and band names, a cleaner back can create a better balance.
Pay attention to zones that are likely to bend or rub. Pockets, button plackets, the lower hem, and the underarm area are all trickier places for stiff patches. A digital plan cannot tell you exactly how every fabric will wear, but it can stop you from treating a pocket like a flat panel.
When the layout feels nearly finished, step back from it. Look at the overall silhouette first, then the individual bands and details. A grayscale contrast check is useful here. It strips away the distraction of color and shows whether adjacent patches blend together too much. Two black patches can still work side by side, but they may need different borders, textures, or a little more space between them.
The placement choices that matter most
The backpatch usually deserves the most patience because it establishes the scale of the entire jacket. Center it relative to the garment's actual back panel, not just the image area on your screen. Leave room around the edges so the patch does not fight the shoulder seams or run into the bottom hem. A wide backpatch can look great, but it may make the space above and below it difficult to use.
Chest patches are where function meets personality. Many builders keep them high enough to remain visible when the vest is open and low enough to avoid the collar and lapel. If your jacket has pockets, decide whether you want to preserve them. Sewing a patch over a pocket is a valid choice, but it gives up the pocket for good.
Side panels and lower-back space are useful for odd shapes, smaller favorites, and patches that do not need center-stage attention. They can also keep a collection from becoming too symmetrical. Perfect balance is not mandatory. What matters is whether the unevenness feels chosen rather than unfinished.
A good rule is to avoid filling every empty spot at once. Space is part of the layout. It gives future patches somewhere to go, keeps the design readable from a distance, and lets the pieces you care most about stand out. Some jackets take one weekend. Others build up over a decade. Both approaches are real.
Turn your digital plan into a sewing reference
Once your placement is set, save a clear reference of the front and back. The Black Thread lets you build a design before committing to the physical garment, which is especially useful if you are collecting patches slowly or planning more than one vest. Keep your screen reference open while laying the real patches on the jacket, but expect small adjustments once fabric and seams enter the picture.
Before sewing, place everything loosely on the garment and check it from a few feet away. Take a photo if you need a second opinion. Measure the distance from key seams to major patches so you can return a piece to the same position after moving the jacket to sew. A few pieces of painter's tape or safety pins can hold the arrangement while you work.
Do not chase digital perfection at the expense of the actual jacket. A millimeter shift may be necessary to avoid a seam. An embroidered edge may sit differently than its product photo suggested. The plan is a map, not a prison.
Questions builders ask about jacket templates
Should I plan every patch before I start sewing?
Not necessarily. Planning the big pieces first is usually enough: the backpatch, chest patches, large side patches, and anything rare or expensive. Leave room for future finds if you enjoy adding to your battle vest over time. A full mockup is best when you already have a complete pile and want a deliberate final layout.
Can a template help with a leather jacket?
Yes. The visual planning works the same way, though the physical work is different. Leather is less forgiving than denim, and some patches may need adhesive support, careful hand stitching, or professional help. Use the template to make placement decisions before making holes you cannot easily undo.
What if my patch image has a messy background?
Crop the image as closely as possible to the patch edge before adding it. A clean image makes sizing and overlap easier to judge. It does not have to look like a product photo, but removing extra table surface, packaging, or shadows gives you a more honest preview.
Is symmetry required on a battle vest?
No. Symmetry can make a jacket feel clean and structured, while asymmetry can feel louder, more layered, and more personal. Try both on the template. The better choice is the one that supports the character you want your jacket to have.
Your jacket will get scuffed, faded, soaked in rain, and carried through shows. Plan it carefully, then let it become yours when the thread starts going through the fabric.