Garment Template Design Guide for Battle Vests
Plan your battle vest before you sew: pick the right garment, place patches by zone, scale them accurately, and check contrast so the layout holds up.
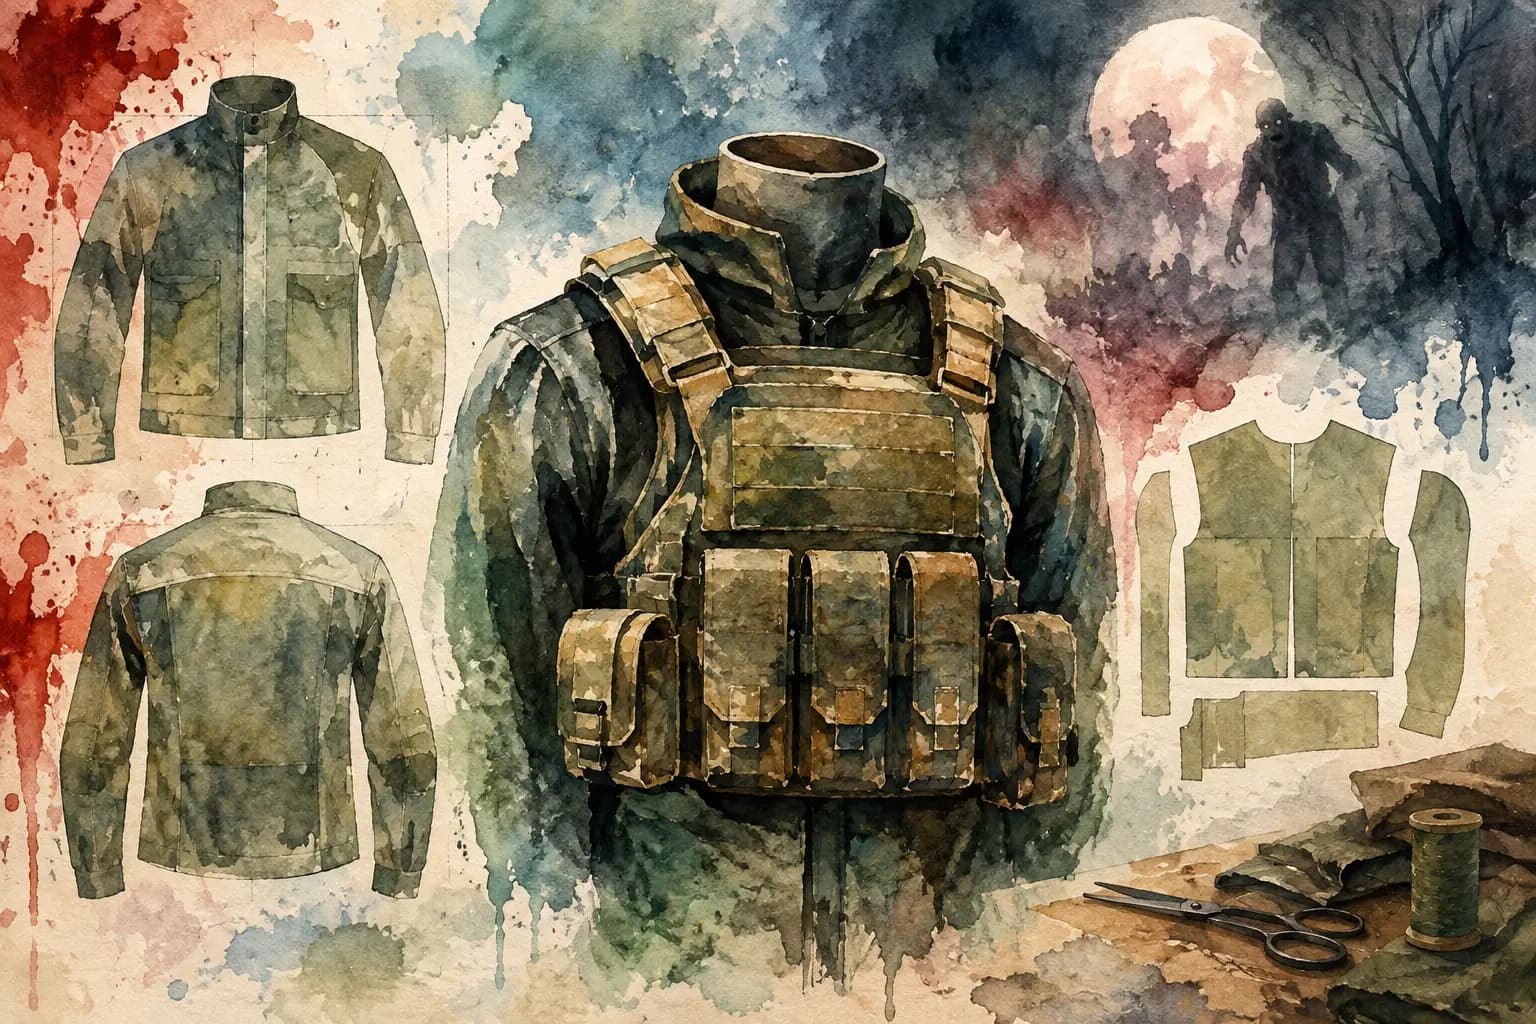
Watercolor painting of a tactical vest surrounded by garment template sketches and a paint palette.
A patch looks small in your hand. Put it on a vest next to a large backpatch, two chest pieces, and a pocket seam, and suddenly it can throw off the whole build. That is why a garment template design guide is useful before the needle, thread, and permanent decisions come out. Planning first lets you see the jacket as a complete statement, not a pile of patches waiting for somewhere to land.
A battle jacket, kutte, or vest does not need to follow anyone else's rulebook. It should look like yours. Still, a little planning saves you from common headaches: covering a pocket you use, buying a patch that will not fit, crowding a favorite logo, or realizing halfway through sewing that the front has no visual breathing room.
Start With the Garment, Not the Patch Stack
The garment is the frame for everything else. Choose the closest match to what you actually own or intend to buy: a sleeveless denim vest, a standard denim jacket, leather, black denim, blue denim, or something more beat-up and personal. Garment color matters because it changes how patch borders, thread, and printed artwork read from a few feet away.
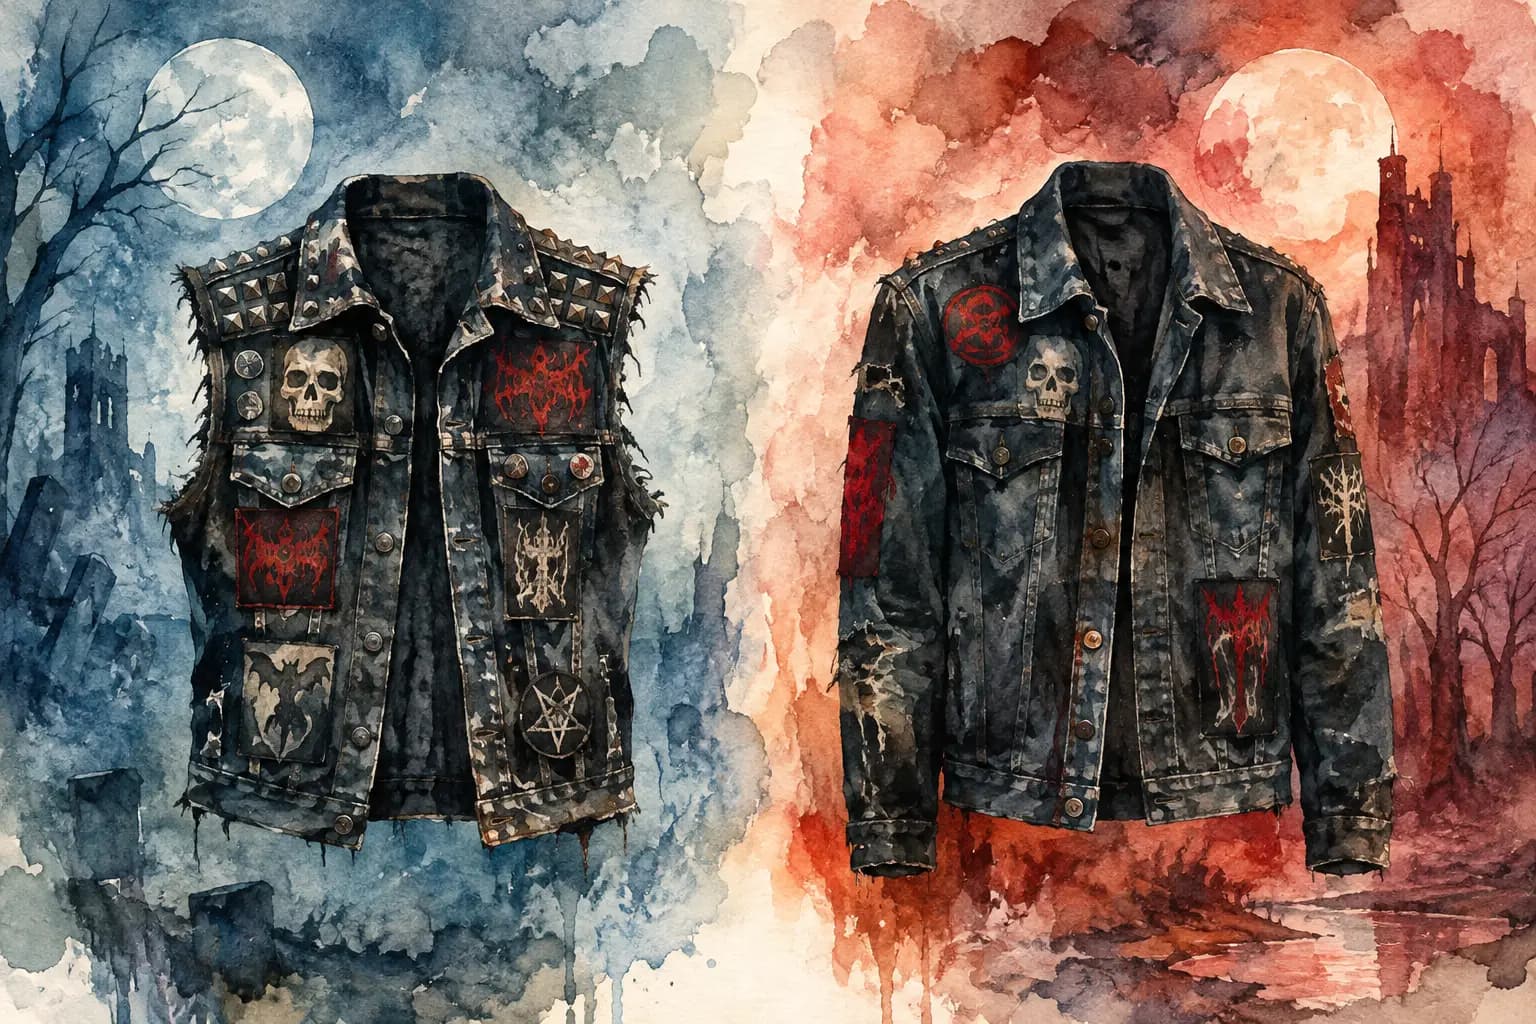
A light blue vest can make black-bordered patches feel sharply defined. On black denim or leather, dark patches can look mean and cohesive, but fine details may disappear unless they have a pale border, bright print, or contrasting stitching. Neither choice is better. It depends on whether you want every patch to hit individually or the full garment to read as one dense wall of music and history.
Pay attention to the real construction, too. Pockets, button plackets, seams, collars, and side panels are not blank canvas. They are physical limits. A mockup that ignores them may look great on a screen and become frustrating when you start sewing. The best template is not just a silhouette. It gives you a realistic sense of usable space on the front and back.
Think in Zones
Most battle vests naturally break into a few zones: the back panel, upper chest, lower front, side panels, and collar or shoulder area. Treating each area as its own small composition prevents the front from becoming a random scatter of patches.
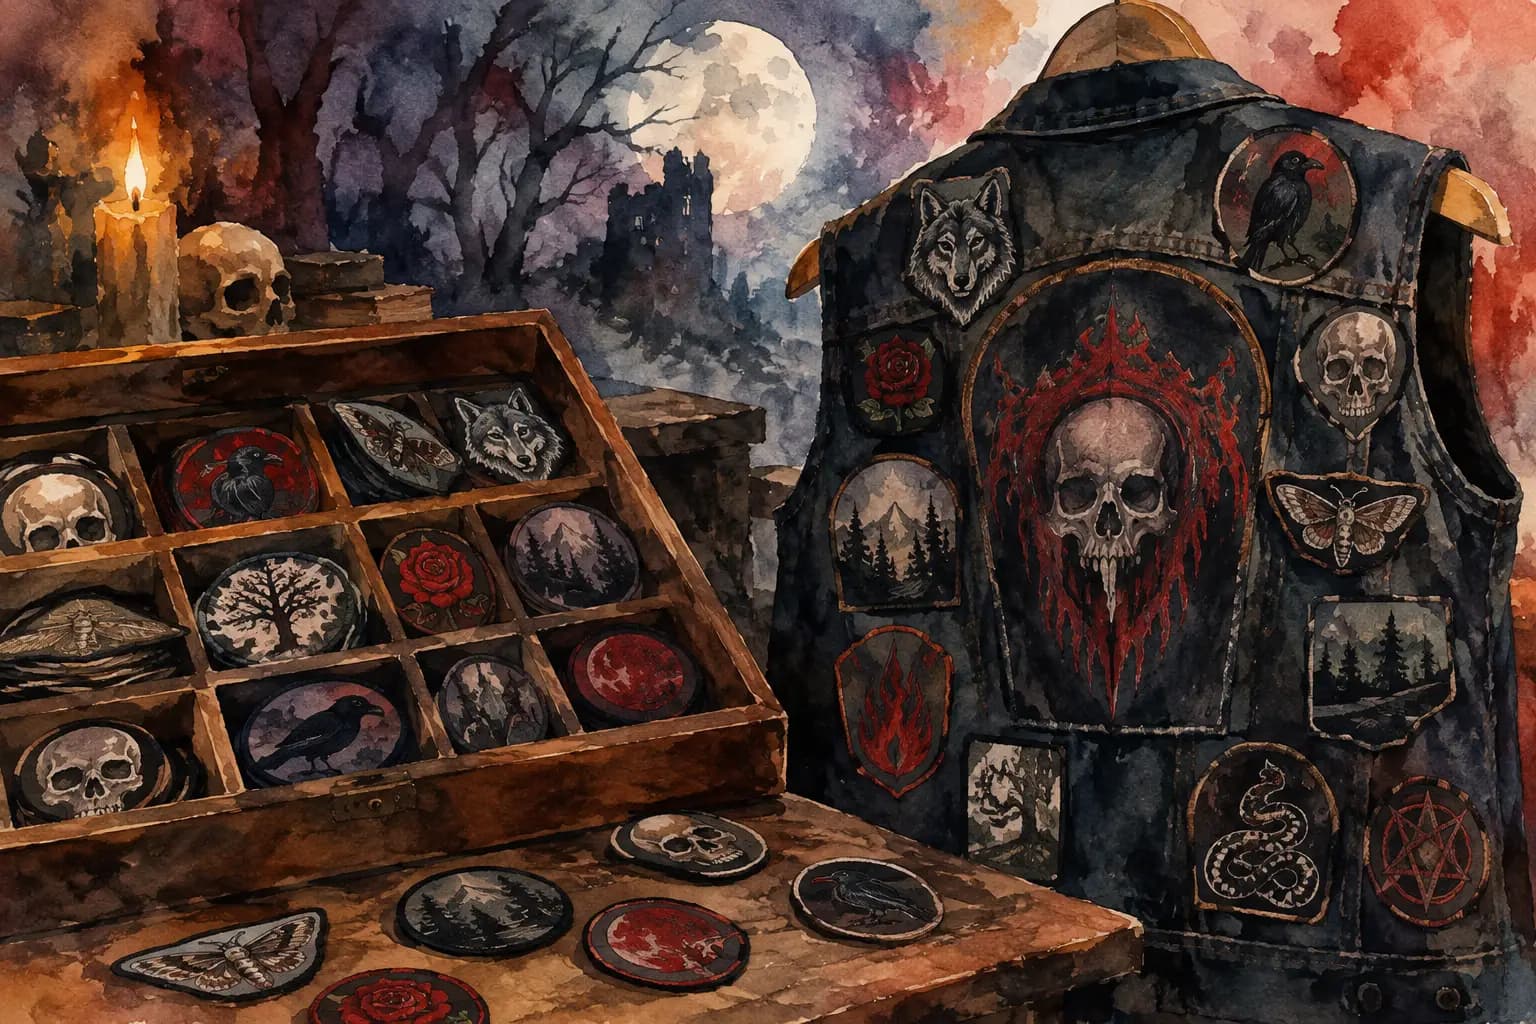
The back panel usually carries the largest visual weight, often through one backpatch or a tightly arranged collection of larger pieces. The chest is where name patches, woven logos, political statements, and smaller band patches tend to work best. Lower panels can take longer rectangles, shields, and odd shapes, although they need clearance from the hem and pockets.
You do not have to fill every zone. Empty denim is part of the design, especially early in a build. Leaving room also gives you space for the bands you have not discovered yet.
A Garment Template Design Guide for Patch Placement
Start with the patch that matters most. For many metalheads, that is the backpatch. For a punk jacket, it may be a hand-painted panel or a big statement piece. Place it first, then build outward. This immediately tells you how much room remains for shoulder blades, side panels, and the area below the collar.
A large backpatch should feel intentional rather than merely centered by measurement. Centering is usually a reliable baseline, but visual center can shift when a patch has an uneven logo, a strong diagonal image, or an irregular shape. Move it around until the garment feels balanced at a glance.
Then add medium patches before the smallest fillers. Medium pieces establish the structure around your focal point. A pair of similarly sized shoulder patches can create symmetry, while mismatched pieces can create a more chaotic, lived-in layout. Both approaches work. The question is whether the imbalance looks chosen.
Small patches, pins, and narrow logos are finishing tools. Use them to close awkward gaps, bridge different patch shapes, or draw the eye through the layout. Do not use them simply because there is denim showing. A jacket packed edge to edge can rule, but cramming patches into every gap often makes individual favorites harder to see.
Keep Scale Honest
A common planning mistake is treating every uploaded image as if it has the same real-world size. A 4-inch woven patch and a 12-inch printed backpatch do not just differ in size. They carry completely different visual weight.
Use centimeter measurements when scaling your patches. Measure the actual patch at its widest and tallest points, then match those dimensions in the design. If you have not bought it yet, check the listed size and leave a little tolerance. Real patches can vary, and borders, folds, and thick embroidery take up more room than a flat image suggests.
Rotation matters as well. A slight angle can make a rectangular patch follow the line of a shoulder or fill a narrow side area naturally. Too many angled patches, however, can make the jacket feel accidental unless that is the look you want. Try one rotated piece, step back, and see whether it creates movement or just visual noise.
Build the Front and Back as One Garment
A strong back does not guarantee a strong jacket. Switch between front and back views while you plan. The back is usually the poster. The front is where the smaller details reveal themselves in conversation, at a show, or in line outside the venue.
If your back has one massive, high-contrast centerpiece, consider whether the front needs a calmer arrangement. If the back is a dense patch mosaic, a few bolder front pieces may help the full garment hold together. Repeating one color, border style, or patch shape across both sides can create a connection without making the jacket too matched.
Chest placement deserves extra attention. Patches near the upper chest are highly visible, but they compete with lapels, pockets, and the way the vest folds when you move. A patch that sits perfectly flat in a mockup may bend over a seam in real life. Keep a small safety margin around pocket edges and buttons, especially if you want to use the pockets.
The same goes for side panels. They are great for narrow patches, but a vest flexes heavily there. Thick embroidered pieces can be uncomfortable or pull at the fabric. Reserve those spots for lighter patches, fabric scraps, or designs you do not mind seeing at an angle.
Test Contrast Before You Sew
Color is not the only way a layout communicates. Contrast determines whether it can be read from across the room. A grayscale preview is a simple reality check: it strips away the excitement of bright thread and shows whether your patches blur into one another.
If two adjacent patches become the same gray value, you may want a little separation. That could mean moving one, adding a border of exposed denim, changing its angle, or using contrasting thread. You do not need a perfectly balanced grid. You just need enough definition that the layout does not turn into one unreadable block.
This is especially helpful for black metal, goth, and monochrome builds, where black, charcoal, and faded white can be the whole point. Low contrast can look incredible up close. The trade-off is distance. Decide whether you want people to read the individual patches from ten feet away or discover them when they are standing beside you.
Use a Digital Plan as a Sewing Reference
Once the layout feels right, save it and use it at your work table. The Black Thread lets you plan with realistic garment templates, drag-and-drop patches, front and back views, rotation, scaling, centimeter measurements, and grayscale checks without downloading software. You can begin designing for free, then save a build to revisit as your patch pile grows.
When it is time to assemble the physical jacket, do not trust memory. Take a screenshot or keep your saved design open. Lay the garment flat, place the biggest patches first, and use safety pins or fabric clips before sewing. Check the front and back again while wearing it. A vest changes shape on a body, and that final fit check can catch a patch that sits too high, blocks movement, or looks different once the shoulders curve.
Hand sewing gives you control and fits the DIY spirit, particularly around thick borders and awkward shapes. Fabric glue can help hold a patch in position while you stitch, but it should not be the only thing keeping a favorite patch attached through pits, crowds, rain, and years of wear. If you use a sewing machine, test it on scrap denim first. Heavy embroidery and layered fabric can be tough on a machine.
Let the Jacket Keep Changing
The best garment template design guide gives you direction without freezing the project in place. Your taste will shift. New records will hit at exactly the right time. A first vest may be carefully organized, while the next becomes a chaotic archive of shows, friends, causes, and bands that shaped a particular year.
Leave yourself room to change your mind. Plan hard before you make holes in the fabric, sew with care, and let the finished jacket earn its character one patch at a time.