How to Design a Battle Jacket Online Free
Plan your battle jacket before the first stitch. From choosing a backpatch to working around pocket seams, learn how to design a battle jacket online for free, test layouts with your own patches, and get the sizing right, while leaving room for your next find.
How to Design a Battle Jacket Online Free
A backpatch that looked perfect on your bedroom floor can swallow the whole back panel once it is sewn down. A chest patch can collide with a pocket seam. And a pile of great patches can turn into a cluttered vest if you start stitching before you can see the full layout. That is why it helps to design battle jacket online free before committing to needle, thread, and permanent holes in your denim.
A battle jacket is not a uniform. It is your bands, your shows, your tastes, your history, and sometimes your worst decisions arranged on a garment. There are no strict rules, but planning gives you the freedom to break conventions on purpose instead of discovering a problem halfway through a sew job.
Design a Battle Jacket Online Free Before You Sew
A digital layout is a rehearsal for the real thing. You can test a traditional metal kutte with a huge backpatch and orderly side patches, build a punk jacket full of overlapping shapes and hand-painted details, or make a vest that leaves space for future finds. None of those approaches is more legitimate than another. The question is whether the design feels intentional when you put it on.
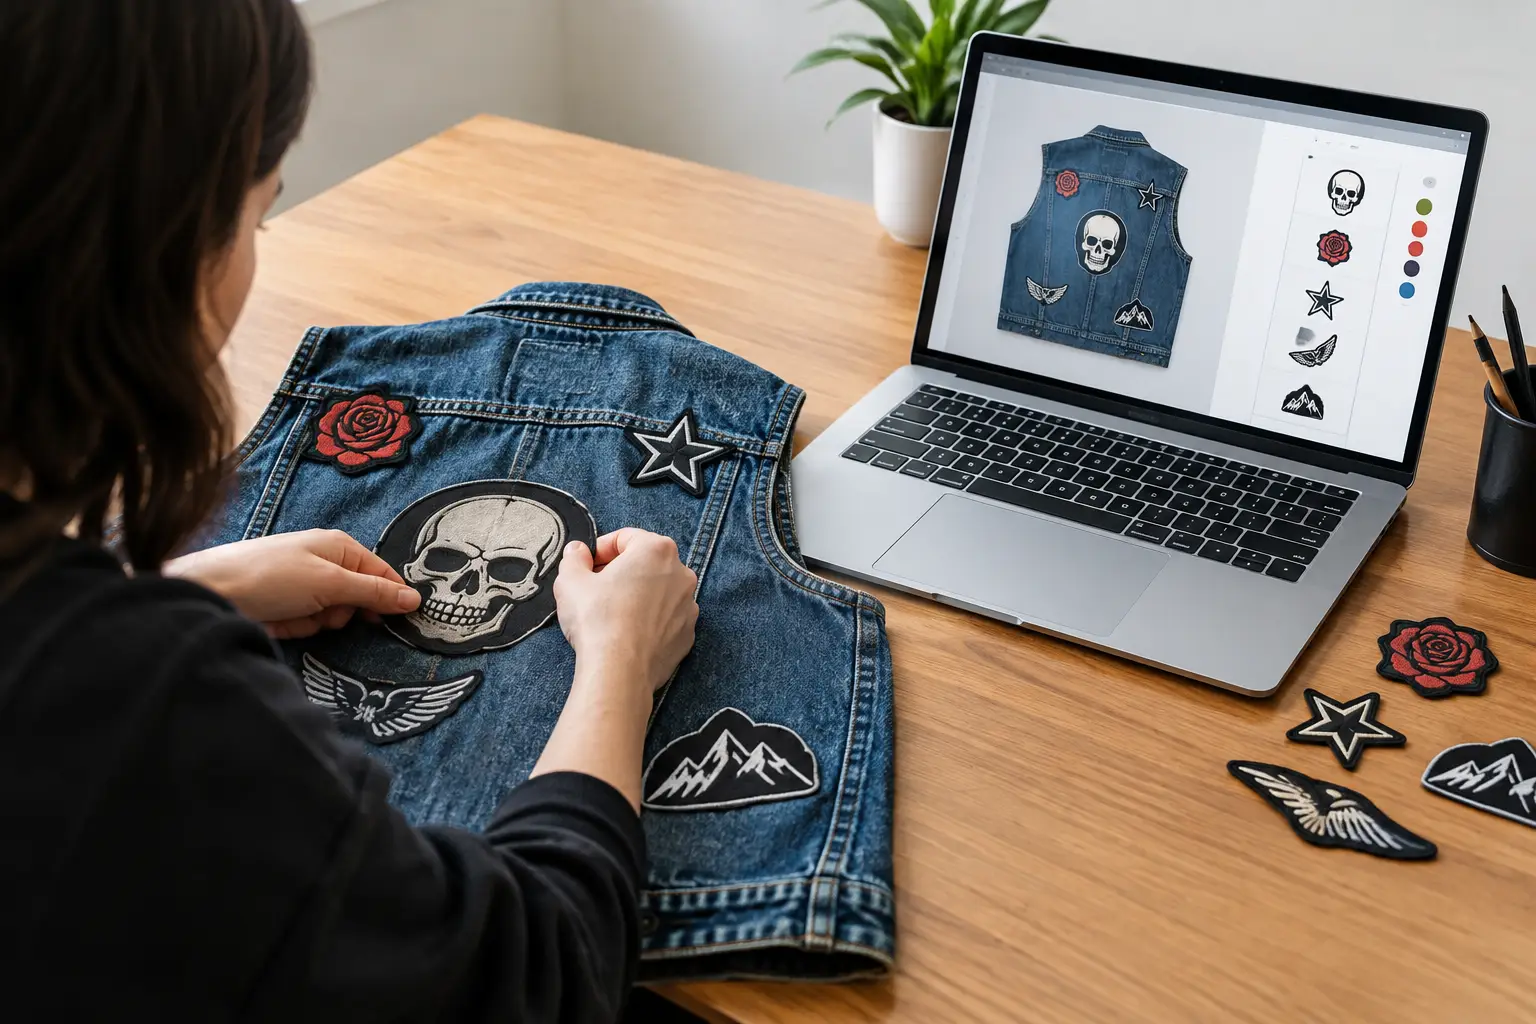
The useful part is being able to move things around without consequences. Try a patch on the left chest, then rotate it and shift it to the shoulder. See whether a round patch works better beside a rectangular one. Remove a design that fights the rest of the jacket. Physical patches are limited, sometimes expensive, and not always easy to replace. Rearranging pixels costs nothing.
The Black Thread is built around that exact process: planning a real kutte or battle vest with jacket templates, patch placement controls, front and back views, and measurements that relate to the garment you will actually sew.
Start With the Jacket You Actually Want to Wear
Choose a template that is close to your real garment. Denim jackets and vests do not offer the same usable space, and a leather jacket brings its own limits around thickness, seams, zippers, and hardware. A sleeveless vest usually gives you a larger, cleaner canvas across the shoulders and back. A jacket with sleeves can make the front feel busier, but it also creates room for sleeve patches and extra details.
Color matters more than people think. Black denim can make bright embroidered borders hit hard, while blue denim often gives old-school woven patches a familiar contrast. Gray, white, red, and dyed jackets change the entire visual balance. If you are planning around a black backpatch, make sure it will not disappear into a black vest unless the border, thread, or surrounding patches give it separation.
Do not treat every visible surface as available space. Pocket flaps, button plackets, heavy seams, collar points, and side tabs affect what can sit flat. A digital builder lets you plan around these features before you find out that your favorite patch bends awkwardly every time you move.
Build the Back First, Then Let the Front Breathe
For many battle jackets, the backpatch is the anchor. It establishes scale, color, and mood before the smaller pieces arrive. Place it first and check its relationship to the collar, side seams, and bottom edge. A centered backpatch is the classic choice, but a slightly raised or lowered placement may work better depending on the patch shape and the cut of your vest.
Then decide what the rest of the back should do. You might frame the backpatch with smaller patches, keep the area sparse for contrast, or fill it densely with tour patches and band logos. Dense can look excellent, but only if the shapes feel connected rather than randomly crammed into every gap.
The front needs a different mindset. Chest panels are smaller and broken up by pockets, buttons, and lapels. One strong chest patch on each side often reads better than trying to force five full-size rectangles into limited space. If you collect lots of patches, leave yourself room. A jacket can grow over years, and an empty space is not a failure. It is an invitation.
Use Patch Shapes as Part of the Layout
A rectangular patch gives structure. Circular patches soften a rigid grid. Long strips can bridge narrow spaces along the lower back, side panel, or sleeve. Odd-shaped patches create energy, especially around shoulders and pocket edges.
Scale is where a layout either locks in or starts fighting itself. If every patch is large, nothing gets to be the focal point. If every patch is tiny, the jacket may look noisy from a distance. Give the eye a few clear places to land: usually the backpatch, a couple of chest pieces, and perhaps a bold sleeve or shoulder patch.
Add Your Real Patch Images
Using images of the patches you own makes a plan much more trustworthy than working from generic placeholders. Upload a photo or image file, then crop and size it so it resembles the actual item. Include the patch border where possible. That extra millimeter of embroidered edge can affect spacing when several patches sit close together.
Community patch libraries can also help you mock up pieces you are considering, discover designs you did not know existed, or build a future wish list. Just remember that online images can be misleading. A product photo may not show the true size, fabric texture, or border thickness. Check the seller's stated dimensions before treating a mockup as final.
For your own photos, a straight-on shot against a plain background works best. Avoid dramatic angles. If the photo is tilted, the patch may look warped even after you rotate it on the jacket. You are planning placement, not making album art.
Check Scale, Rotation, and Contrast Like a Sewist
Drag-and-drop is only the beginning. Fine placement is what saves you from frustration later. Use real-world centimeter measurements to compare a digital patch with the physical one in your hand. Measure width and height, then make sure the virtual patch occupies roughly the same amount of jacket space.
Rotation is especially useful for triangular, shield-shaped, and irregular patches. A small angle can make two pieces fit together naturally, but too many tilted patches can make a design feel accidental. If the whole layout is meant to be chaotic, go for it. If you want a cleaner old-school look, keep most edges aligned and let one or two unusual pieces create tension.
Use a grayscale preview before you call the arrangement done. Color can hide a weak composition. In grayscale, you can see whether several dark patches merge into one muddy mass or whether all the brightest pieces crowd the same side. This does not mean your jacket must become symmetrical. It means the contrast should look like a choice.
Test Both Garment Views
Do not spend an hour perfecting the back and leave the front as an afterthought. Switch between front and back views as you work. The jacket should feel related from every angle, even if one side is deliberately more minimal.
Think about how you wear it, too. A backpack can cover the lower back. A long hairstyle may hide upper shoulder details. Pins and chains can change the balance of the lapels. If you plan to wear the jacket in a pit, patches near high-friction areas may take more abuse than pieces on the upper back.
Save a Plan You Can Use at the Sewing Table
Once the layout feels right, save it. A saved design is not a rulebook. It is a reference you can return to when the jacket is spread out on the floor and every patch suddenly looks different from what you remembered.
Free accounts are useful if you want to keep multiple versions, revisit an unfinished vest, or compare a sparse layout against a fully packed one. You can start designing without an account, then save when you have a version worth keeping. No download should stand between you and trying an idea.
When it is time to sew, use the digital design as a map, not a command. Lay your physical patches on the garment and check for seams, folds, and differences in material. Pin or tape them in place before stitching. If a patch needs to move half an inch in real life, move it. The point of planning is fewer surprises, not less creative instinct.
A battle jacket gets better when it carries evidence of its maker. Plan hard enough to avoid the expensive mistakes, then leave enough room for the next show, the next patch, and the version of you that has not found its favorite band yet.