Battle Jacket Front Back Layout That Works
How to plan patch placement across a jacket's front, back, and sleeves so the whole design feels balanced and holds up once you start sewing.
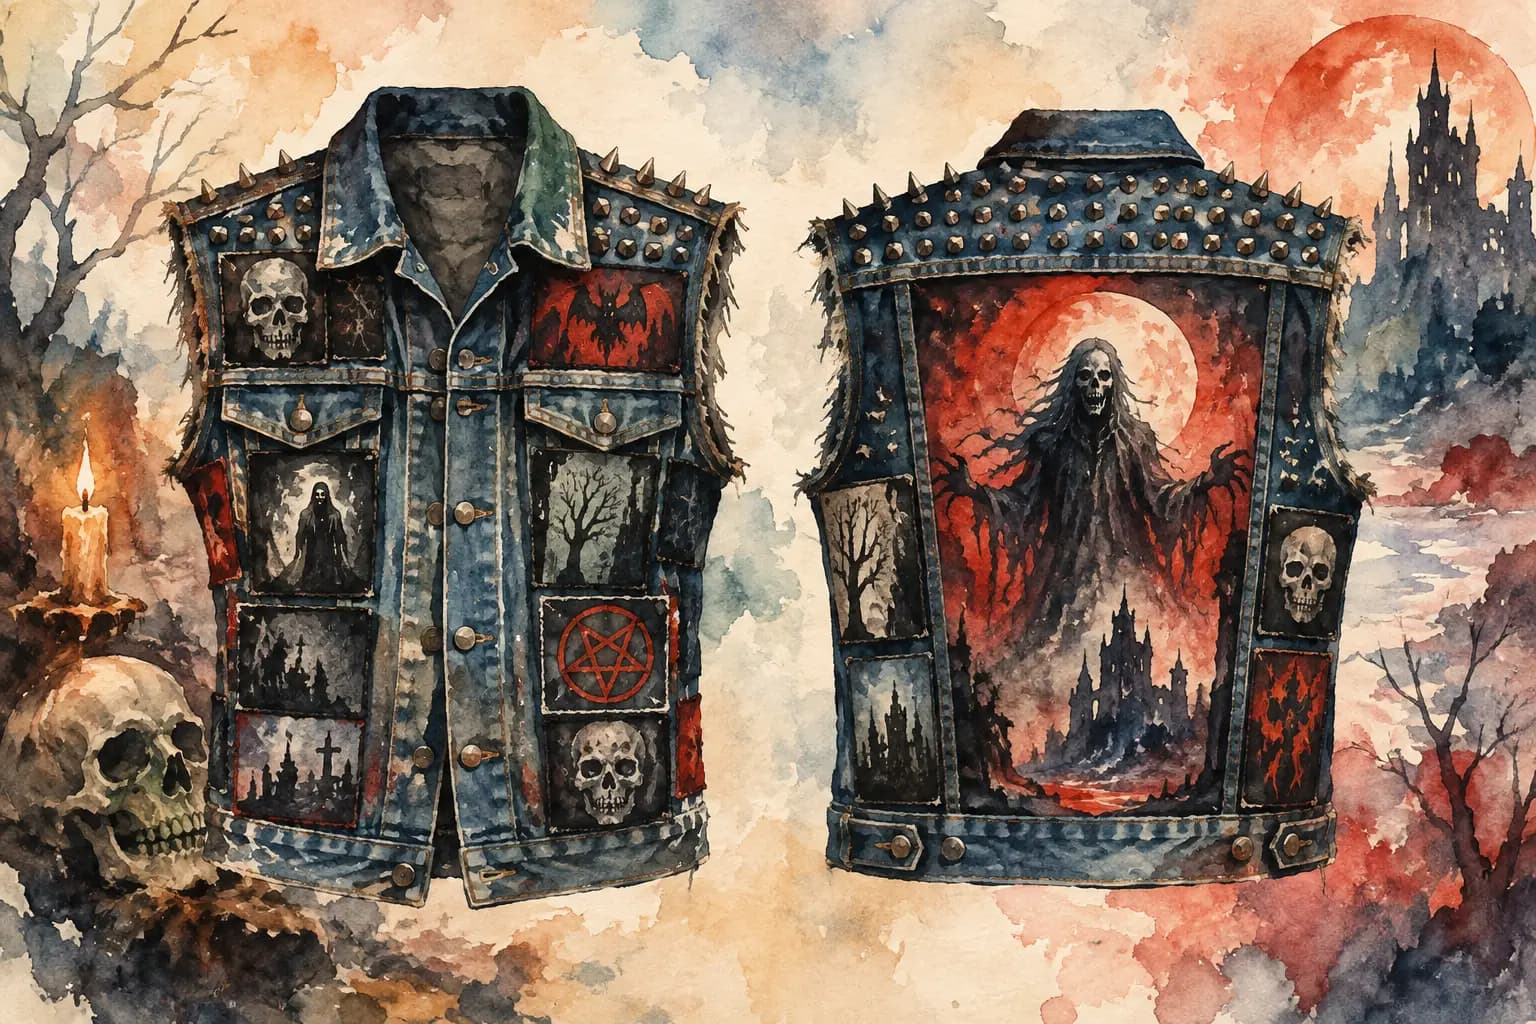
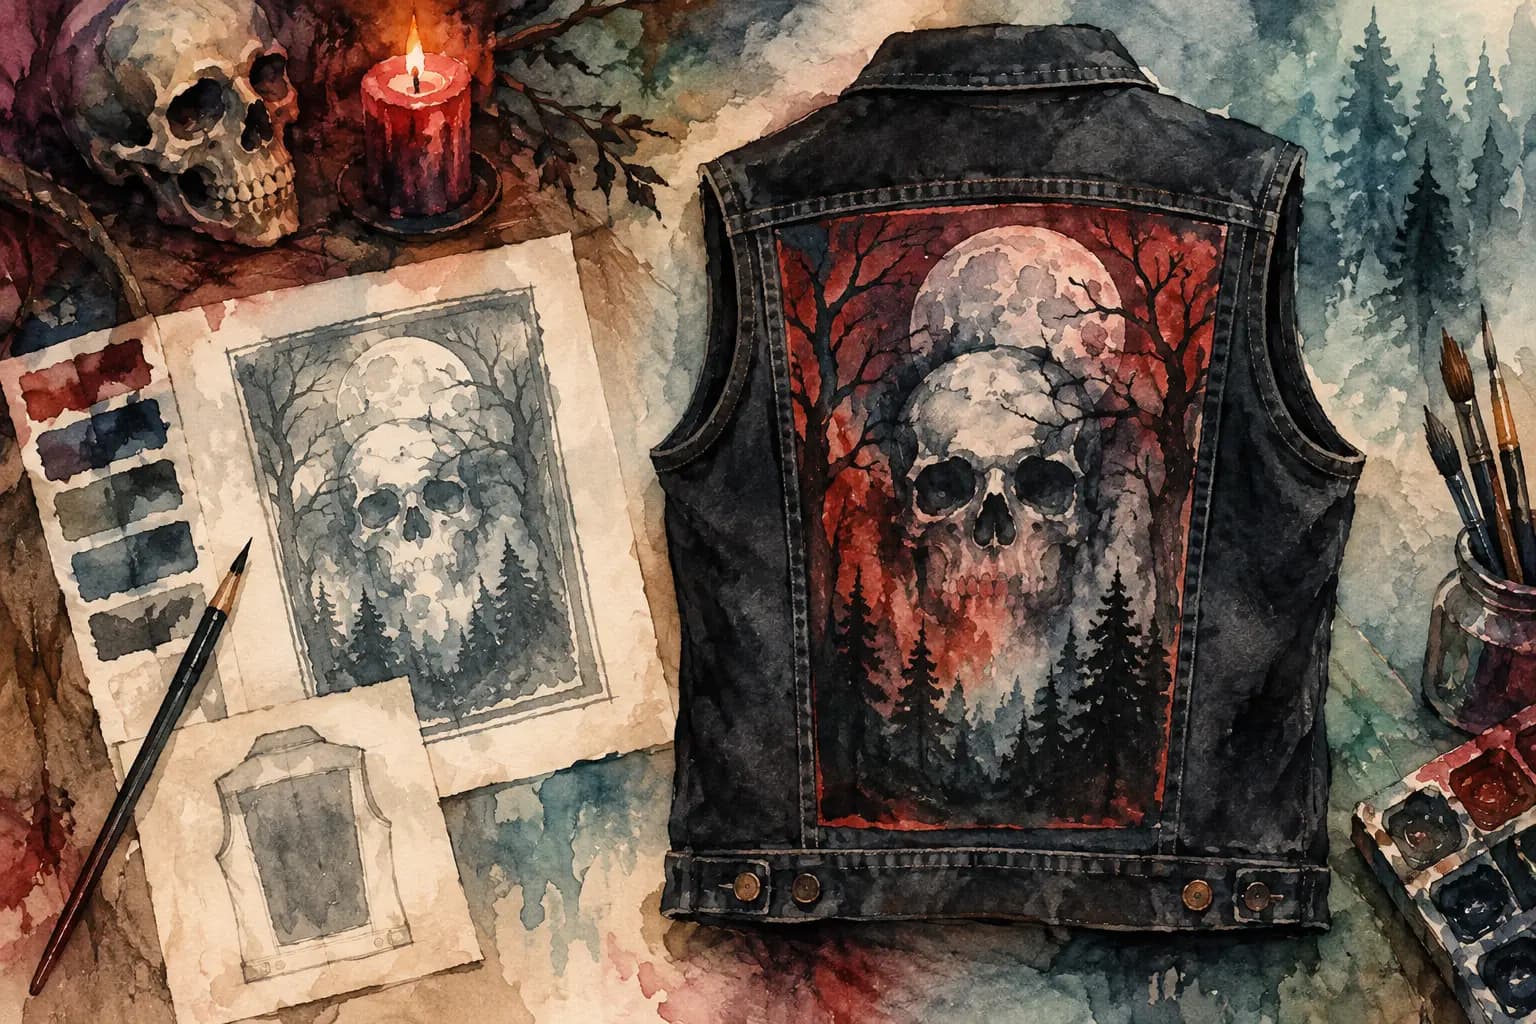
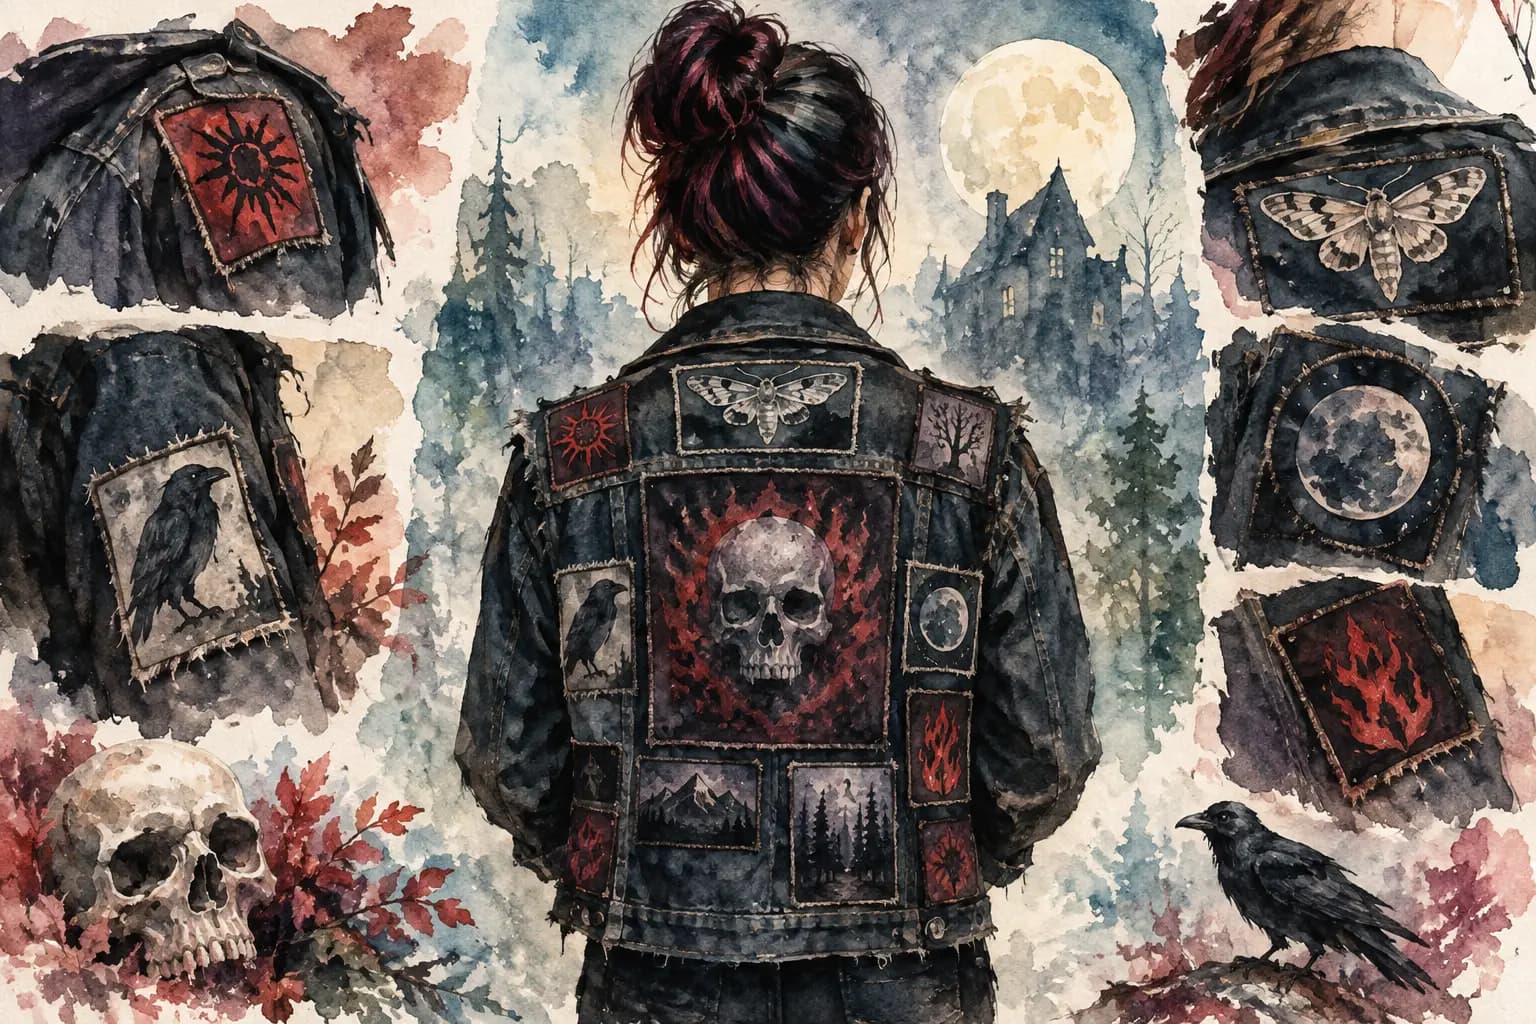
Watercolor-style illustration of a denim battle vest's front and back, covered in skull, bat, pentagram, and grim-reaper patches under a red moon.
A pile of great patches can still make a disappointing kutte if the placement feels cramped, random, or impossible to sew. A solid battle jacket front back layout gives every patch a job before the needle ever hits denim. It also saves you from the painful moment when a new backpatch arrives and there is no longer room for it.
There are no strict rules. Your battle vest belongs to you, whether it is a clean tribute to one band, a chaotic tour-history collage, or a mix of metal, punk, hardcore, and everything in between. But planning the front and back as one garment helps the whole piece look intentional rather than unfinished.
Start With the Back, Not the Small Patches
The back is usually the visual anchor of a battle jacket. At a show, it is the part people see when you are in the crowd, at the bar, or walking between venues. That makes it the best place to make your biggest decision first.
If you have a backpatch, place it before anything else. A large rectangular, shaped, or custom-cut backpatch determines how much usable space remains across the shoulder yoke, lower back, and side panels. Center it along the spine unless an off-center design is part of the look you want. A patch that is only slightly crooked can look more obvious on the back than it does on a chest panel.
Leave a little breathing room around the edges. On denim, a backpatch packed directly into a seam can bunch when you move or make stitching far more difficult. On leather, the issue is less about bunching and more about avoiding thick seams, pockets, and lining. Measure the flat area of your actual garment rather than assuming every vest has the same usable dimensions.
A backpatch is not required, either. Without one, the back becomes a field for medium patches, long logos, woven strips, tour patches, and artwork. This approach can look great, but it needs a clear center line or focal point. Otherwise, the design may start to drift toward one side as you add more pieces over time.
Build Around the Backpatch
Once the centerpiece is down, decide whether the surrounding patches should frame it or fill the available space. Framing works well when the backpatch is detailed and deserves room to breathe. Use a few medium patches above, beside, or below it, then let the denim show through.
A filled-back layout feels louder and more collected. It suits crusty punk vests, long-running tour jackets, and anyone who wants the garment to read like a record of years spent in the scene. The trade-off is legibility. When every patch competes at the same visual volume, individual logos can disappear from a few feet away.
Try to vary patch size. A large backpatch, several medium rectangles, and a few narrow shapes usually create better movement than a grid of equally sized patches. Matching rows can be satisfying, but they also make a handmade jacket look overly rigid if the patch borders, colors, and stitching are all similar.
Give the Front a Different Job
The front of a battle vest is seen up close. It has to work around lapels, chest pockets, buttons, zippers, and the way the garment folds when you wear it. Rather than copying the back, use the front for patches people can inspect in conversation.
Chest patches are the usual starting point. A favorite band logo, a local scene patch, or a small symbol can sit over each chest pocket or on the flat panel above it. Symmetry is optional. Two matching-size patches can create a classic, balanced front, while one larger patch paired with smaller pieces makes the vest feel more rough-cut and personal.
Think about the opening of the jacket. If you wear it open most of the time, patches close to the center can get hidden by lapels or distorted by buttons. If you wear it closed, make sure the two sides do not create an awkward split image. Long patches that cross the opening usually work better on the back unless you are deliberately sewing them onto both sides.
Keep the collar and upper chest practical. Heavy or stiff patches near the neck can rub, especially on a jacket you wear for hours at a festival. A small pin, embroidery, or lightweight patch might make more sense there than a thick woven piece.
Plan the Lower Front Before Filling It
The lower front panels can hold a surprising amount, but they are also where pockets, seams, and body movement cause trouble. Leave pocket openings usable if you actually use them. Sewing a patch across a pocket may look good, but it turns that pocket into decoration.
If your vest has side-adjustment tabs, account for them before adding patches near the waist. Denim pulls differently around these tabs, and a patch placed too close can curl or crease. On a jacket with a zipper, do not let thick patch edges crowd the zipper track.
The front does not need to be full. Many of the best battle jackets keep the front relatively open and let the back do the heavy lifting. It depends on your patch collection and how you wear the garment. A sparse front can make a huge, detailed backpatch hit even harder.
Use Sleeves and Side Panels With Intention
Sleeves are prime territory for long, narrow, and vertical patches. They can also handle small logos that would get lost on the back. The downside is that sleeves bend constantly, so oversized patches may wrinkle and eventually lift at the corners.
Place patches on the outer sleeve if you want them visible when your arms hang naturally. Inner-sleeve patches are more private and often get more friction. Avoid placing stiff patches directly over the elbow unless you are prepared for a lot of creasing.
Side panels are easy to forget during a battle jacket front back layout, but they can connect the two views. A narrow patch near the ribs, a strip of studs, or a repeated visual element can make the front and back feel related without making them identical. Check that the patch will not land on a thick side seam before you commit.
Check Balance Before You Sew
Balance does not mean mirror images. It means the jacket feels stable when you look at it as a whole. If one side has several bright red patches, consider whether the other side needs another strong color, a large black-and-white graphic, or simply more visual weight.
Color matters, especially on black denim. Dark patches with black borders can vanish unless they have a bright logo, contrasting thread, or a visible shape. On blue denim, faded and muted patches may blend together in a way that looks intentional, but only if the logos remain readable.
A grayscale view is useful here. It strips away color and reveals whether the large light and dark areas are balanced. If all the pale patches sit on one shoulder while the rest of the jacket is dark, the design may feel lopsided even when the colors look cool up close.
Also check scale from two distances. Look at the layout close enough to read every logo, then step back as if you are seeing it across a room. Your favorite tiny patch may be meaningful, but it should not be expected to carry the same visual impact as a full-size backpatch.
Build a Layout You Can Actually Recreate
The best digital plan is one you can transfer to the physical garment. Record the approximate width and height of important patches in centimeters, especially your backpatch and anything that needs to sit between seams. Take a photo of the empty garment lying flat, then compare it with your layout while you work.
Before sewing, secure patches with safety pins, fabric tape, or a few loose basting stitches. Put the jacket on and move around. Reach forward, sit down, and throw your arms up like you are catching the last song of the night. A patch that looked perfect on a flat table may press into a seam or fold in half when worn.
This is where a planner built for battle vests earns its place. The Black Thread lets you work with front and back garment views, real-world measurements, rotation, scaling, and contrast checks before you make a permanent call. You can start building without an account, then save the design when you want to return and refine it.
Do not rush to fill every blank space. Empty denim is not a mistake. It is room for the band you have not discovered yet, the patch you pick up at a future show, or the piece that finally ties the whole jacket together.
Your jacket should look like it has a point of view from the first stitch, but it does not have to be finished forever. Plan enough to avoid placement regret, sew what feels right now, and leave space for the next chapter of your scene history.