15 Backpatch Ideas for Your Battle Jacket
Fifteen backpatch directions, from album art to shaped die-cuts, plus how to size, test, and sew one so it actually reads from across the room.
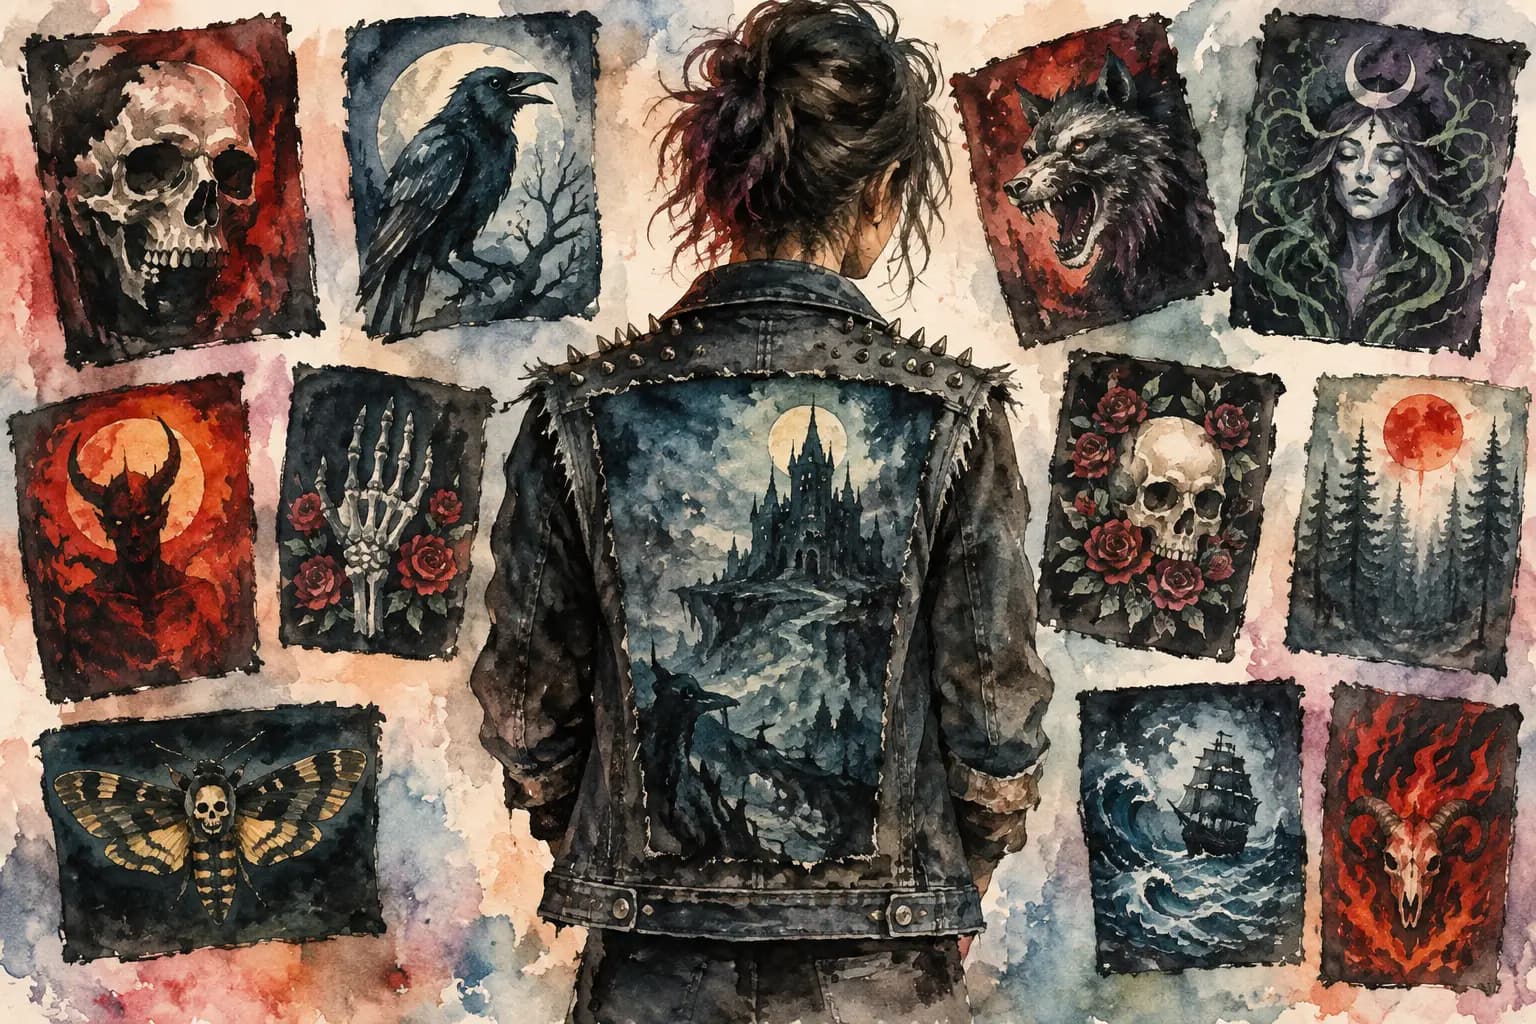
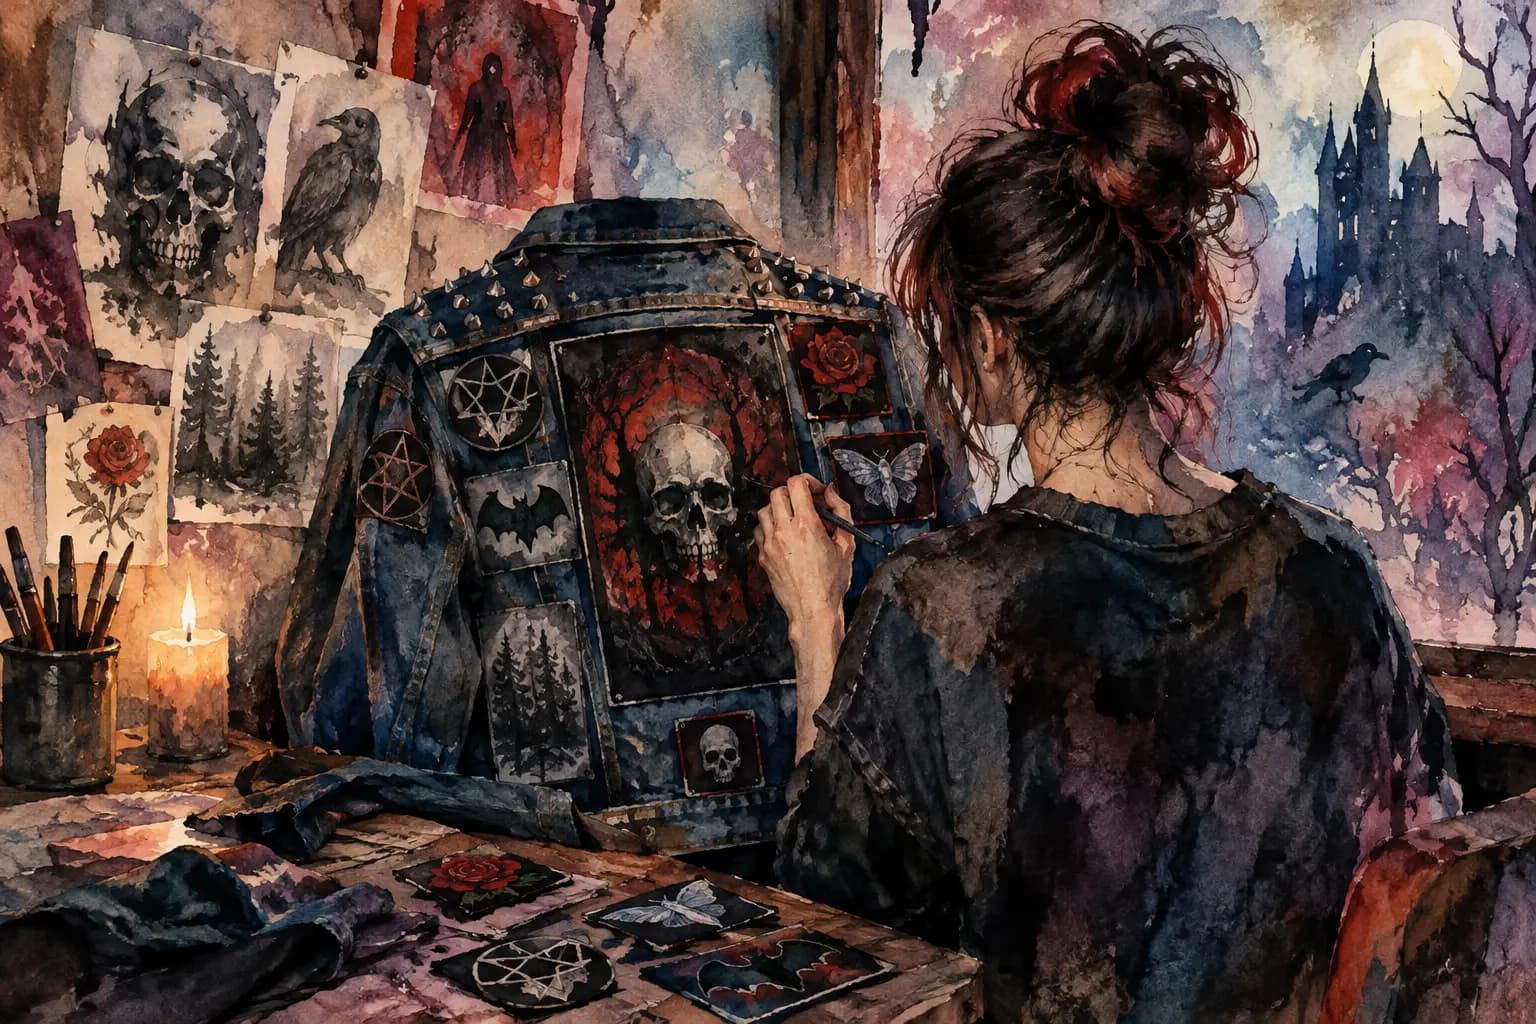
Watercolor illustration of a studded denim jacket with a gothic castle backpatch, surrounded by a grid of alternate backpatch artwork options like skulls, a raven, and a wolf.
A backpatch is the first thing people see when you walk past them in a crowd, and it sets the temperature for the whole jacket. The best backpatch ideas do more than fill a large empty panel: they make your battle vest feel like yours, whether that means one all-time favorite band, a carefully built theme, or something loud, weird, and personal.
There are no strict rules here. A classic rectangular logo patch works for a reason, but a battle jacket does not need to follow one visual formula to belong at a show. What matters is choosing artwork that fits your taste, your garment, and the patches you want to build around it.
Start With the Back Panel You Actually Have
Before picking art, look at the usable space. A denim vest with the sleeves removed usually gives you a broad, fairly flat panel. A jacket has seams, pleats, and a lower yoke to work around. Leather can be less forgiving than denim, especially if the panel is thick or has a lining that needs careful handling.
Measure the width between the side seams and the height from the collar seam to the waistline. You do not need to cover every inch, but you do need to know whether a large landscape patch, a tall portrait design, or an irregular cut shape makes sense. A patch that looks huge in your hand can lose impact if it is squeezed between seams or swallowed by unused space.
Think about the patches that will sit beside and below it, too. The backpatch is the anchor, not always the entire composition. If you already own a stack of small embroidered logos, leave enough room for them to create a frame instead of forcing them into narrow, awkward gaps.
Backpatch Ideas Based on Your Music Taste
1. The album-cover centerpiece
An album cover can turn the back of a jacket into a tribute to a record that never left your rotation. Choose art with a clear central image and strong contrast. Detailed paintings can look incredible, but tiny details may disappear from a few feet away, especially on a woven patch.
2. A classic band logo
Sometimes the right answer is simply the logo that started it all. This works especially well for black metal, death metal, crust, and hardcore jackets where the surrounding patches can provide the extra visual noise. A logo backpatch gives you flexibility because it does not lock the rest of the jacket into one specific color palette.
3. A tour or event backpatch
A patch from a show, festival, or special tour gives the jacket a real piece of your history. It may not be the most polished design in your collection, and that is part of the appeal. Wear matters more than rarity when the garment is telling your story.
4. A deep-cut band choice
Make the backpatch a conversation starter with a band people will not see on every other vest. This can be a local opener, an older project, or a record that found you at exactly the right time. Just make sure you still want to rep it years from now. Sewing a backpatch is a commitment, even if it is never permanent.
5. A genre statement
Instead of centering one band, use a patch that represents the scene you live in: a horror illustration for death metal, a photocopied protest image for punk, or a stark skull design for crust. This route leaves more room for bands on the smaller patches while giving the garment a unified mood.
Ideas That Build a Strong Visual Theme
6. Black-and-white with one accent color
A mostly monochrome jacket can hit harder than a wall of competing colors. Use white logos and gray artwork on black denim, then reserve red, toxic green, or electric blue for a few deliberate details. The backpatch can carry that accent color, or it can be the quiet center that makes the border patches stand out.
7. The full-color chaos approach
If your patch pile is bright, mismatched, and impossible to categorize, lean into it. A colorful backpatch can make the chaos look intentional. This approach suits thrash, crossover, punk, and any jacket built around energy rather than symmetry.
The trade-off is readability. If every patch is high-contrast and full-color, the back can look flat from a distance. Give the eye somewhere to land by placing darker patches near a vivid centerpiece or leaving a small band of denim visible around the backpatch.
8. A horror, fantasy, or sci-fi scene
Monsters, graveyards, swords, space art, and cult-film imagery have always belonged on battle jackets. Pick a design with the same visual language as your music patches. A neon sci-fi patch can be perfect beside speed metal logos, while an ink-heavy graveyard scene may sit better with doom and black metal.
9. A political or personal message
A backpatch does not have to be band merch. A message, symbol, or handmade statement can make your values visible without asking for anyone's approval. Be deliberate with the wording and placement. The larger the patch, the more directly it becomes part of how strangers read your jacket.
10. A handmade painted panel
Painted backpatches have rough edges, brush marks, and mistakes that printed patches cannot reproduce. That is the point. Start with heavy cotton or canvas, sketch the design, and use fabric paint so the artwork survives wear and washing. A hand-painted logo is also a good option when the exact patch you want does not exist.
Shape Can Change the Whole Layout
11. The traditional wide rectangle
A rectangular patch across the shoulder blades is the familiar battle-jacket move. It gives you a clean top edge and plenty of room to build downward. If you want a classic kutte silhouette, this is the easiest format to plan and sew.
12. A tall portrait patch
Portrait backpatches work well on longer jackets and vests with narrow back panels. Think figures, vertical illustrations, tall logos, or a design that extends toward the waist. Keep an eye on where the bottom edge lands when you sit down. A patch that constantly folds at the waist will wear differently over time.
13. A shaped or die-cut backpatch
Circular, shield-shaped, coffin-shaped, and irregular patches can make a jacket feel less uniform. The challenge is filling the space around them. Rather than trying to create perfect symmetry, use small patches in uneven clusters and let the empty denim become part of the design.
14. A two-piece back layout
If you cannot choose between two favorites, split the back into an upper and lower feature. Pair a wide logo across the shoulders with a smaller image beneath it, or use two matching side-by-side patches. This works best when the designs share a color, era, artist, or musical connection. Otherwise it can read as accidental rather than layered.
15. No conventional backpatch at all
You are allowed to skip the giant centerpiece. Cover the back with medium patches, studs, painted text, or a grid of records and bands. This is useful when your collection is about many scenes rather than one defining favorite. It takes more planning, because every patch has equal visual weight, but the result can feel lived-in and completely individual.
Test the Layout Before You Sew
Lay your patch on the garment and step back from it. Then take a photo and look at the image in grayscale. If the backpatch disappears into black denim or fights every neighboring logo, you will see it quickly without being distracted by color.
Check the fit with the jacket on your body, not just flat on a table. Shoulder seams curve, fabric pulls, and a design that looks centered while flat may shift when worn. Use masking tape, safety pins, or a digital planner to test placement without making a permanent mistake. The Black Thread lets you compare jacket colors, scale patches to real-world measurements, and move between front and back views before you pick up a needle.
When you are ready to sew, start from the center of the top edge and work outward so the patch stays aligned. Pin or baste the full perimeter first. A little patience here prevents the ripples and crooked bottom corners that can make even a great patch look off.
Your backpatch does not need to impress every person behind you in the pit. It needs to feel right when you throw on the jacket before heading out. Choose the one that keeps earning that reaction, then give it the space and stitching it deserves.